

When Brian and I found out we were expecting we were beyond the moon! And even more excited that our first born, Rawley, would become a big brother. Yes, we're
those
dog people who refer to our dog as a child, but after three and half years of loving this pup, there's no other way to think of him than family! Our home wouldn't be the same without him and frankly the joy, responsibility and lessons he's taught us are all huge contributors for preparing us to become better human baby parents. You can read Rawley's intro post
, where I share his adoption story and more on how he changed our life. But with all the excitement, we can't help but wonder how our new additions will affect our very spoiled only child.
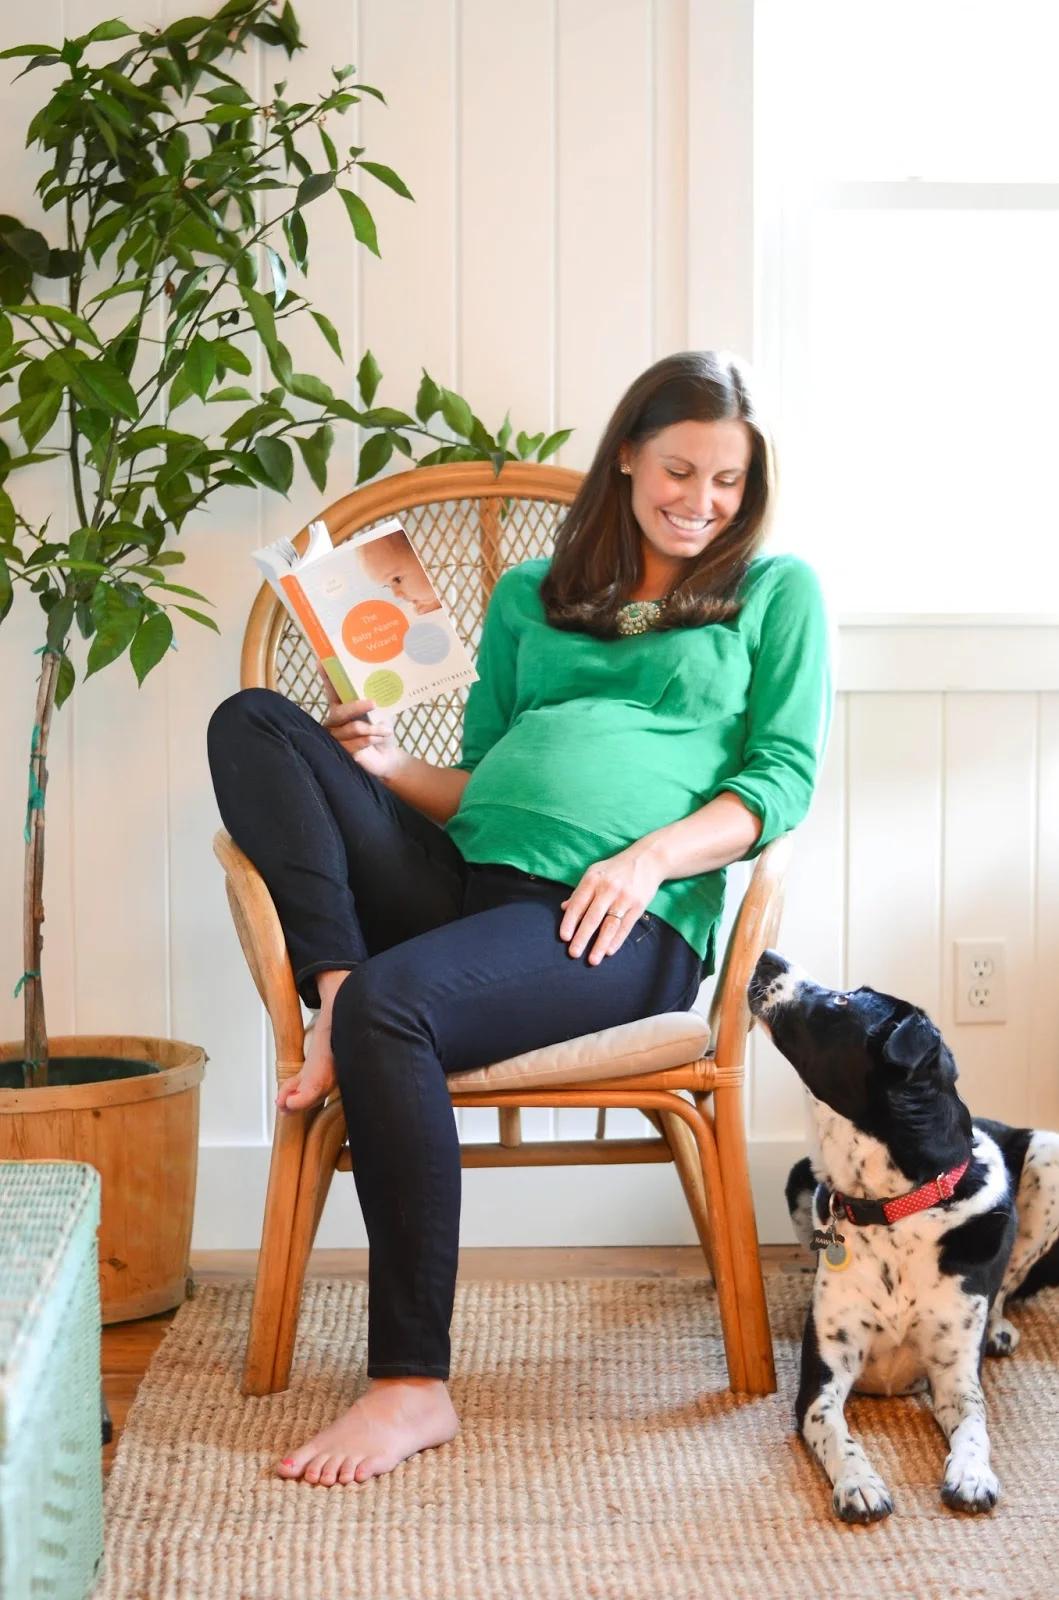
Brian and I decided early on, that we'd ease Rawley into life with babies, doing simple things to introduce him to the idea, while slowly initiating new changes to his daily life. Ask Rawley if he's excited to meet the babies, and this is the face you typically get:
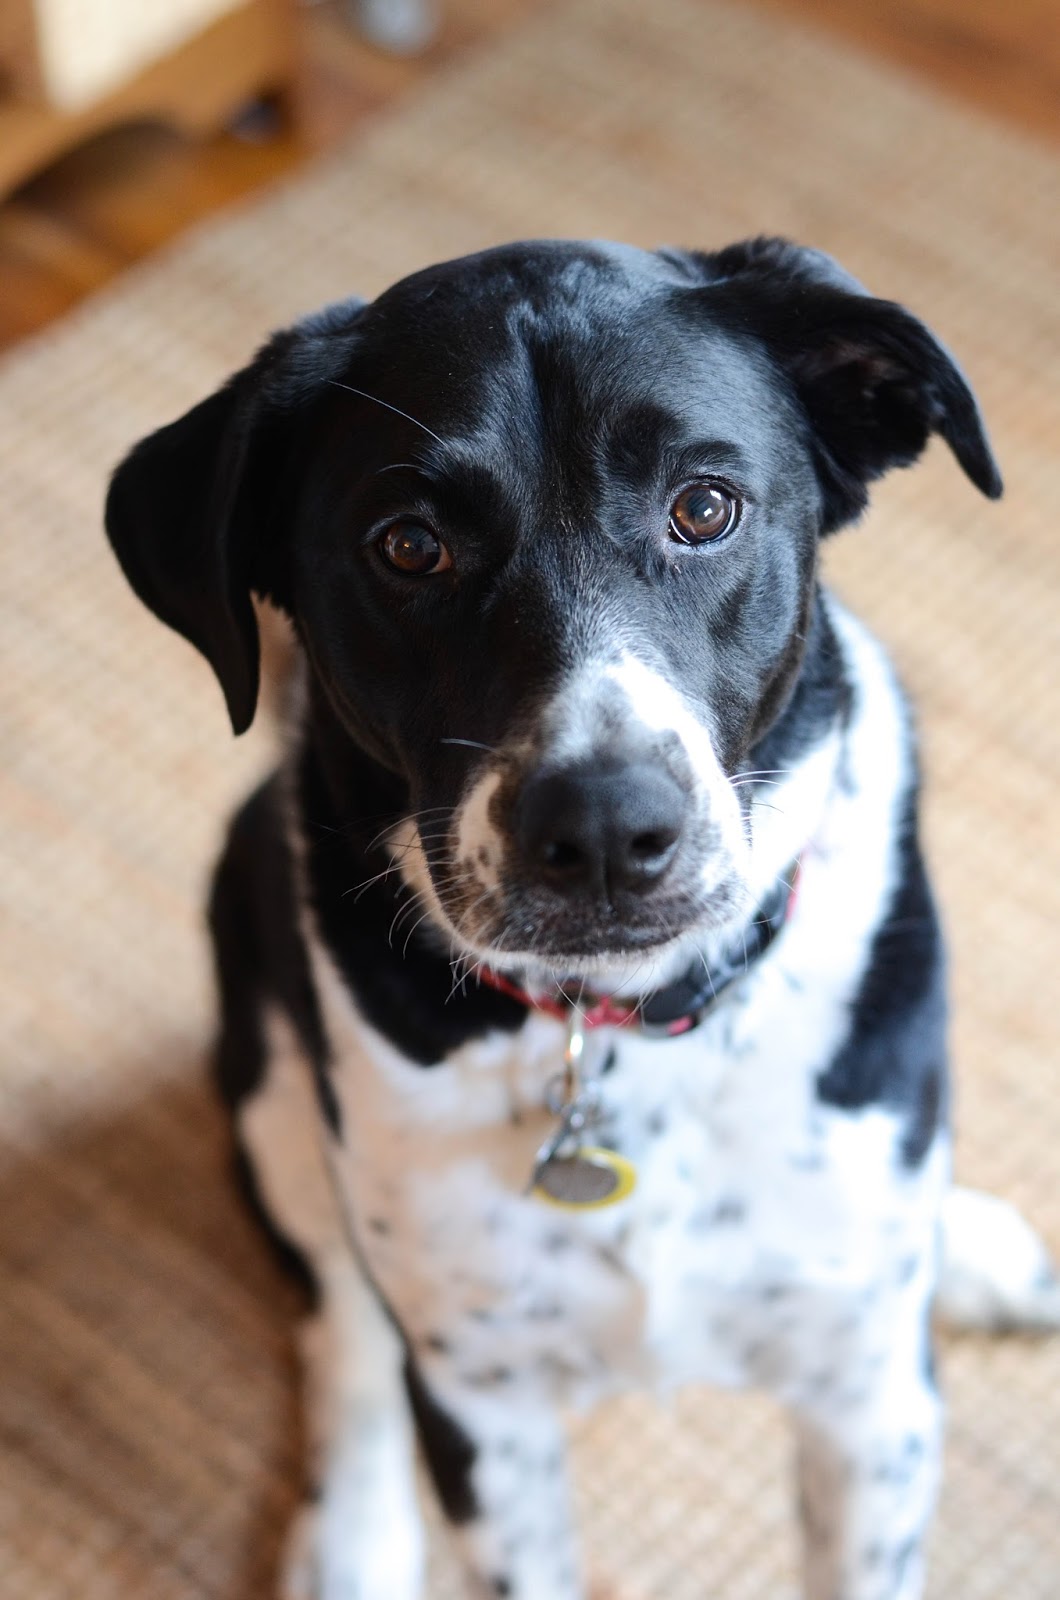
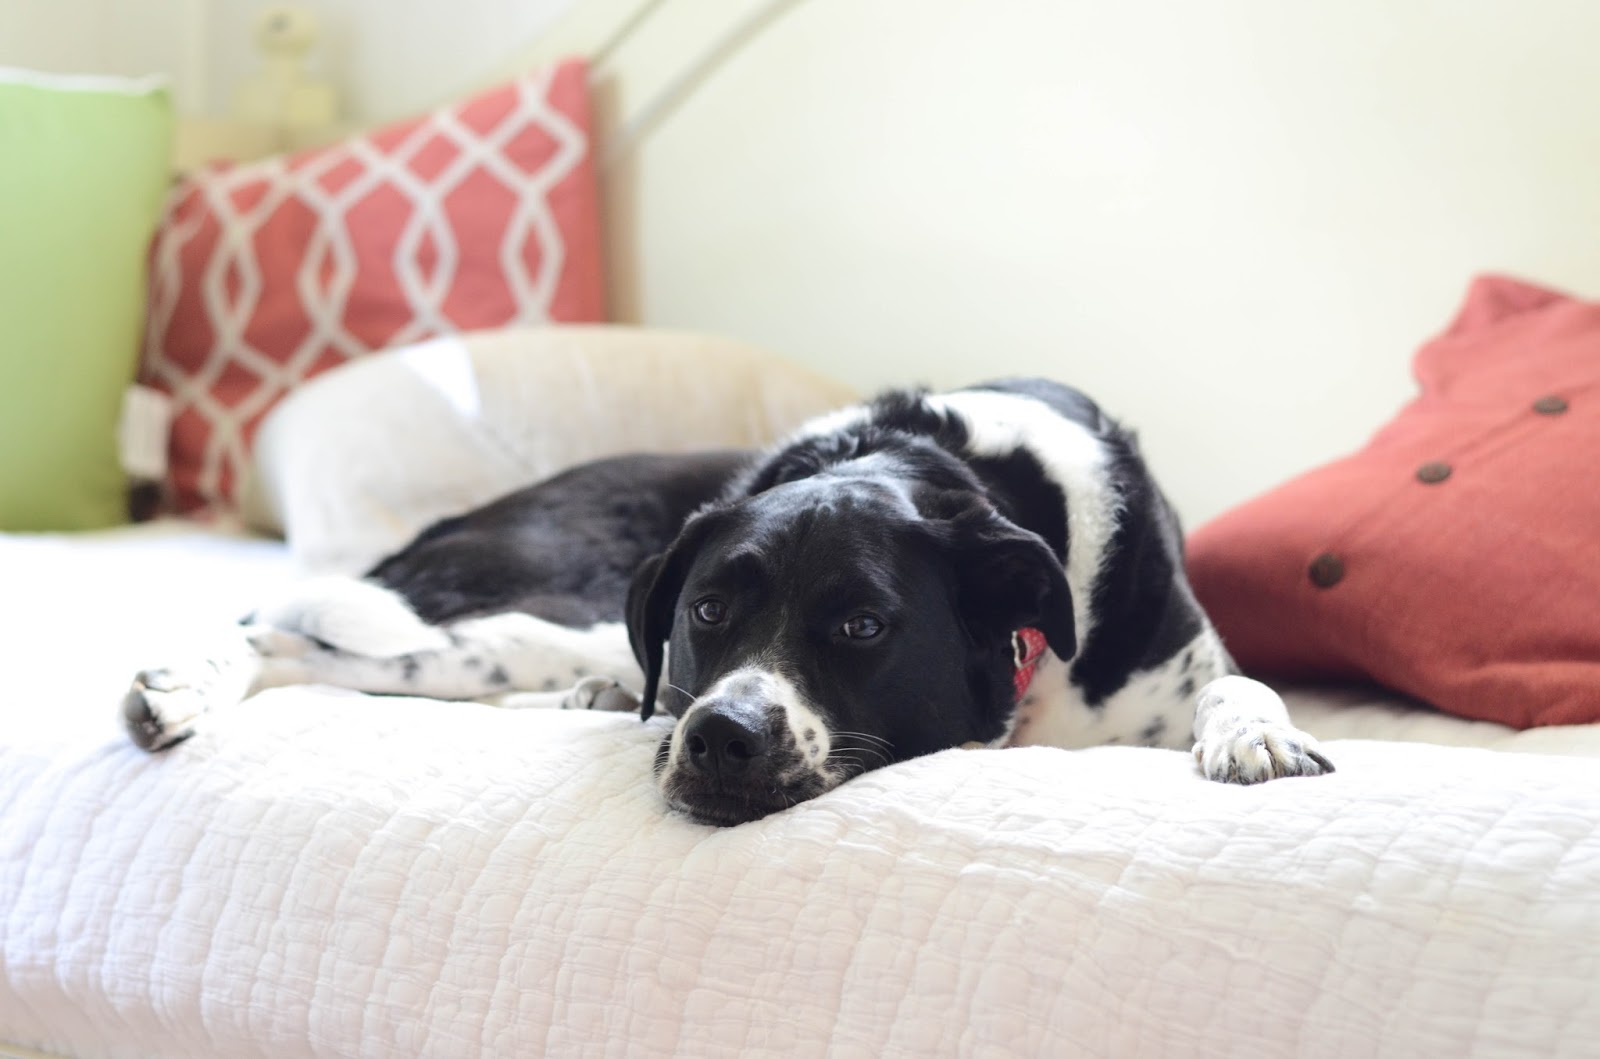
While he may claim otherwise, I truly believe that he's known something was up from very early on. He's always rough housed with Brian and been sweet and cuddly with me, but soon after becoming pregnant his already gentle demeanor increased in sweetness. He now approaches me very deliberately and slowly, more times crawling over to me. He's never been one to jump up a lot, but once the babes were in my belly, he hasn't jumped up on me even once. He smells my belly and is cautious anytime he comes over to snuggle. He makes it a habit to check on me continuously throughout the day, frequently following me around. And the funniest part is he's become quite the avid listener to me ~ in the past Brian has always been alpha, Rawley only listening to his commands and brushing off mine. But now he seems to only listen to me and is all to eager to please. Whether he knows his life is about to change, I'm not sure, but I know for a fact that he knows something is different with me. Either way, his sweet demeanor alone won't help him with the transition. What has always been a
Rawley's domain,
will quickly be overtaken by two crying, stinky additions (
cute
crying, stinky additions I might add, but crying and stinky nonetheless). And whether I want to admit it or not, come this fall ,Rawley will have to take the back seat to being the center of attention.
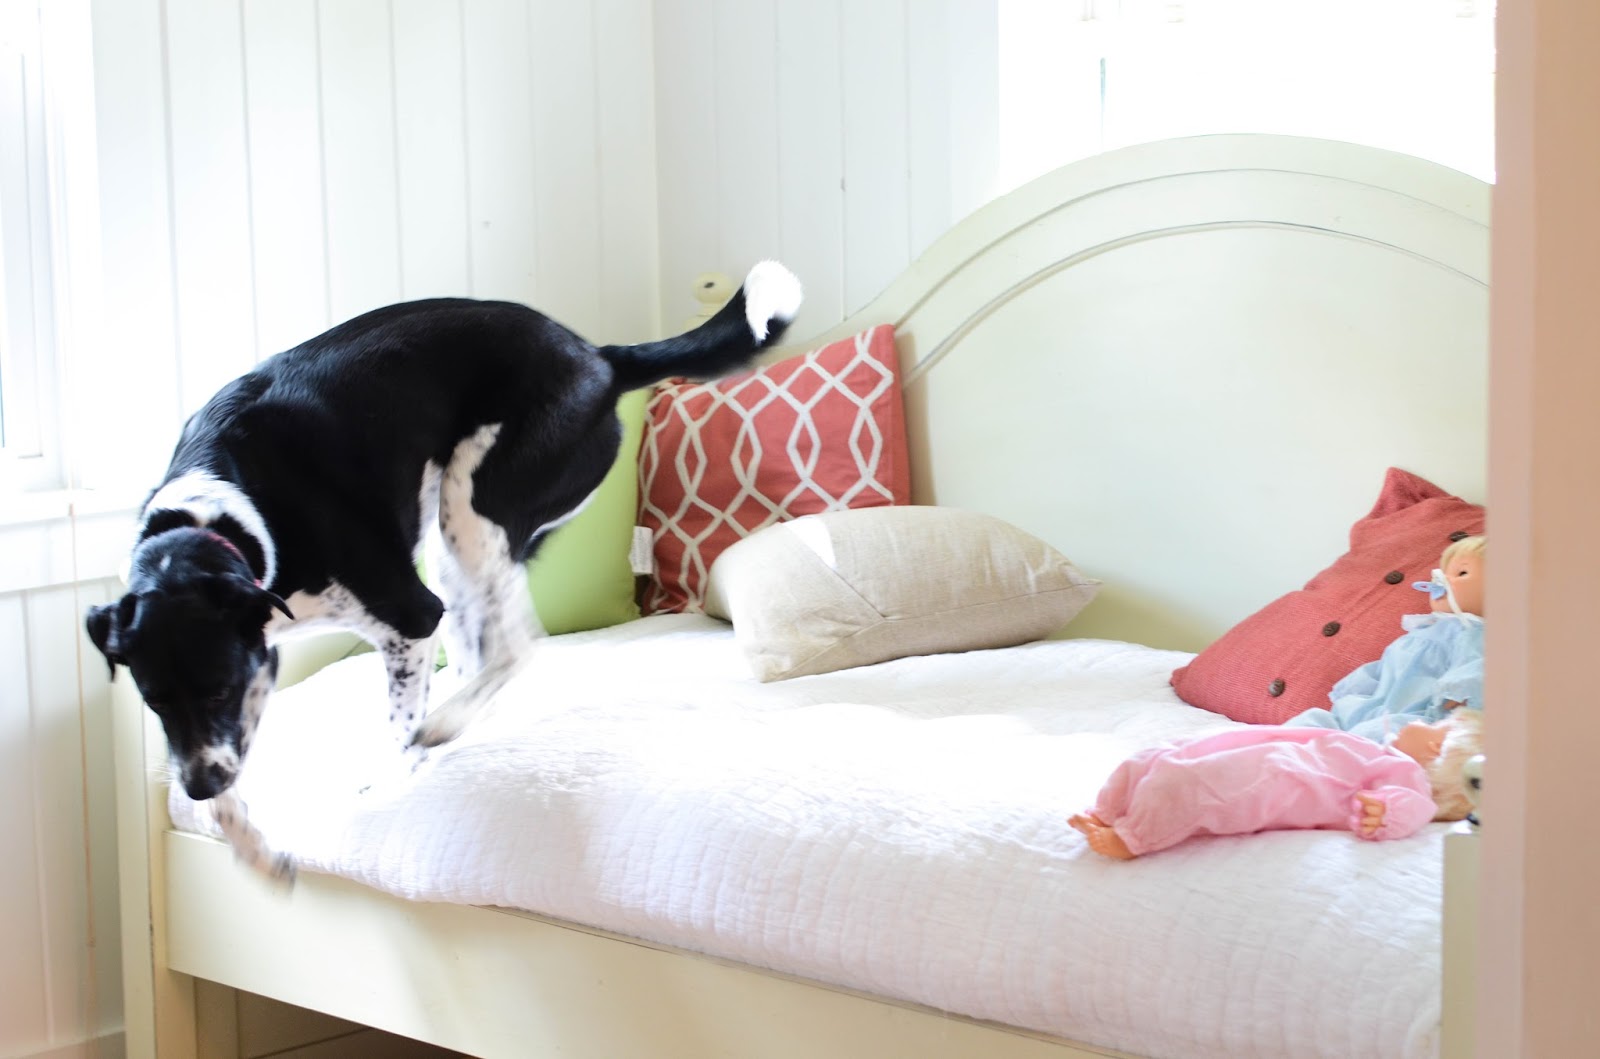
First thing on the list was to introduce toys to Rawley that
aren't for Rawley
. We've made it quite the habit over the past few years to spoil Rawley with toys and treats, so much so, that you can't walk into our house with a bag without Rawley shoving his nose in it to see if there's something for him. In order to introduce him to the notion that not everything is his, I make it a point to allow him to smell all the baby things as I come home with them. Clothes, toys, furniture, bedding, I let him take a sniff then tell him "Not for Rawley, For the Babies". I've also started leaving stuffed animals and soft blankets randomly around the house. I'll tell Rawley "Not for Rawley" place it down and walk away. If he leaves it alone he's rewarded with a treat and so far he's done AMAZING! His only real nemesis right now is this lion:

He's constantly eyeing it and checking back to see if I'm watching. Turn a blind eye and what starts as a nibble...

Turns into a full fledged grab...

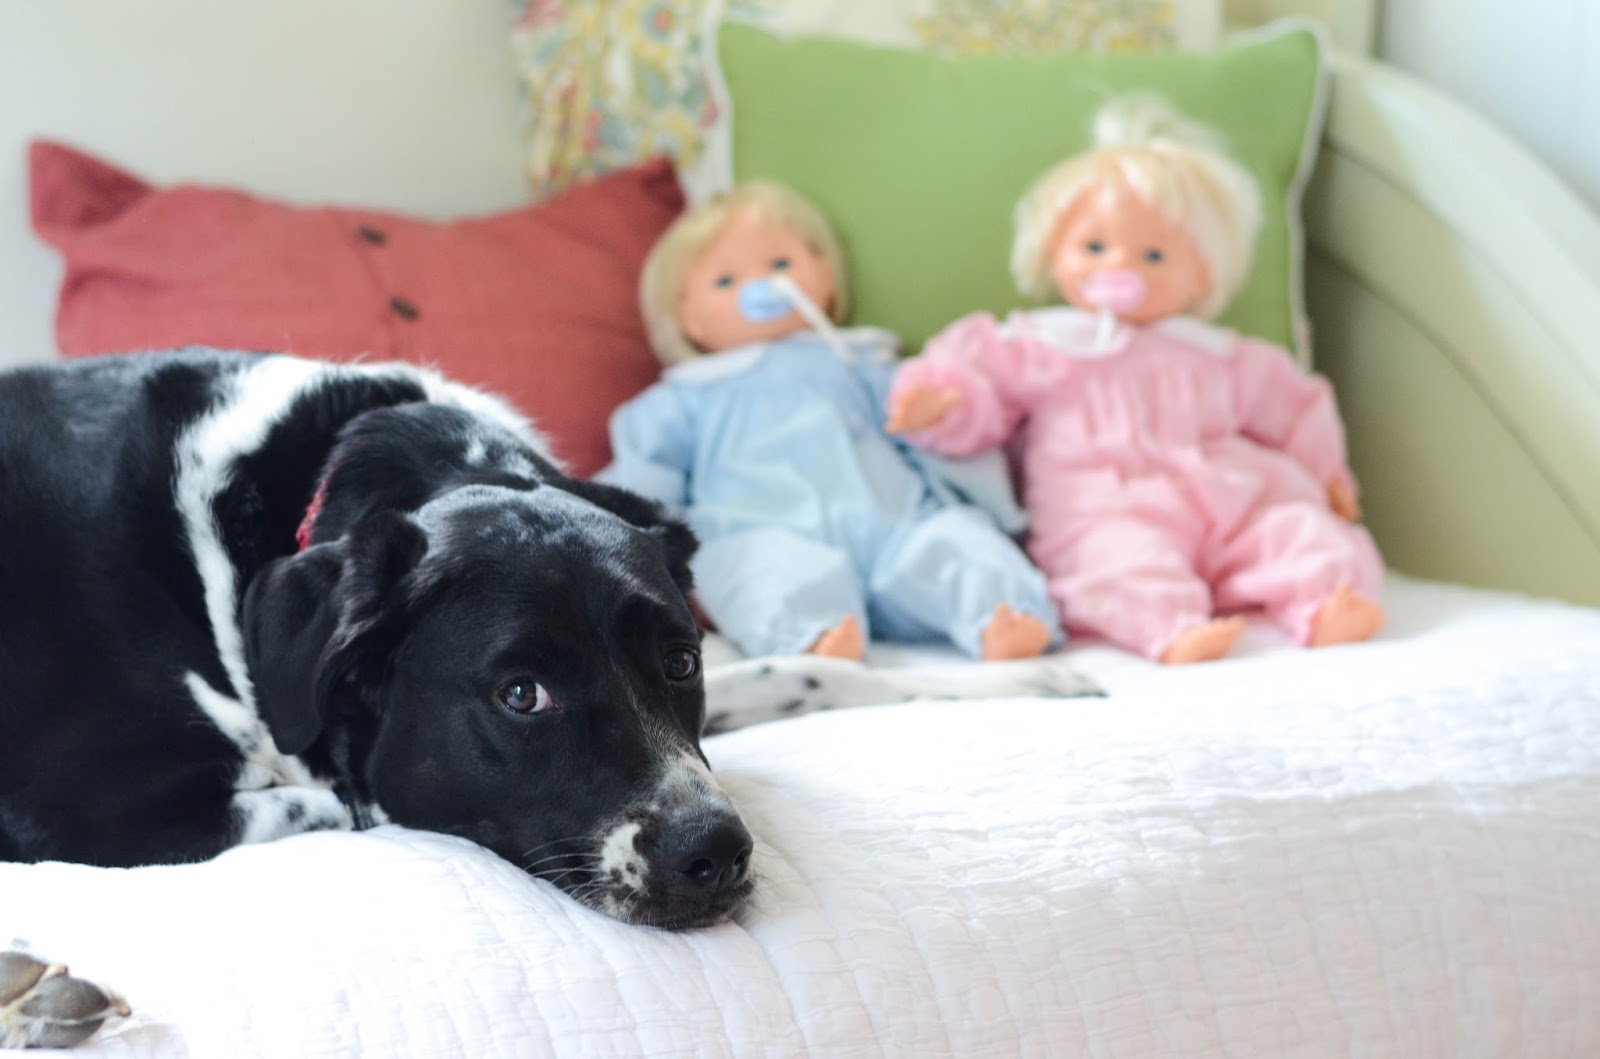
When I say "no, not for Rawley" he'll drop it and stare longingly at it. Between you and I, I doubt lion will make it through the year :) The other introduction we've made sounds crazy, but OMG has been quite effective. I give all the credit to my mom, who called me a couple months ago to tell me she found my old baby dolls in the attic. They were my favorites growing up, beacuse A) they were Twins!!! and B) they cried when you took their pacifier out, and would giggle if you placed them close to one another. A girl's dream doll I tell you! Anyways, my mom and I were both surprised that after all these years they still worked, so my mom suggested we use them to help with Rawley's baby training. We'll randomly pick them up, always referring to them as the
babies
in a soft voice and only allow Rawley to get close when he's calm, quiet and sitting. He's learned that he needs to be gentle and barking isn't tolerated. We've even gone the extra crazy step of putting diapers on these two and occasionally baby powder, trying to get Rawley accustomed to the smell. But should one of these two start to cry...
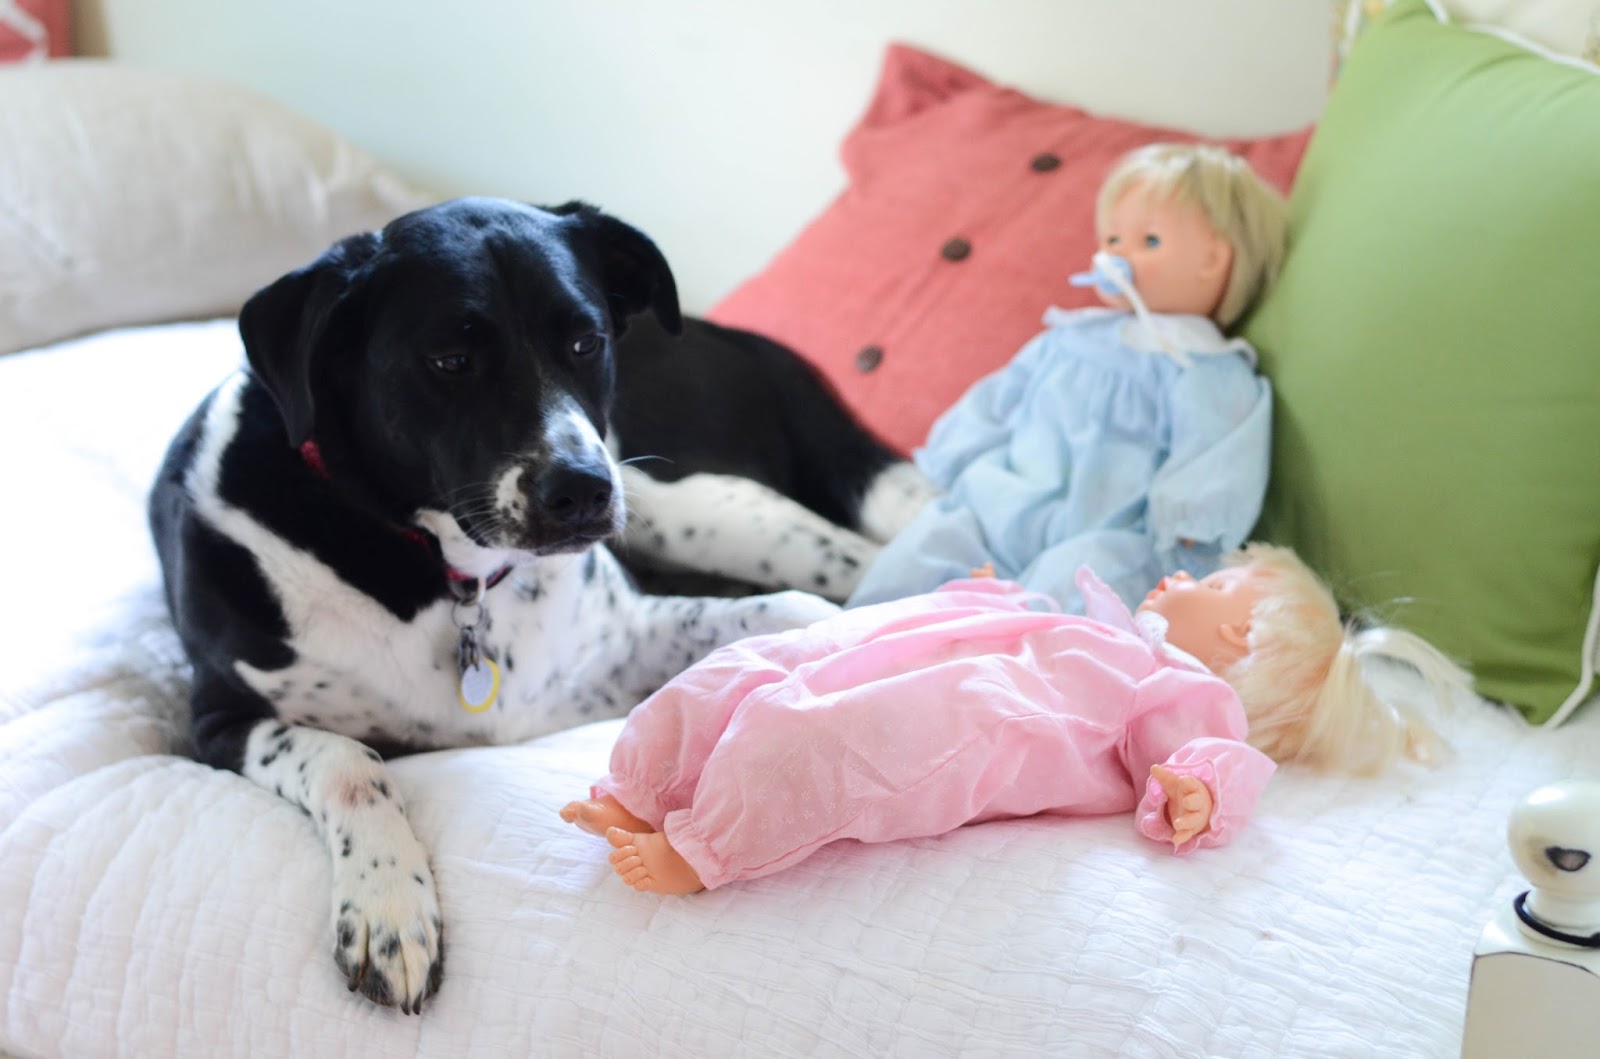
Rawley gets up, looks at it with concern...
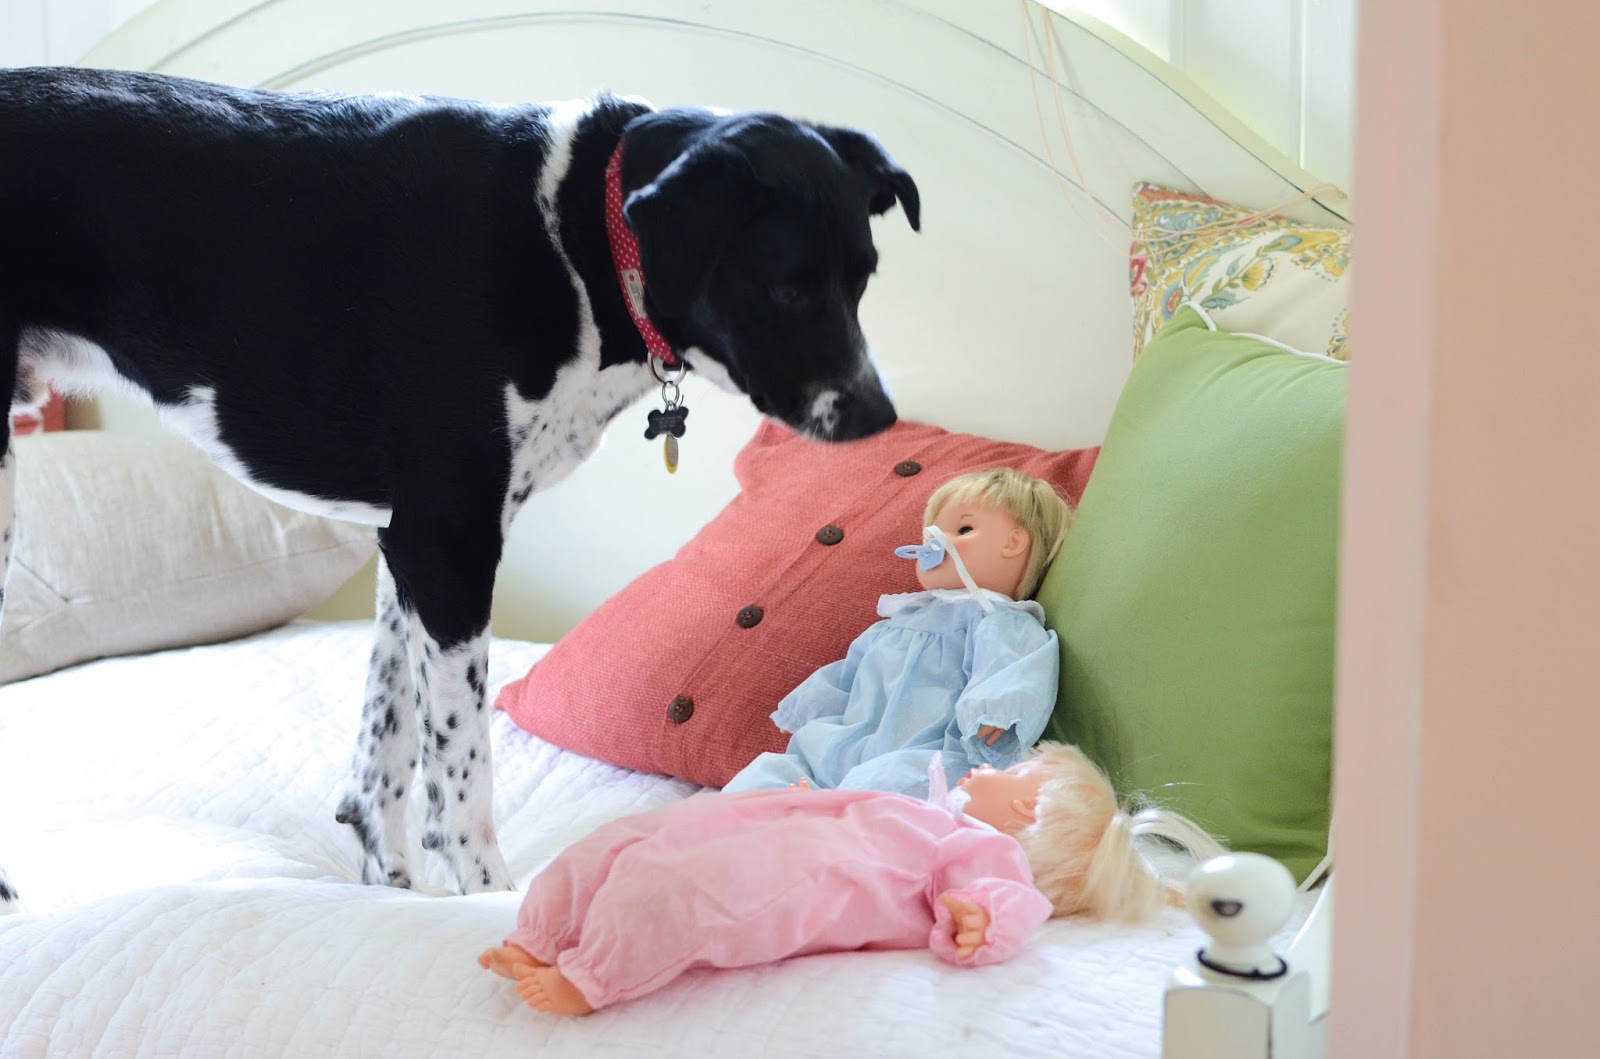
then quickly comes to Brian or I, almost to say "I didn't do it!"
Sometimes I swear he's just humoring us, knowing these things aren't real. But if nothing else, he's learning that if one of these is in our arms he's not to jump up or beg for any attention.
In writing this post and seeing these photos, I'm aware of how insane and creepy this looks! True story: A month ago, when getting our AC replaced, the repair man kept looking weirdly into our dining room, then at me. It was a look of confusion and concern. It wasn't until he left that I noticed we had one of the dolls sitting up in a high chair and the other doll in the stroller. I can only imagine him and the other guys laughing about the crazy pregnant lady and her creepy fake babies. If only I had greeted them at the door holding both of them :) The things you'll do to prepare the ones you love!
Other ways we're preparing Rawley:
We refer to the nursery as the baby room.
We gave him a designated spot in the nursery for his bed and when in that room he knows to go there. We'll leave treats randomly there for him to encourage it as a place of comfort and reward.
We'd love more ideas and suggestions!
Share how you prepared your dog for newborns in the comments below.
**Please note: No lions were hurt in the making of this post**