I can't thank you enough for joining us this month! We made the switch to a new website and the support has been overwhelming! I appreciate each and every one of you and I hope this month is just the beginning of a fun adventure with all of you! And in case you missed something, here's a look back at what we shared [click photos for the original post]! xo, Michelle
DIY | Tee-Pee Napkins

Who says festive napkins can't be affordable and fun?!
Perfect for the fall table or a great craft for the kids, these DIY Tee-Pee Napkins are as easy as drawing a triangle!
What you'll need:
100% Cotton Napkins / Fabric Pen
*Note: Be sure to read instructions fully for your specific fabric pen*

Before you get started, I suggest playing around with your design. While I opted to keep each napkin identical, it could be fun to have a set with varying designs.

Once you've finalized your design, cut it out and trace over it with black permanent ink. The bolder the better!

I bought this set of Ivory Buffet Napkins from World Market.

Decide the placement of your tee-pee. Also before you get started tracing, I strongly urge you iron your napkin to ensure a smooth flat working surface.

On the back side of the napkin, secure your pattern with pins ~ truth be told, I ended up just holding my pattern in place ~ do what works best for you!.

Using a fabric marker (I bought this Fabric Marker Set from Hobby Lobby) carefully trace your design. To ensure a straight edge I used a ruler and while I traced, I was sure to hold down the napkin pulling the fabric taut.

My pen instructions said to let dry for 24 hours, then machine washable!
Paired with Sawyer Flatware from World Market, these super easy, DIY Tee-Pee Napkins, are the perfect addition to any fall table setting!


CAN-do Lunch | Buffalo Chicken Salad
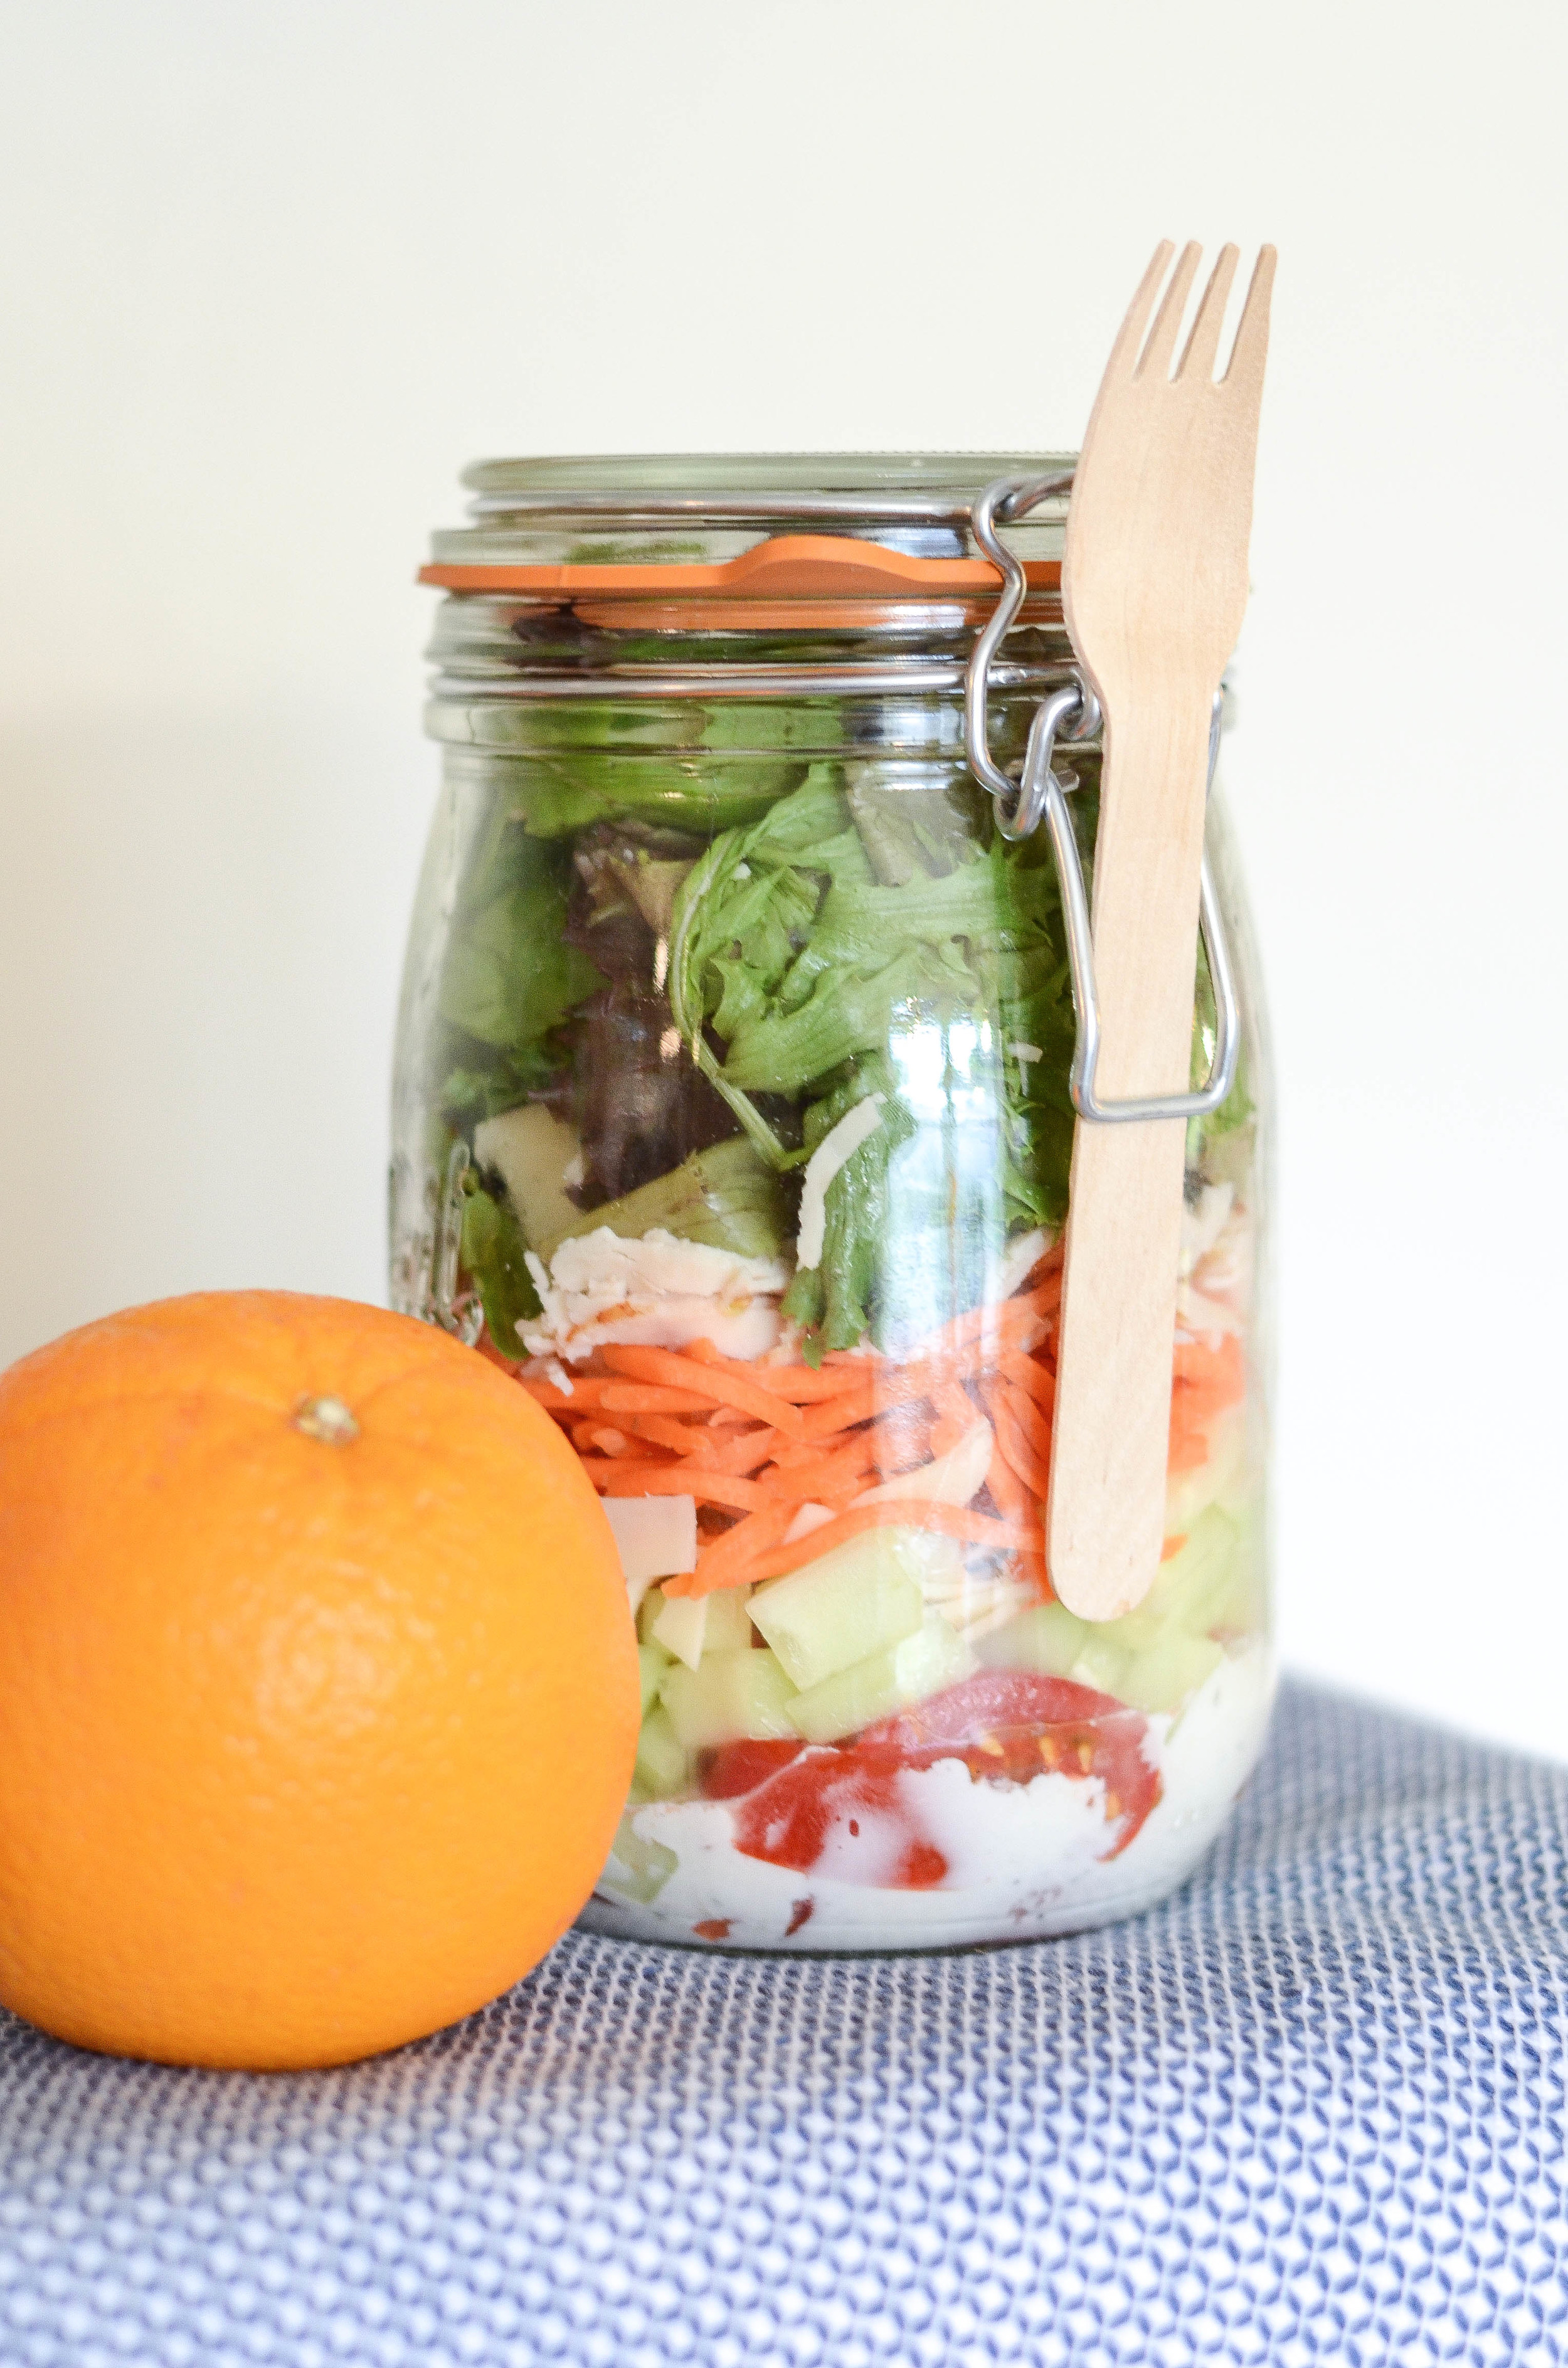
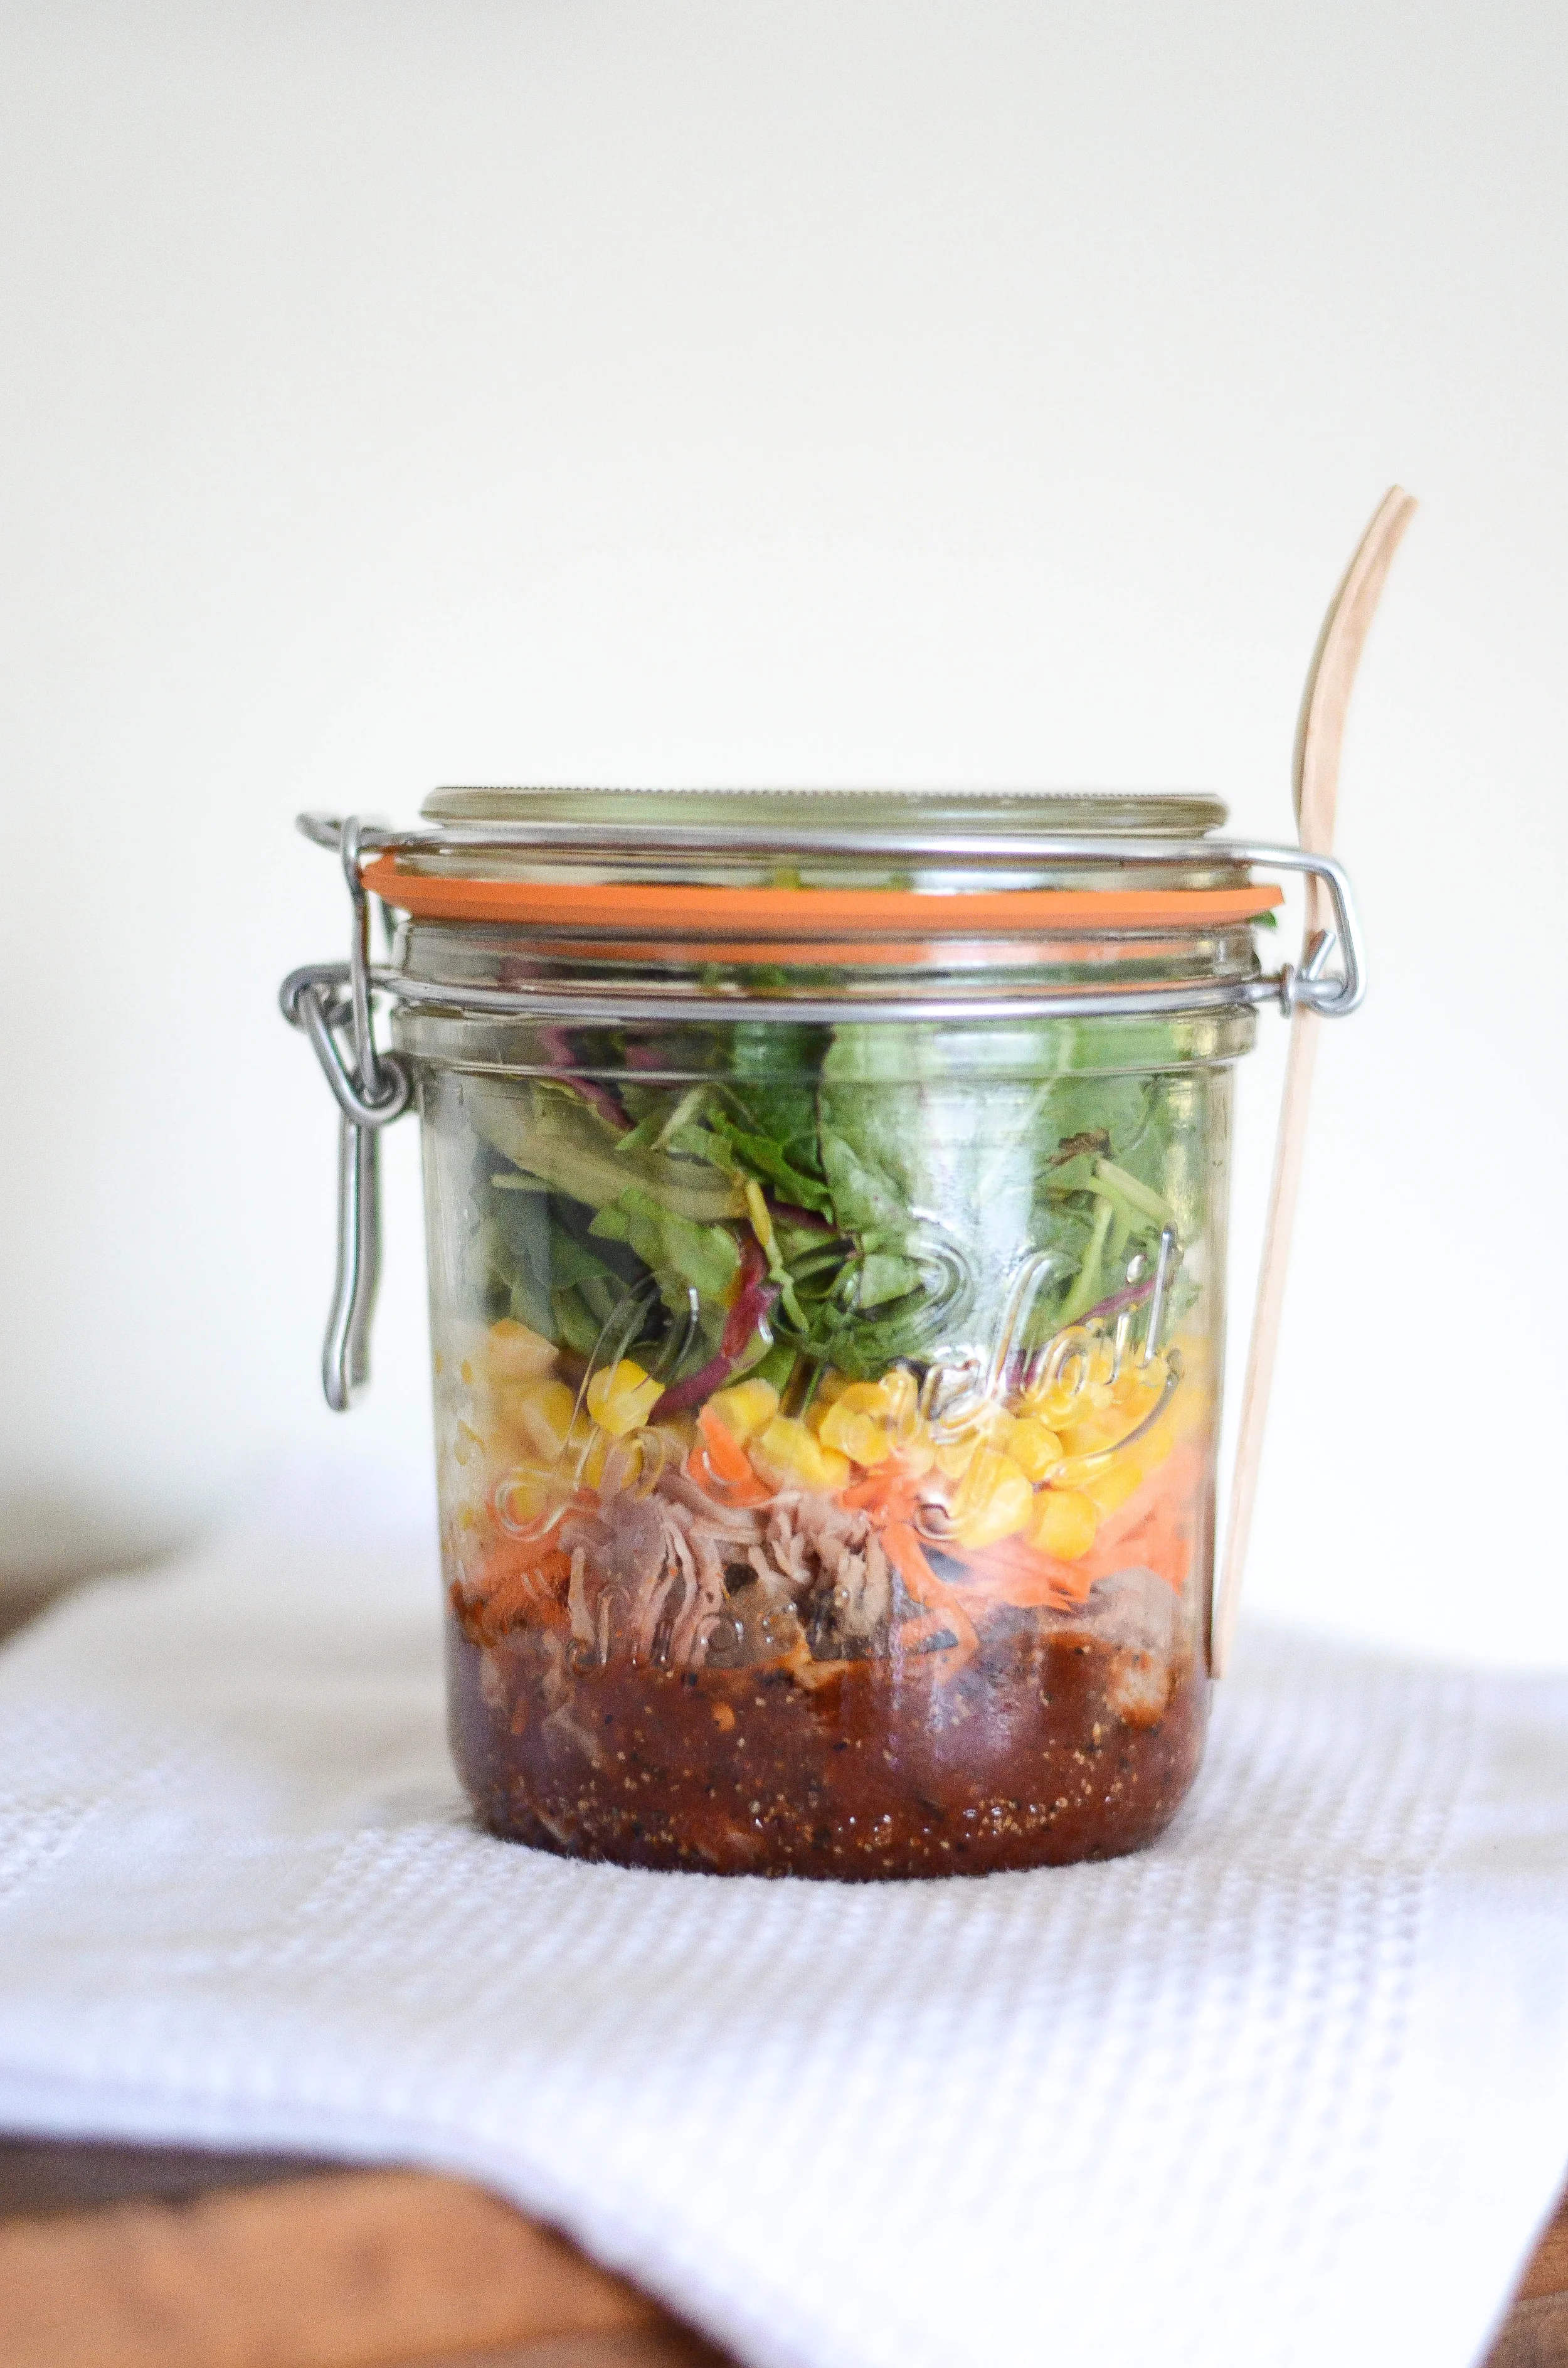
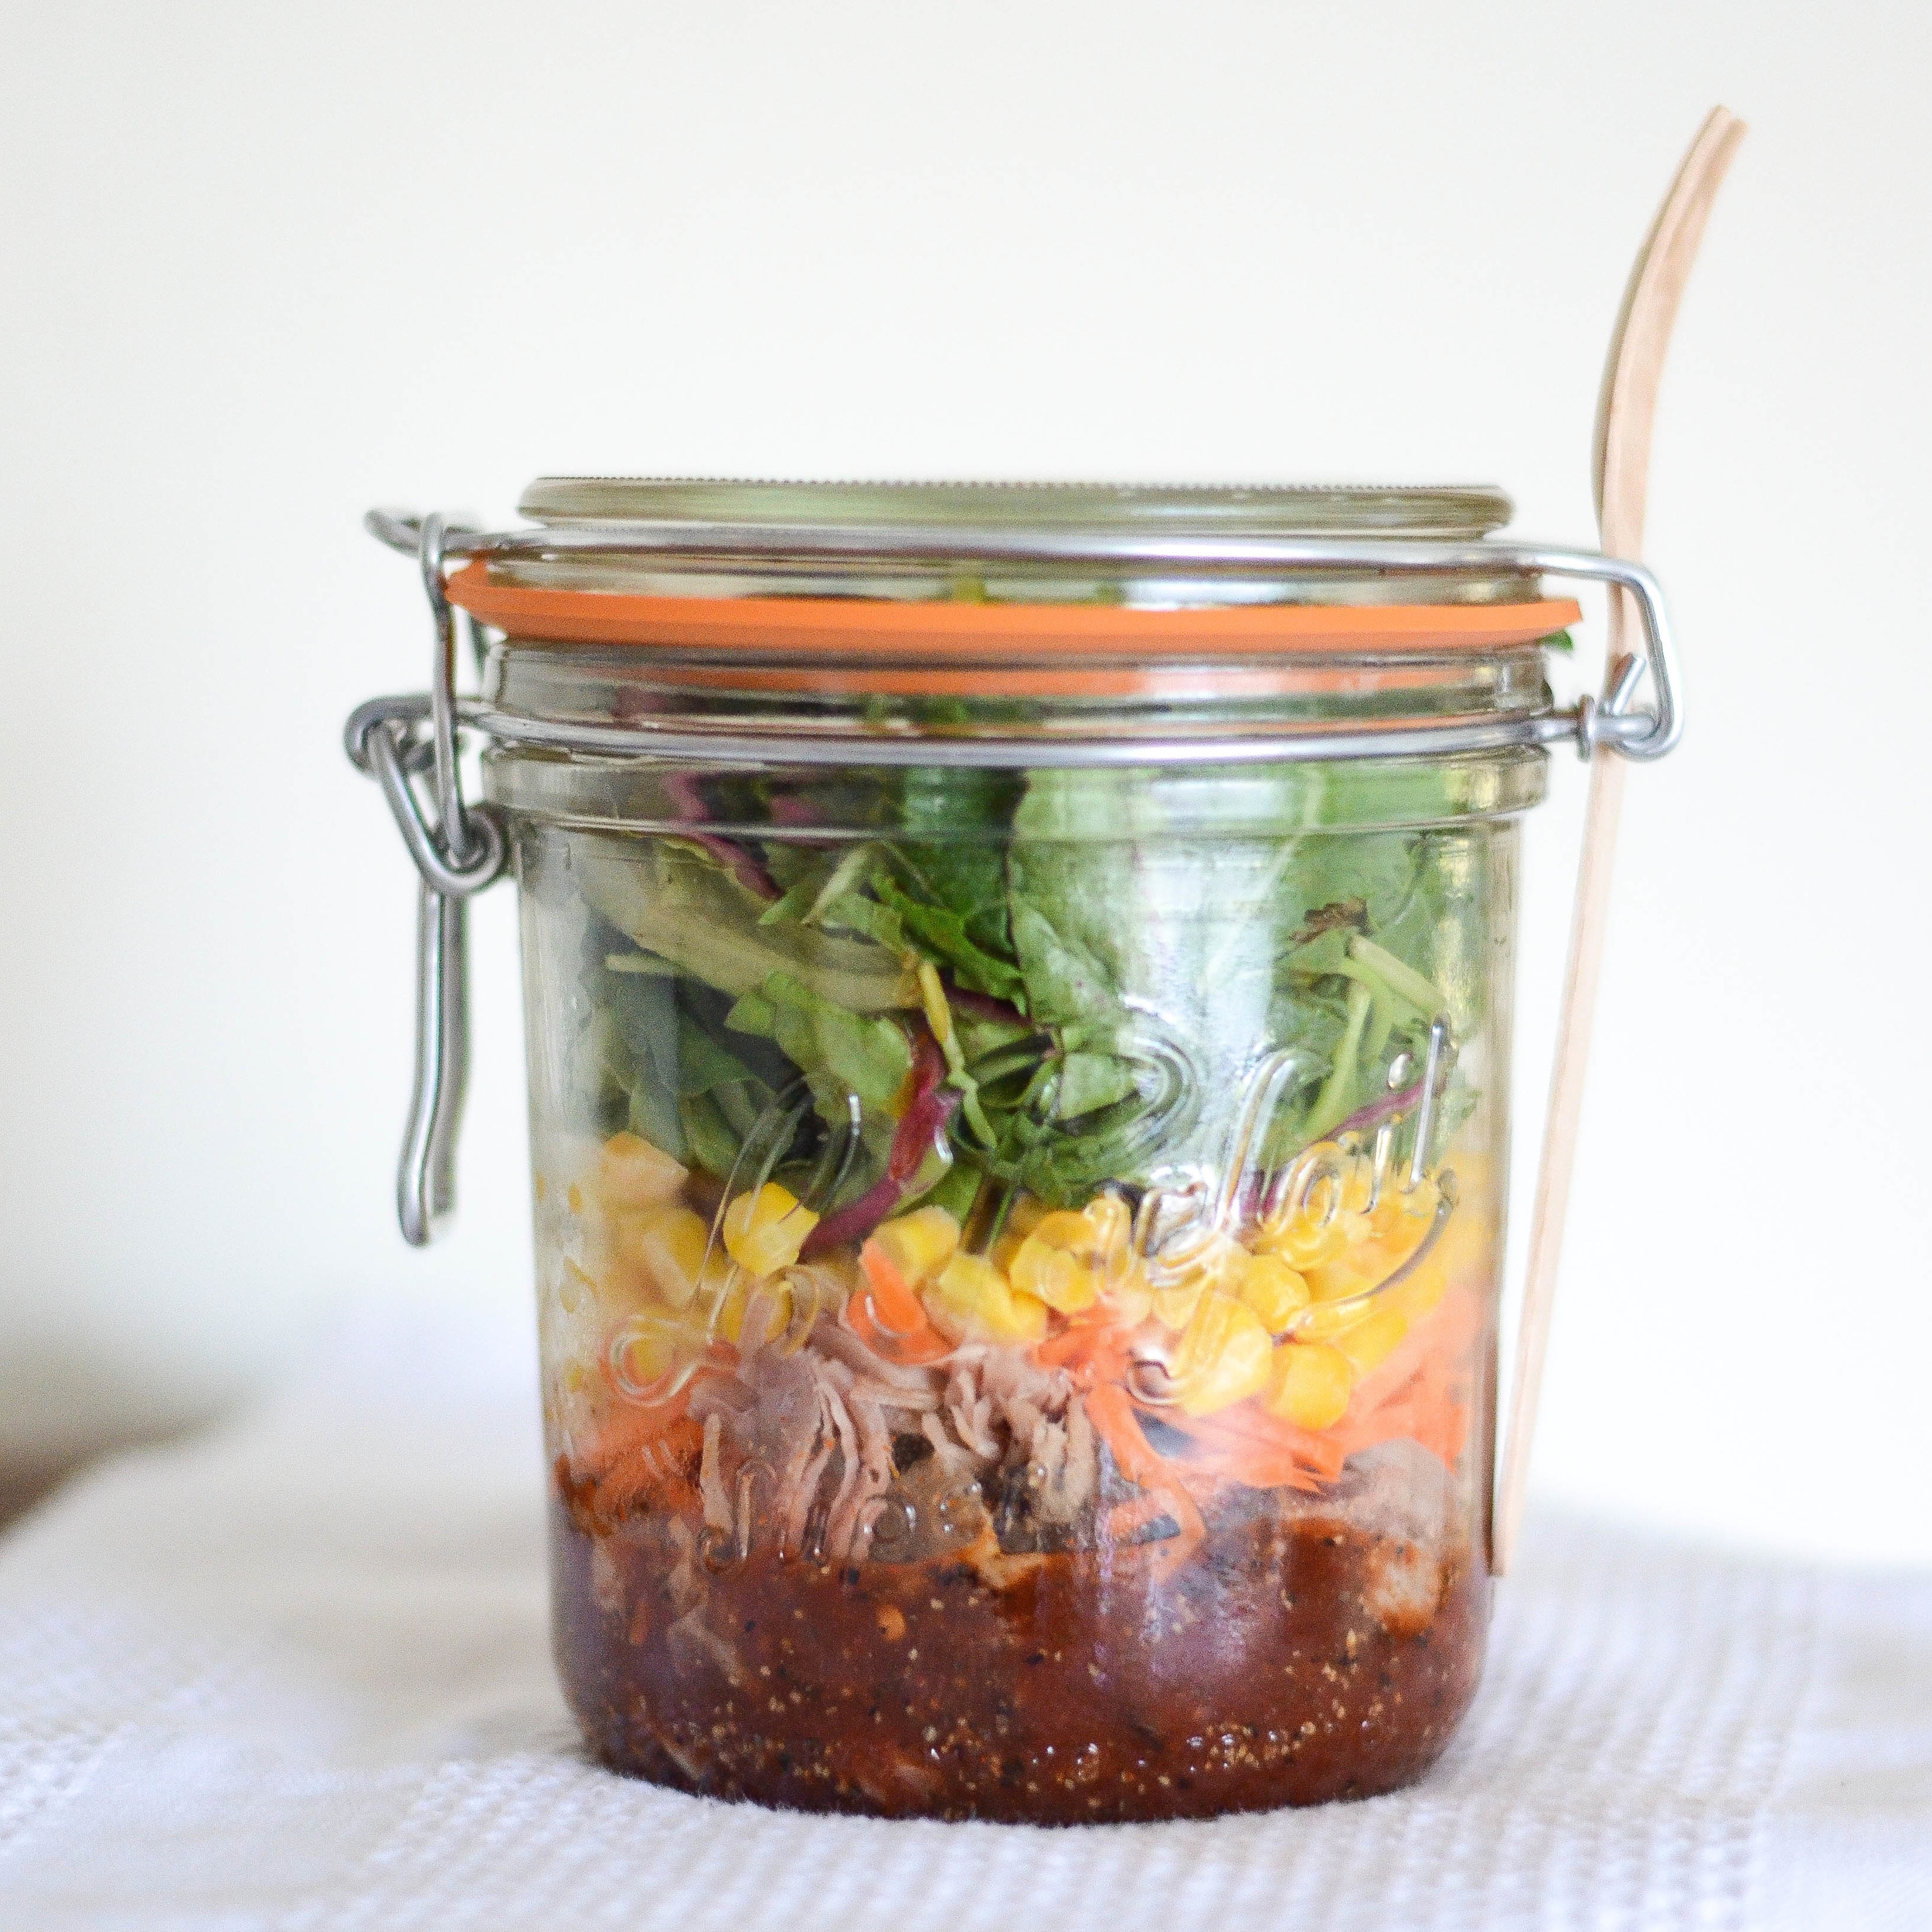
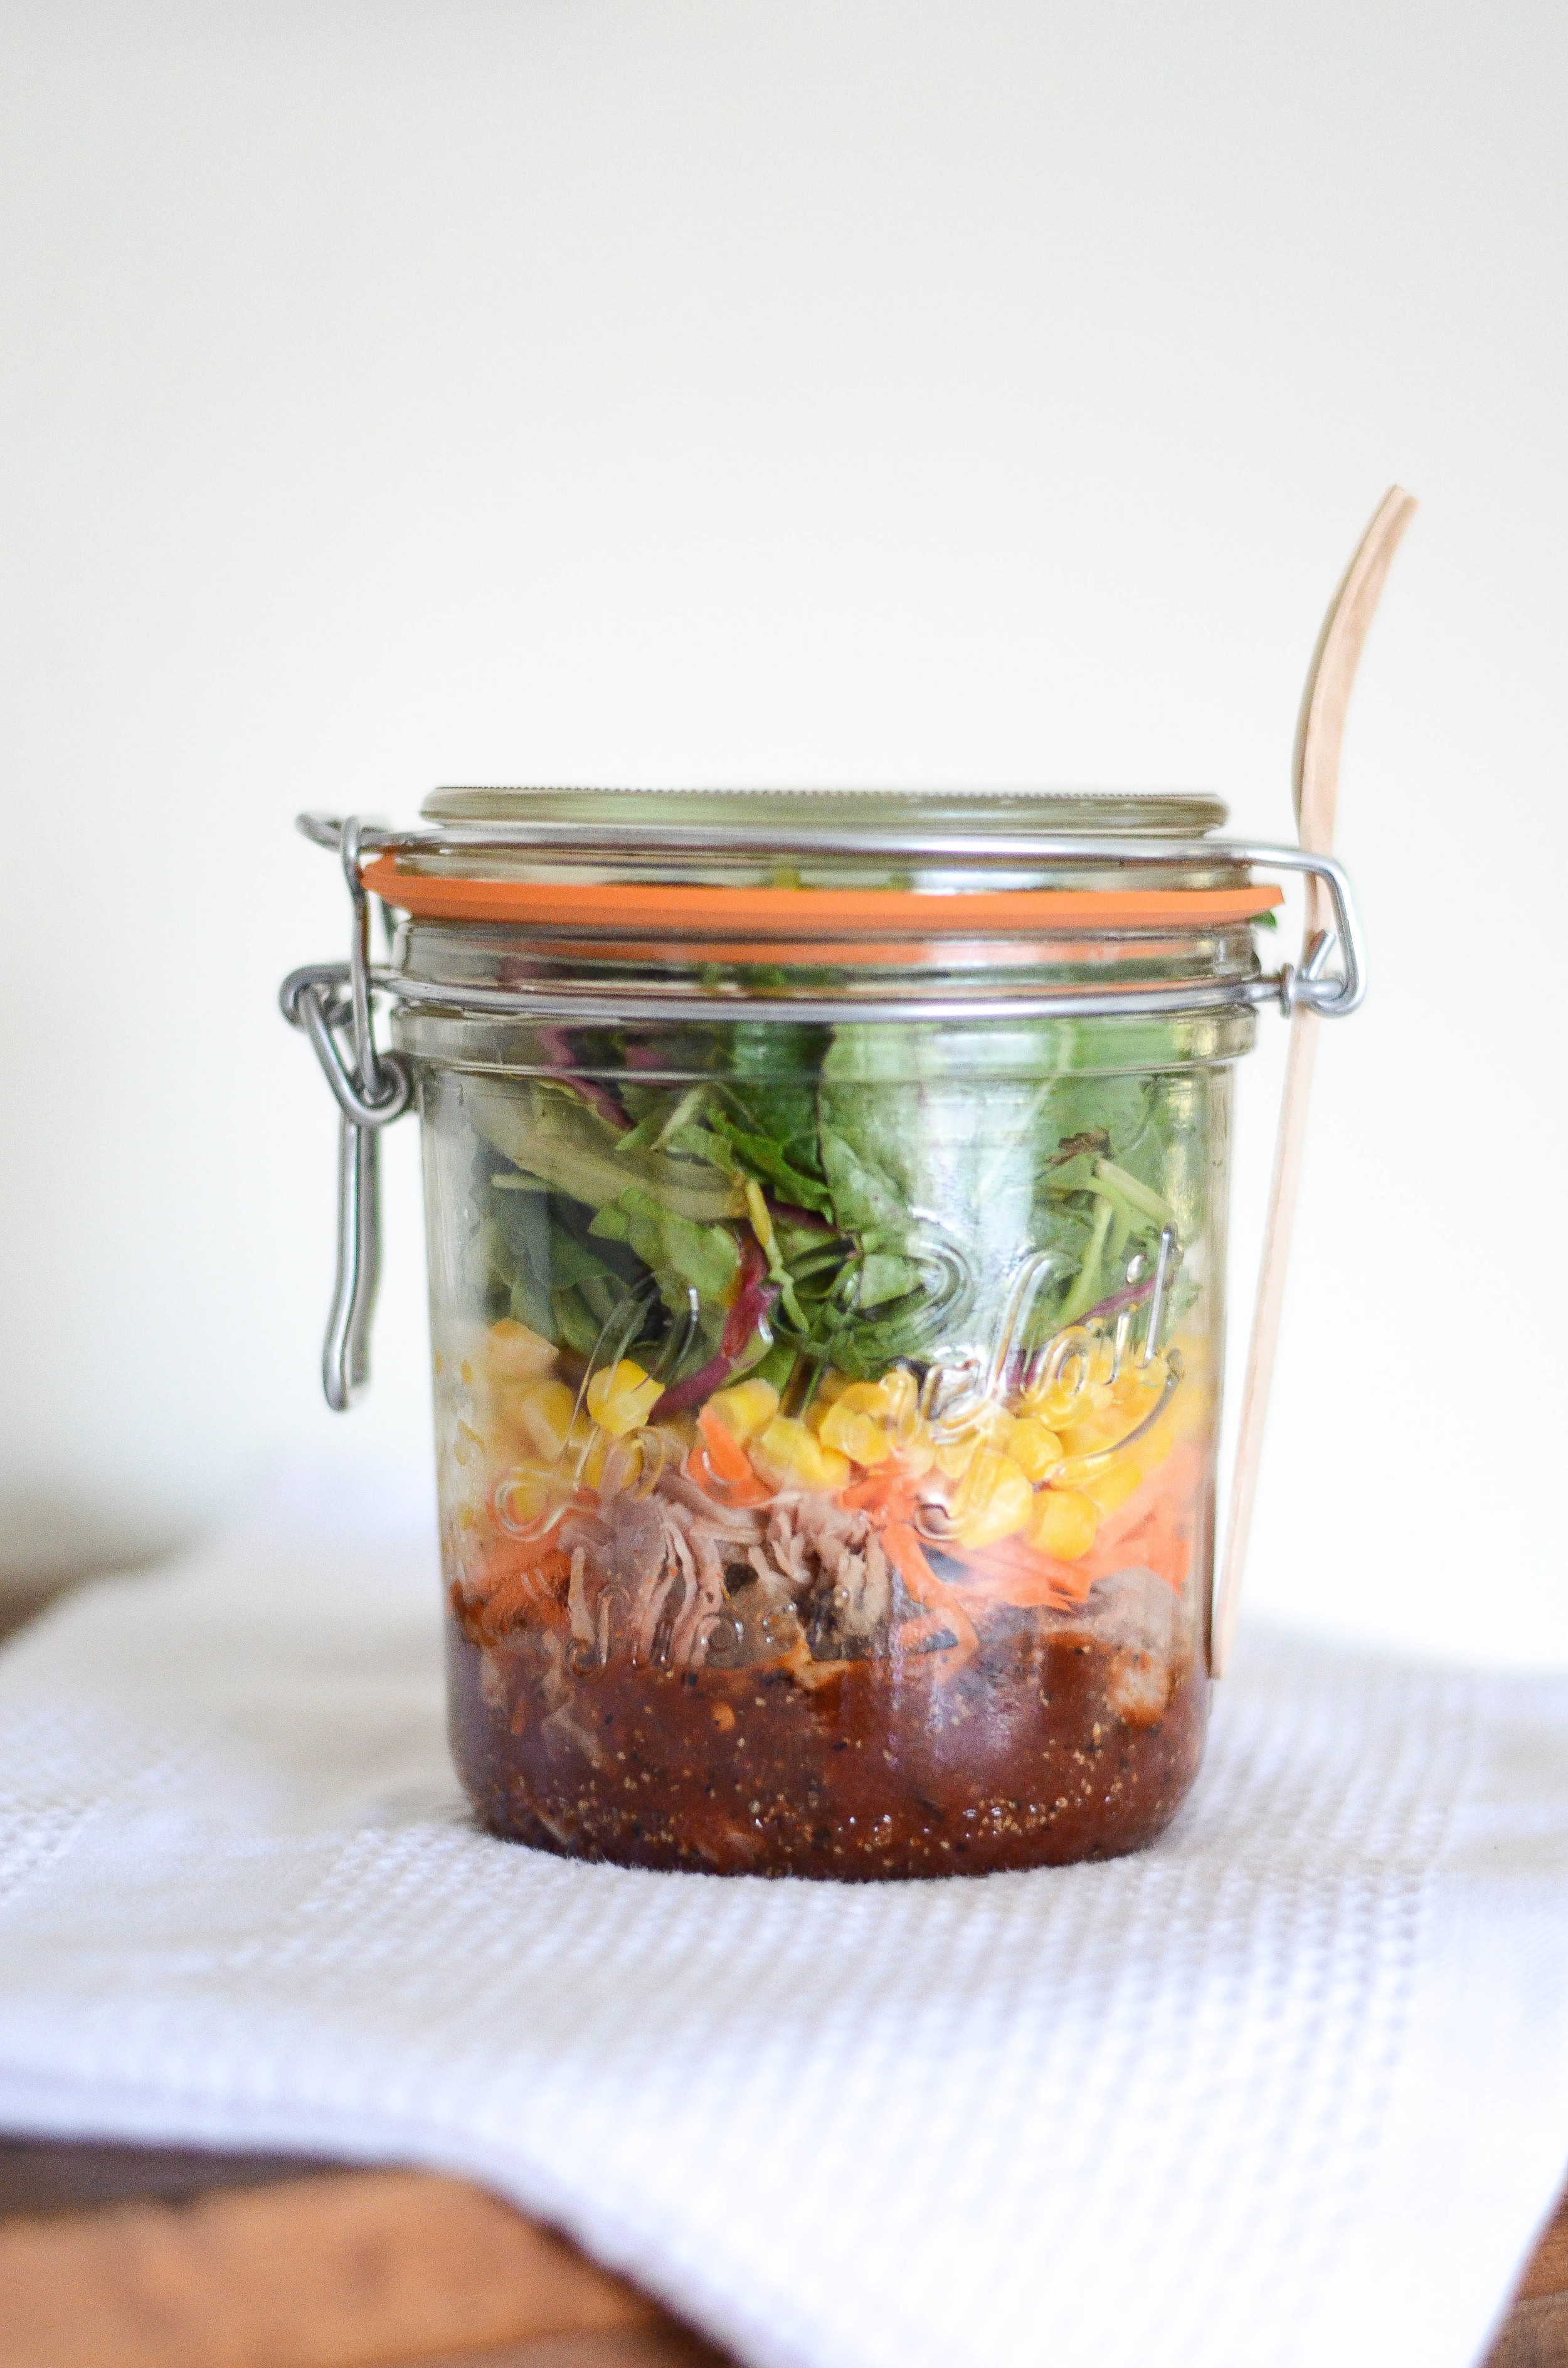
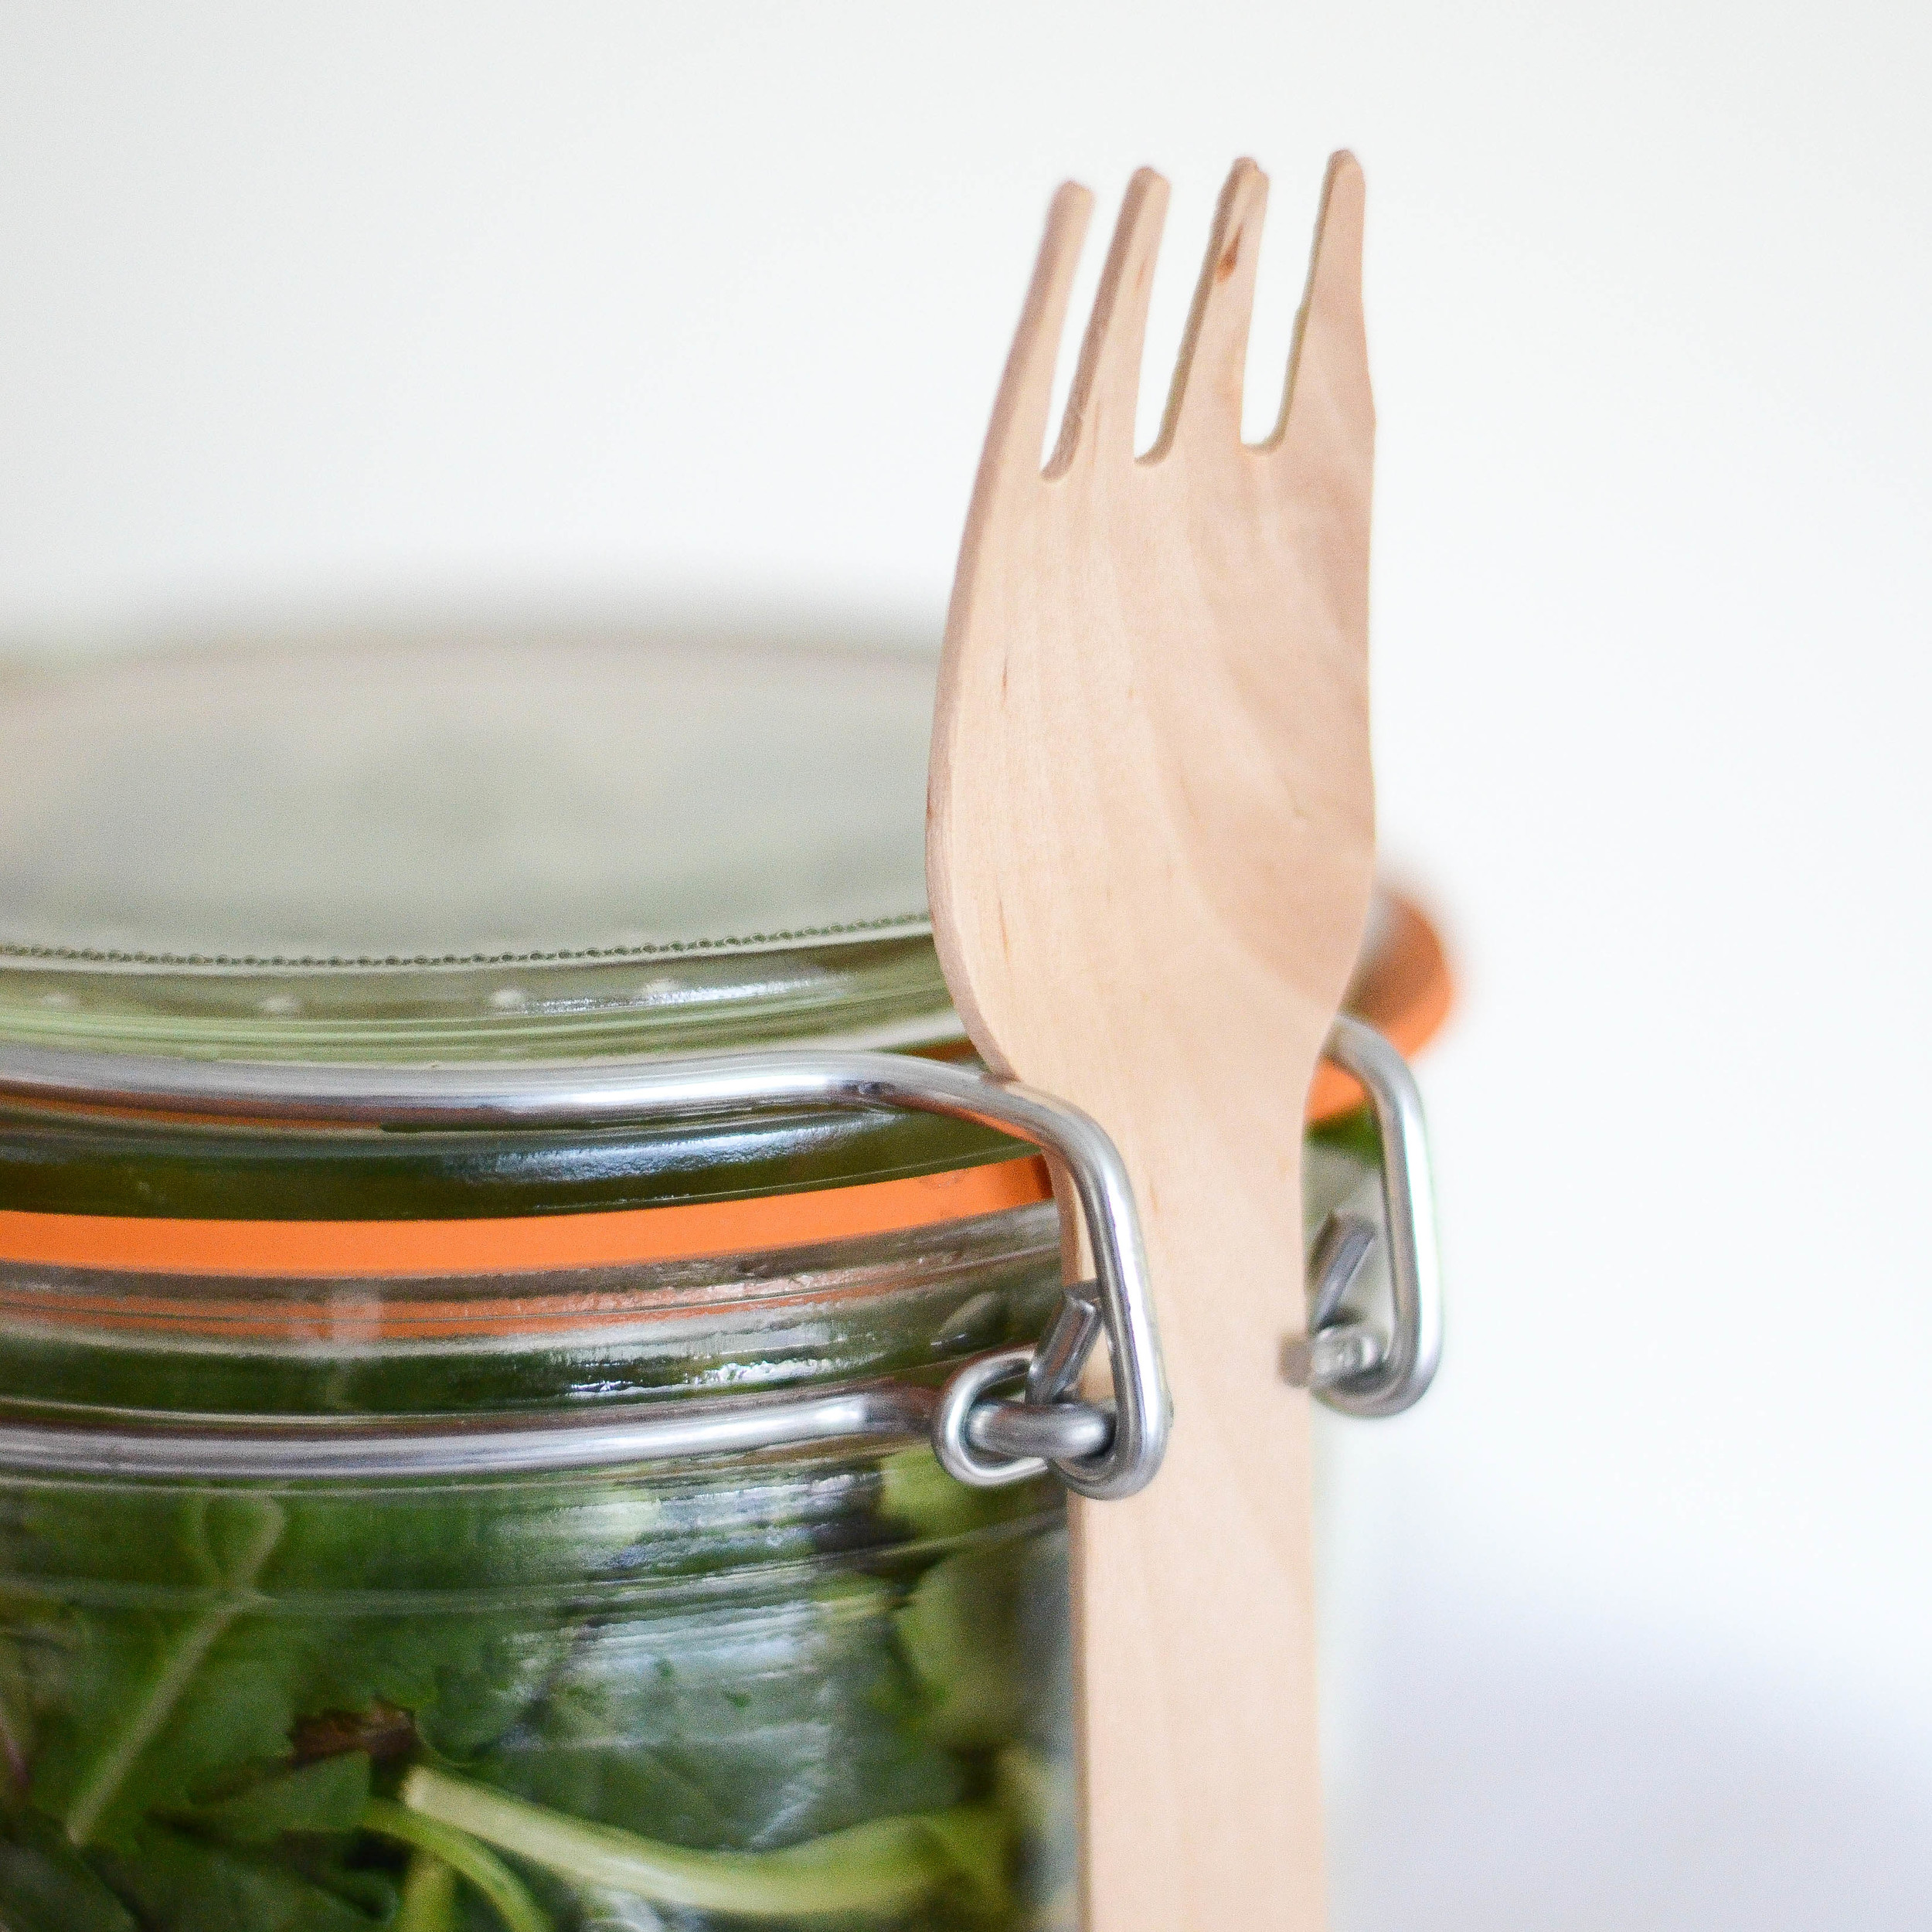
To make Mondays more manageable, I started making easy CAN-do lunches. Canning Jar Salads, with dressing on the bottom [to prevent sogginess] ~ an easy lunch to-go for Brian and the perfect quick meal for me to eat, in between the twins nap times.
Simple is key, and typically I use leftovers or items I have on hand. Click here to see last weeks Pulled BBQ Pork Salad.
For today's salad, one of our household favorites, Buffalo Chicken.
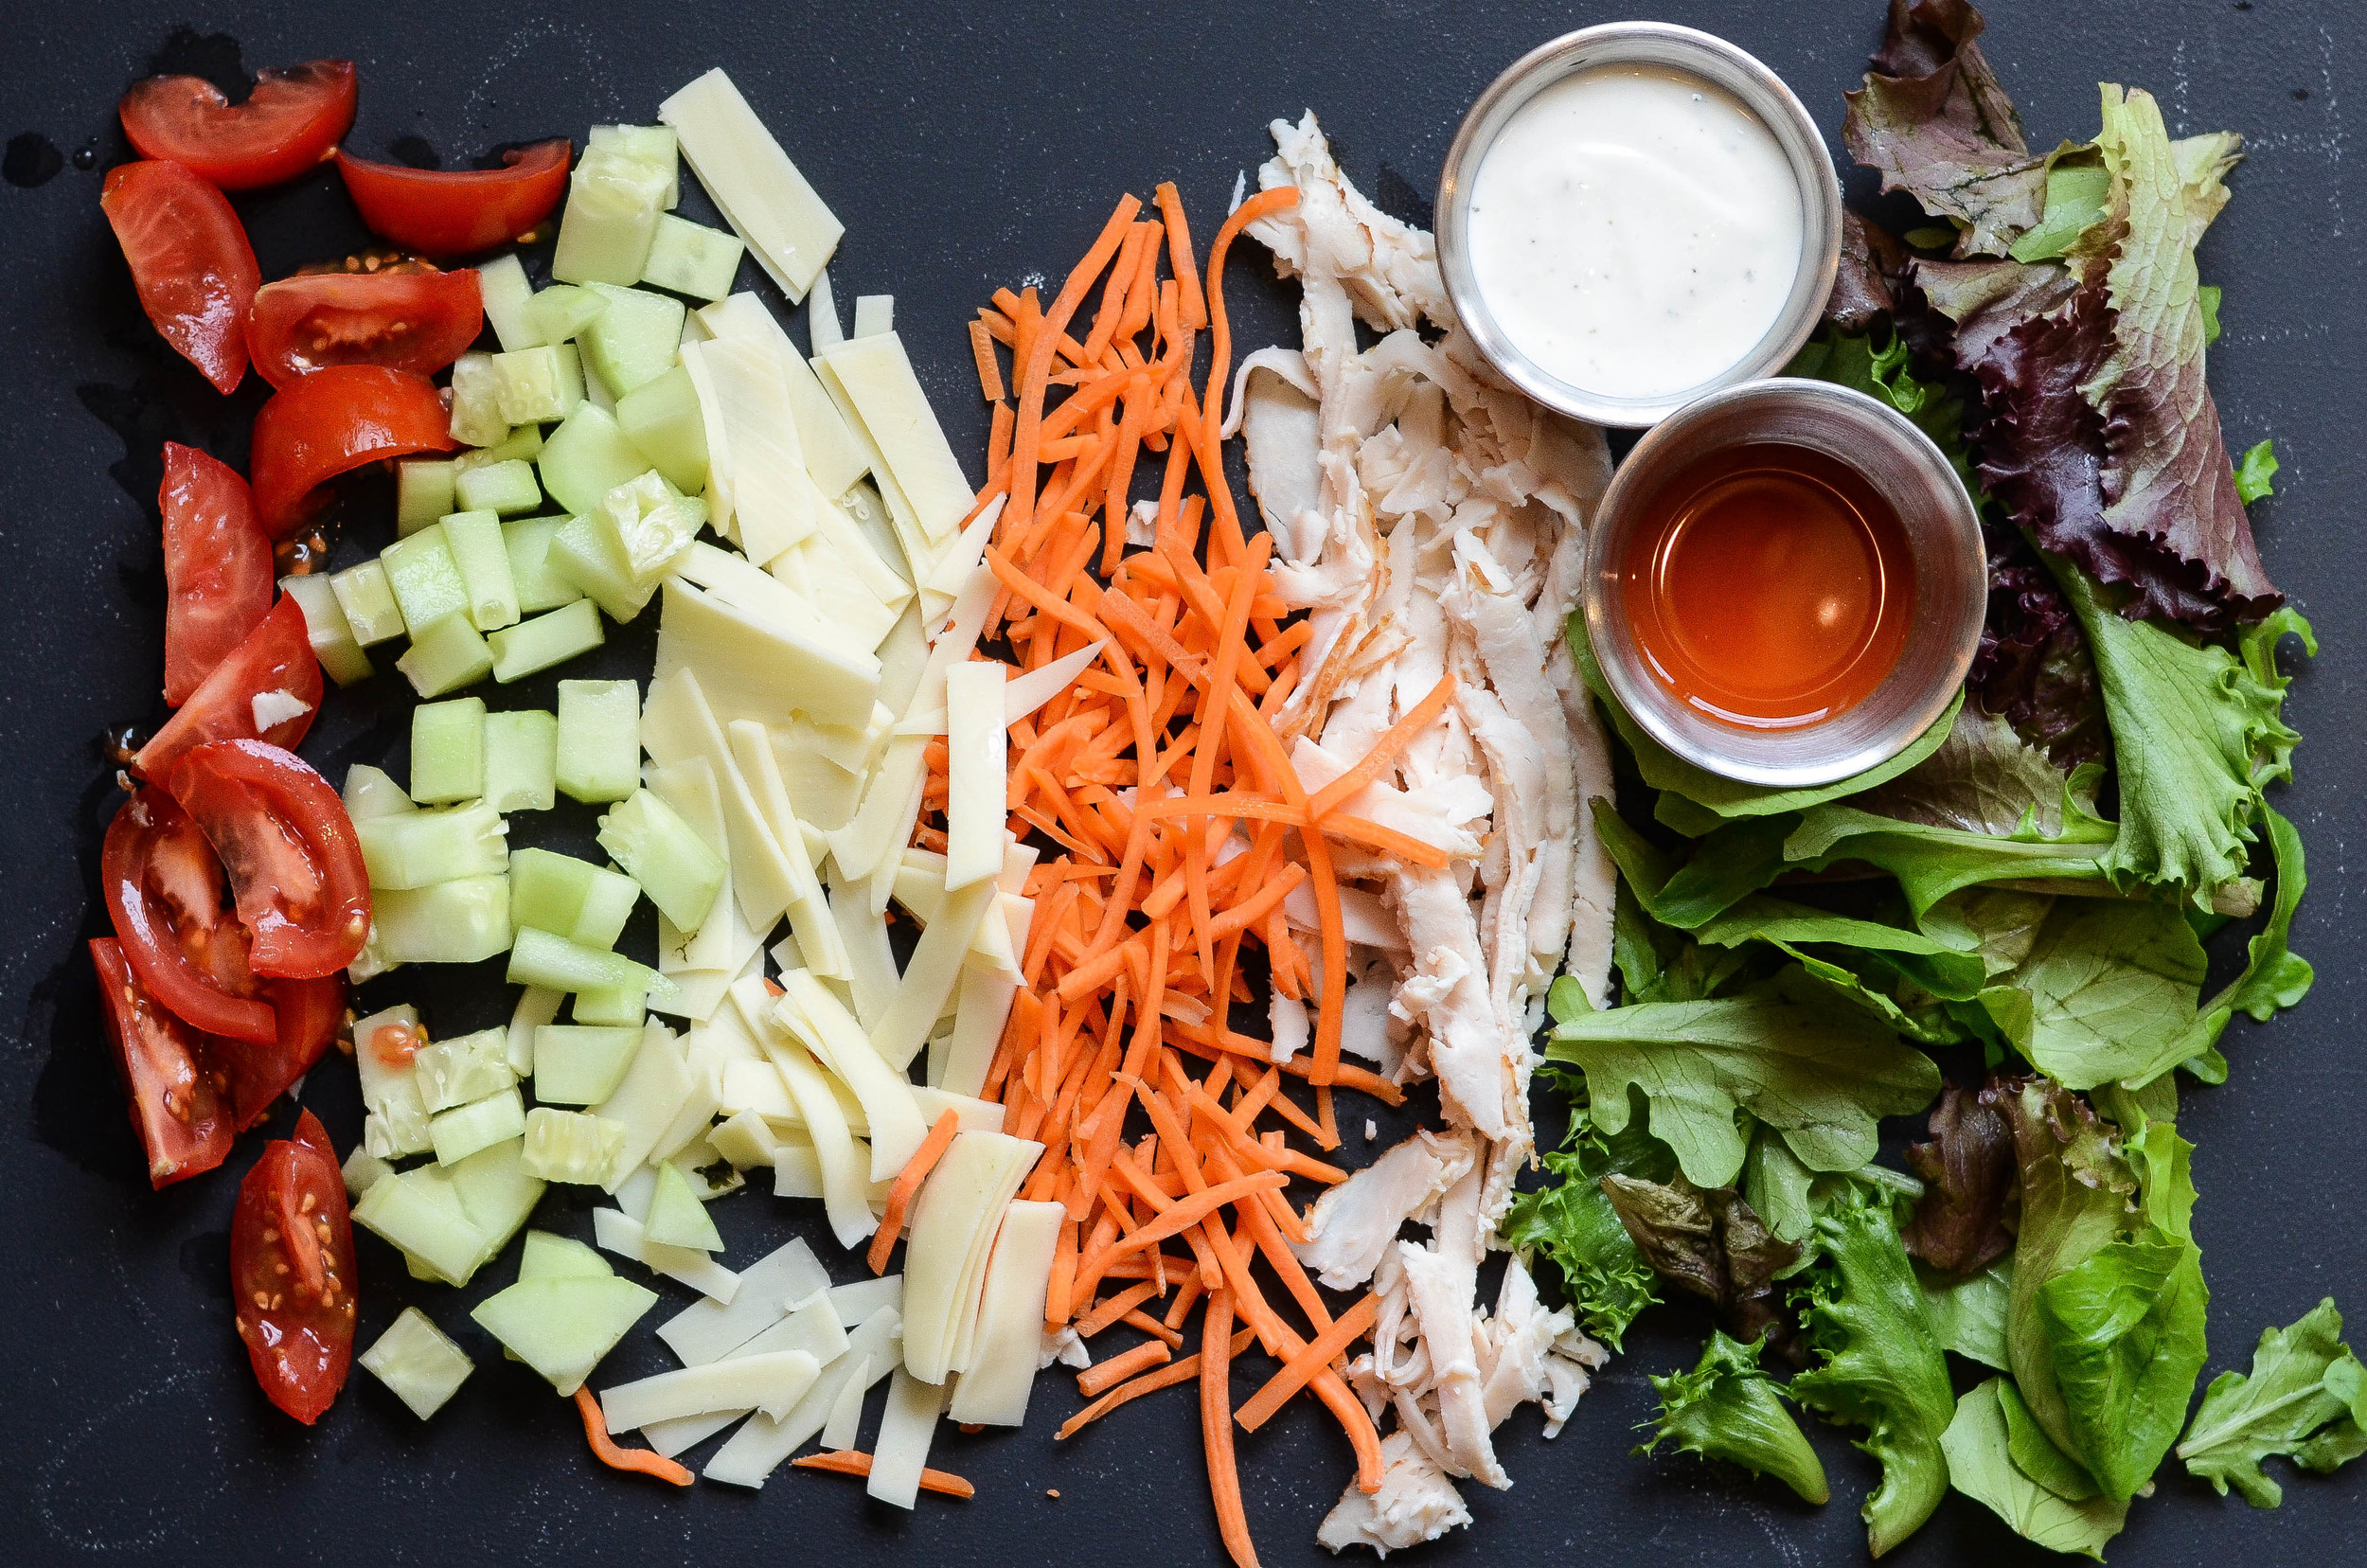
In canning jar, first pour in ranch dressing & Texas Pete Buffalo Wing Sauce. Then layer as following: cherry tomatoes, diced cucumber, provolone cheese, shredded carrots, Boars Head chicken breast and spring salad mix.
Share, Eat, Enjoy!
Blogger Stylin' Home Tours | Fall 2015

I absolutely love this week when my dear friend Lindsay from The White Buffalo hosts Blogger Stylin' Home Tours. What makes this team of bloggers great is the vast variety in style and taste...and I love every single bit of it! If you're just starting the tour, be sure to begin at her site so you don't miss any of the amazing homes, if you're coming over from Fieldstone Hill, welcome!! How about her boy's room?! And that nursery! A-maze-ing!
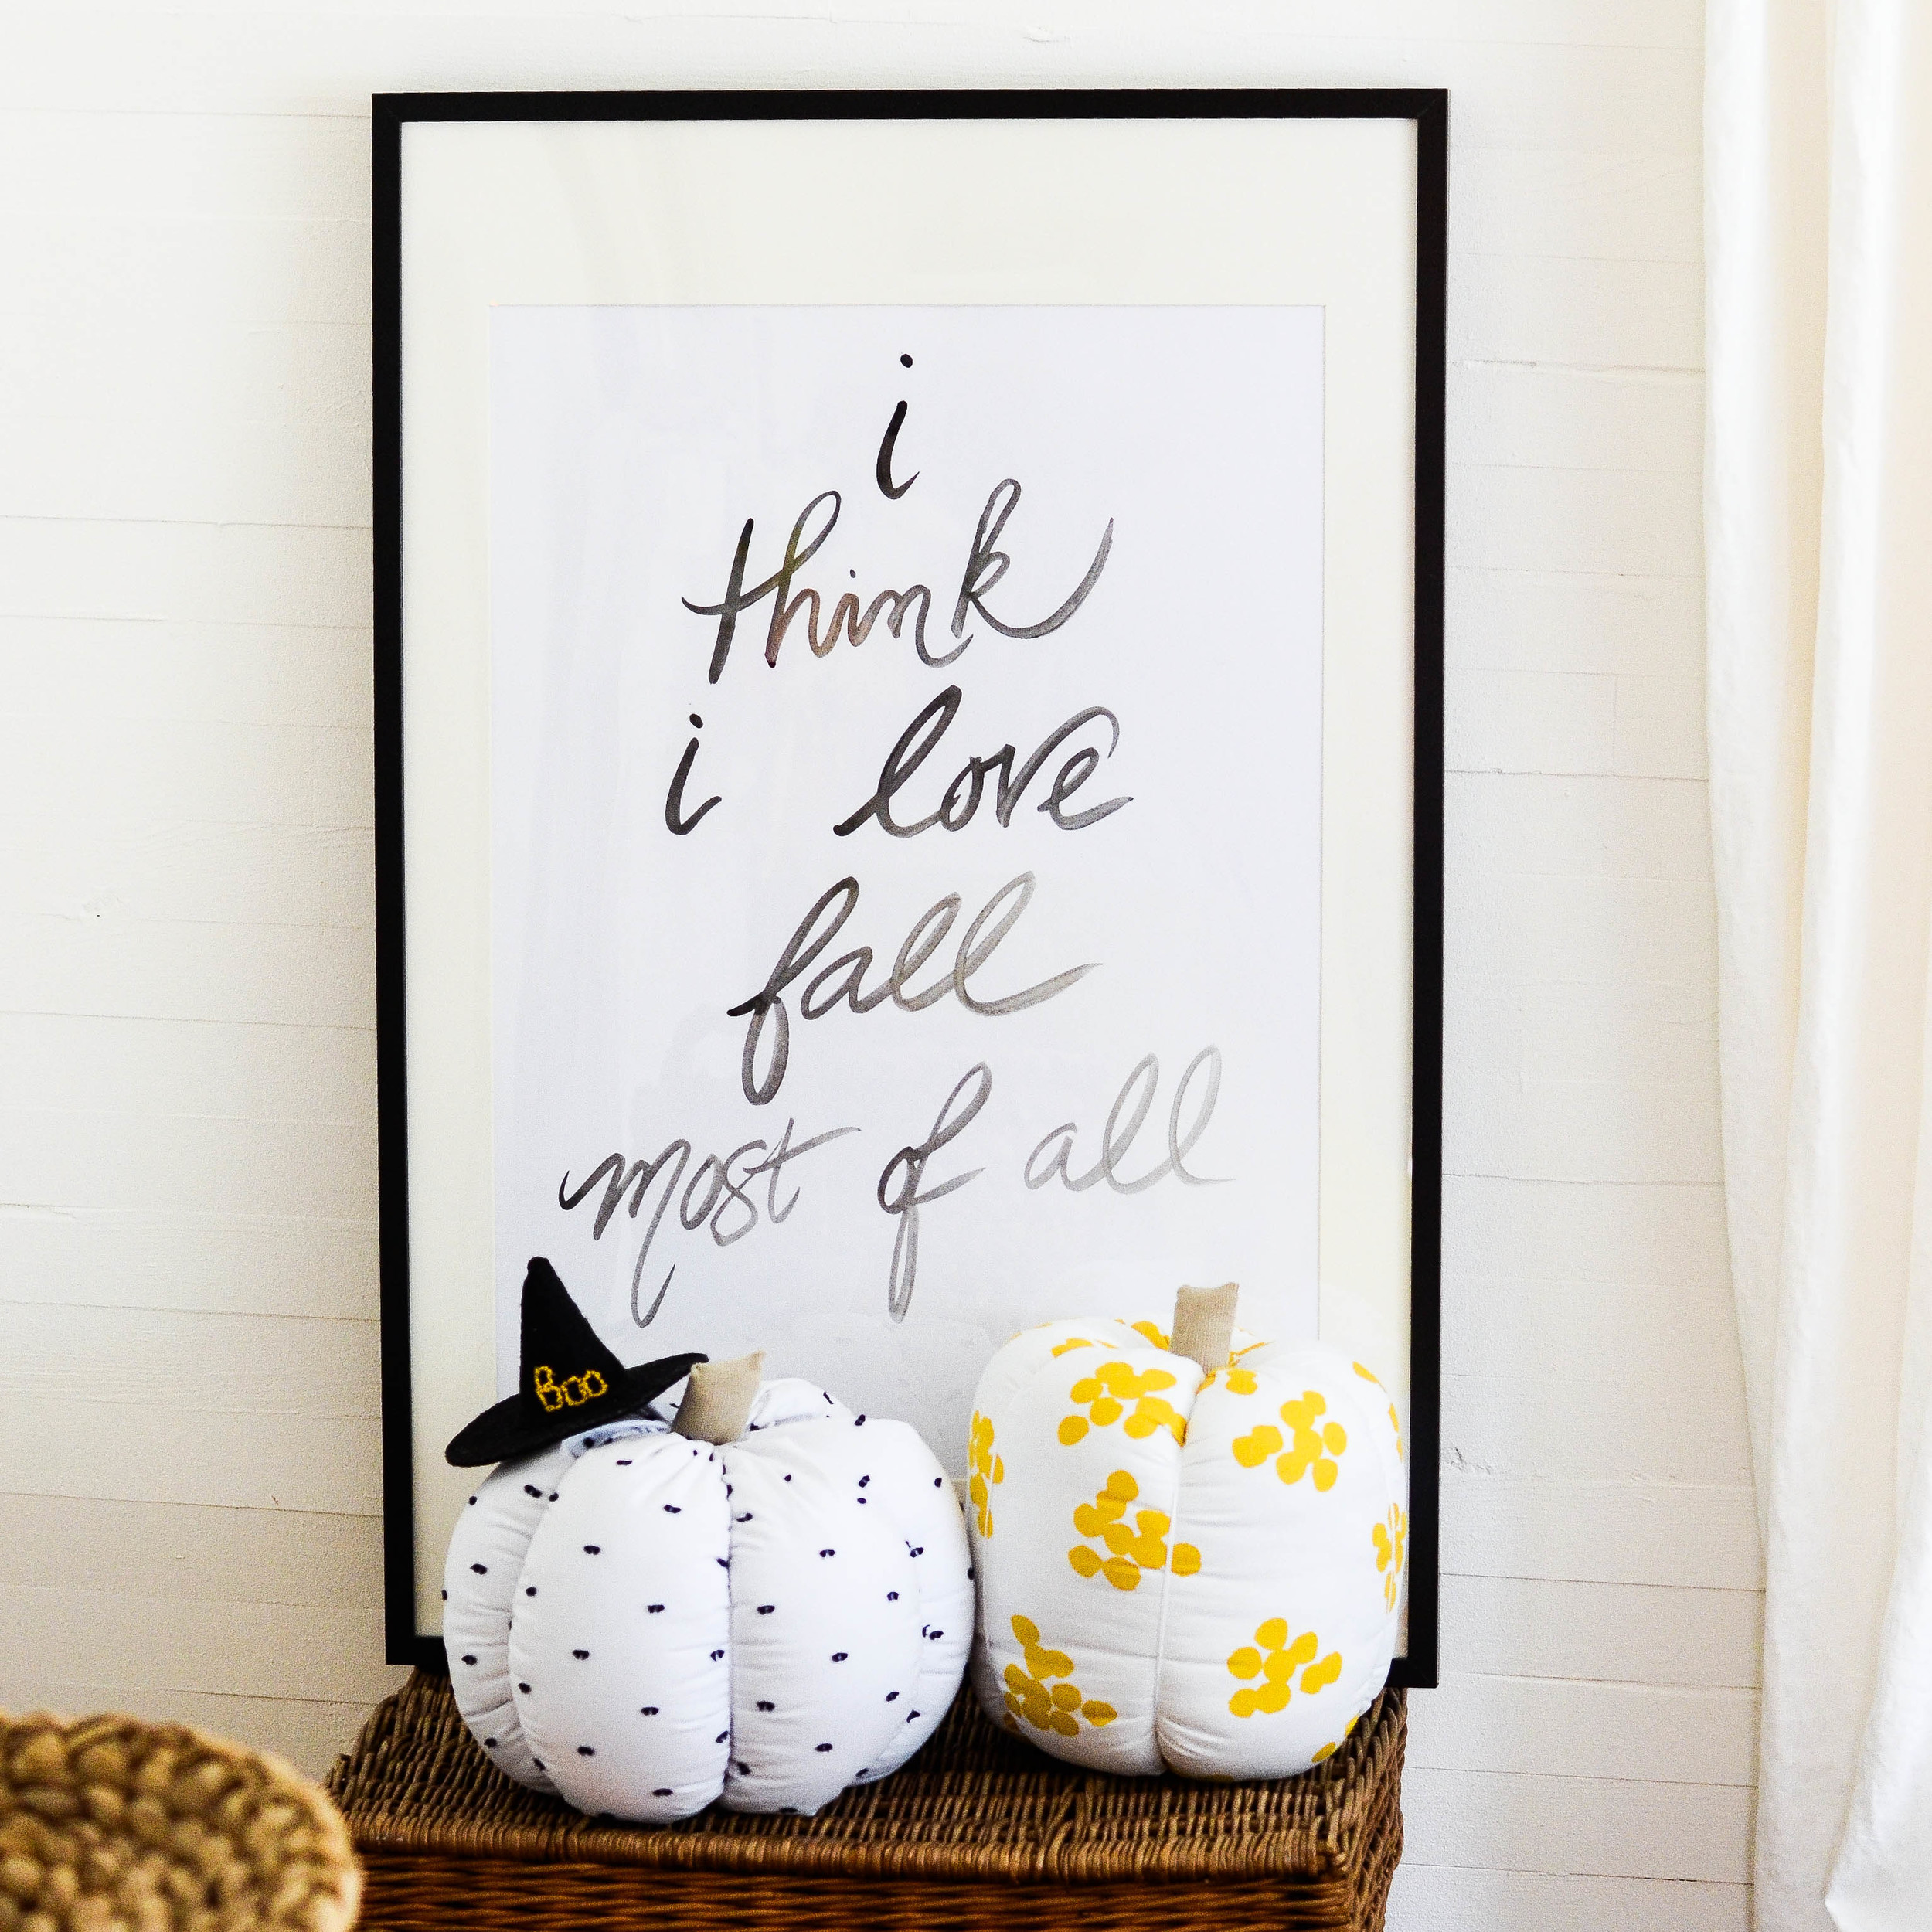
For me fall is my favorite! Colorful leaves, crisp air and chilly evenings hanging out fire-side are what make this season great! With my twins, P & K, turning one next month, this fall is extra special. And like any new family, there's lots of changes happening around here! Heirloom pumpkins have been replaced by fabric ones and a coffee table replaced with a DIY play tent! I'm loving the changes that are happening here at IRON & TWINE and do hope you'll come back again tomorrow for more fun!
Now, enough of me blabbing...on with the tour...
Thanks so much for stopping by! Next up is Shavonda from SG Style! That door makeover just screams come on in! And that color is so cheerful and fun! love, love, love! Click here to visit her now...you're not gonna wanna miss it!
For the rest of the homes on the tour, click links below!
M: The White Buffalo / The Nester / House Seven / Cuckoo 4 Design / Bliss at Home / Mimosa Lane
T: withHEART / Burlap and Lace / Desert Domicile / Rain on a Tin Roof / The Chronicles of Home / Eleven Gables
W: Chic Little House / Brittany Makes / Style Your Senses / Claire Brody / Hammer and Heels Blog / Restless Arrow
TH: Fieldstone Hill / Iron & Twine / SG Style / Place of My Taste / Dwellings By Devore / DIY Playbook / Craftberry Bush
F: DesignPost Interiors / The Makerista / Primitive & Proper / Swoon Worthy / Dimples and Tangles / Simple Stylings / My Fabuless Life
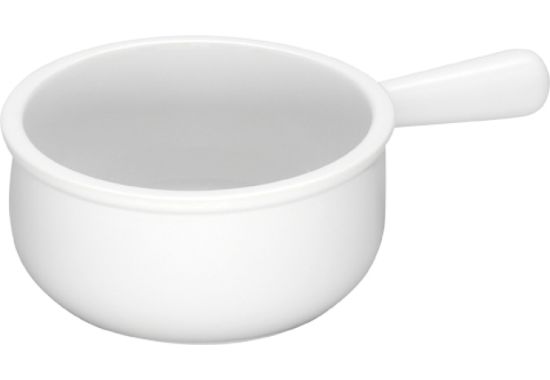
Recipe | French Onion Soup

With the start of Fall today, nothing says a cozy dinner in quite like French Onion Soup. My go to on those crisp, chilly evenings, whether dining for one or hosting a huge gathering, it's the perfect compliment to a fall night.
I've been making this recipe FOREVER, it's a favorite in our home and I promise will be in yours as well!
OUR PICKS FOR THE PERFECT FRENCH ONION SOUP BOWL|CLICK THE ARROWS TO EXPOLORE

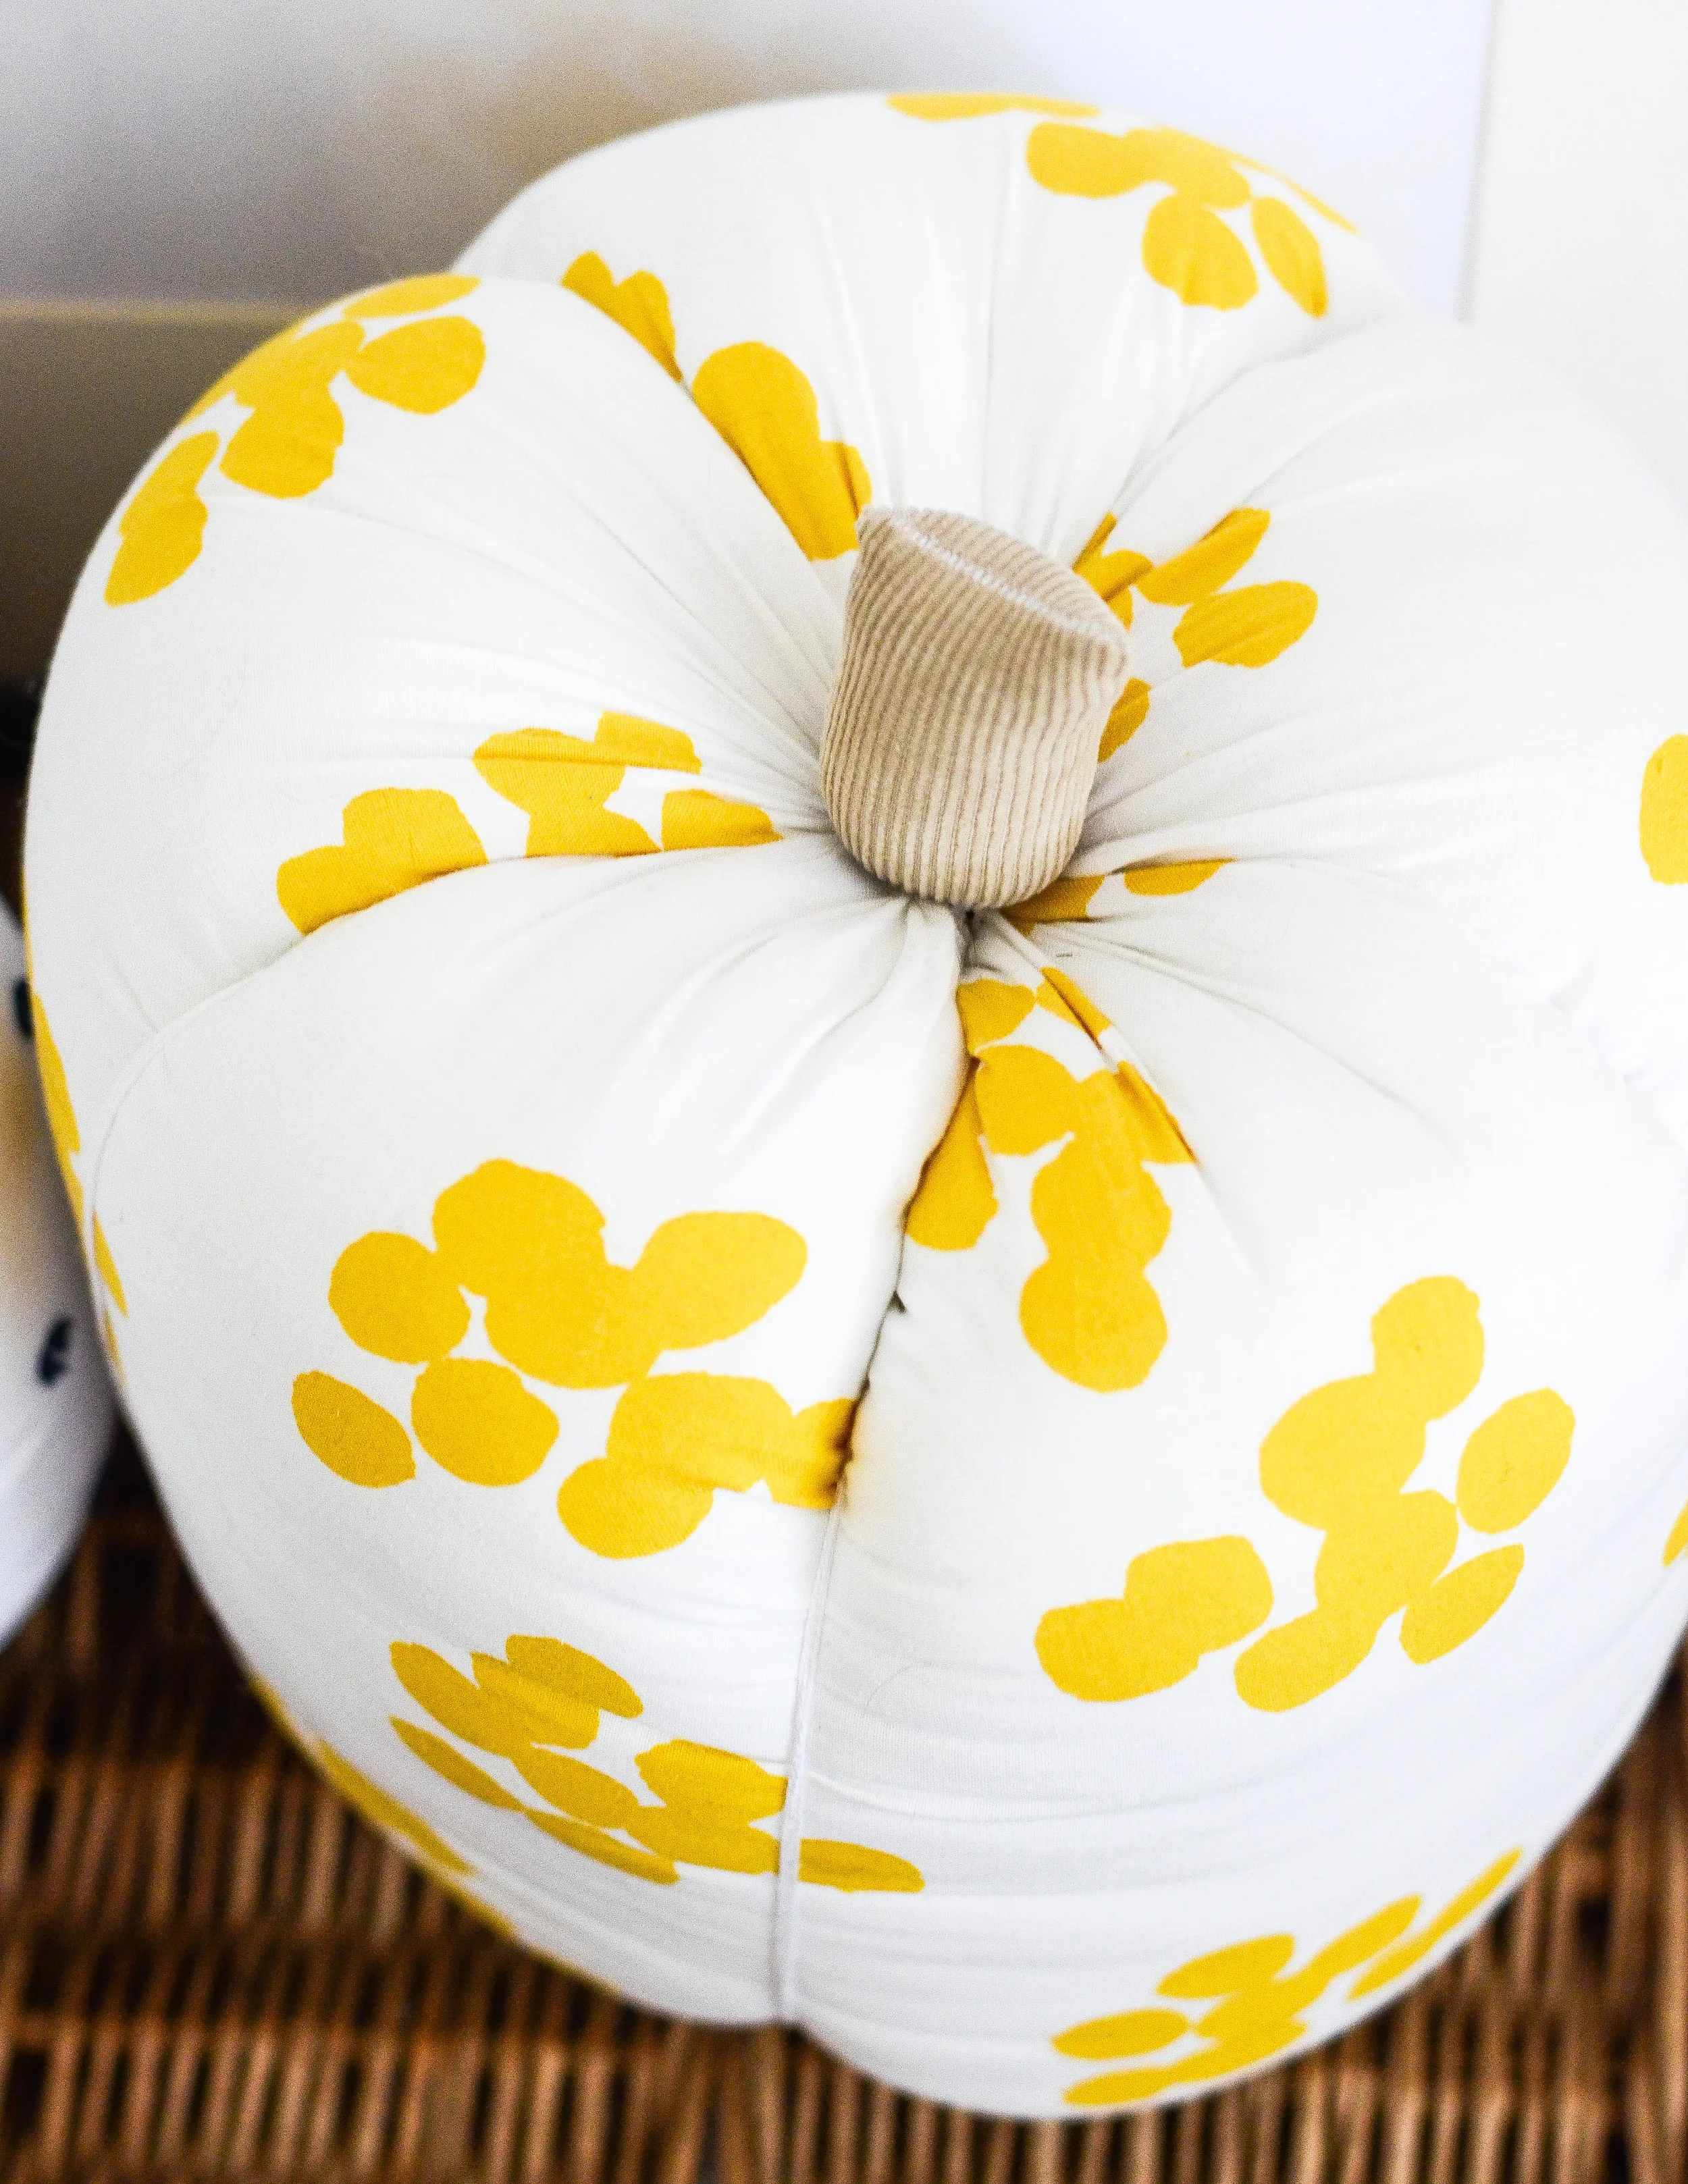
DIY | Fabric Pumpkins

Blogger Stylin Home Tours is this week [our tour's coming up on Thursday] and I wanted to give you guys a sneak peek at some of the decor. I love fall decorating, but the items and materials I typically style with, just aren't kid friendly. And with twin, 10 month olds, the thought of banning them from certain rooms just wasn't fair...why should the grownups have all the fun? In wanting to put some pumpkins in our living room, I debated the options...fake plastic pumpkins, the kids would try to eat...and the real deals are heavy, and right now we're in the phase of pulling everything down. So, DIY fabric pumpkins seemed like a great idea. I wanted them colorful, plush and BIG!
For a non-sewer, I have to say, I was quite proud of how these turned out. I found the first how-to here, but the instructions were quite limiting and confusing for a novice sewer. I looked throughout the web, found some tutorials and modified a few to fit my needs. If you're looking for better step by step instructions check out this post. I didn't do mine quite like hers, but I did reference it for better explanation of the Martha Stewart post.
So, once I had the general how to, I decided on cotton fabric for the body and corduroy for the stems. To make the shorter, fat pumpkin, I cut the cotton fabric in a rectangle with one side twice as long as the other. For the taller pumpkin, I cut the rectangle with one side 1 1/2 times longer than the other. Also, because I wanted these to be super durable I double and triple sewed things. Probably way more than needed, but for my first kid craft I wanted to be sure they wouldn't fall apart in one go. [And after one week of plenty of ruff and tumble from P & K, I'm glad to say they're super sturdy]. The only other tip I highly recommend is to overstuff these guys Like sit on the pumpkin, shove more filling and then sew it up. I didn't do that with the navy dot one and I have to say, it doesn't look as finished as the yellow pumpkin.
Anyways, just wanted to share a DIY to try. These looked super intimidating at first, but were surprisingly easier than I expected. Now go and create something fun for fall!
Before & After | Backyard Makeover Part I
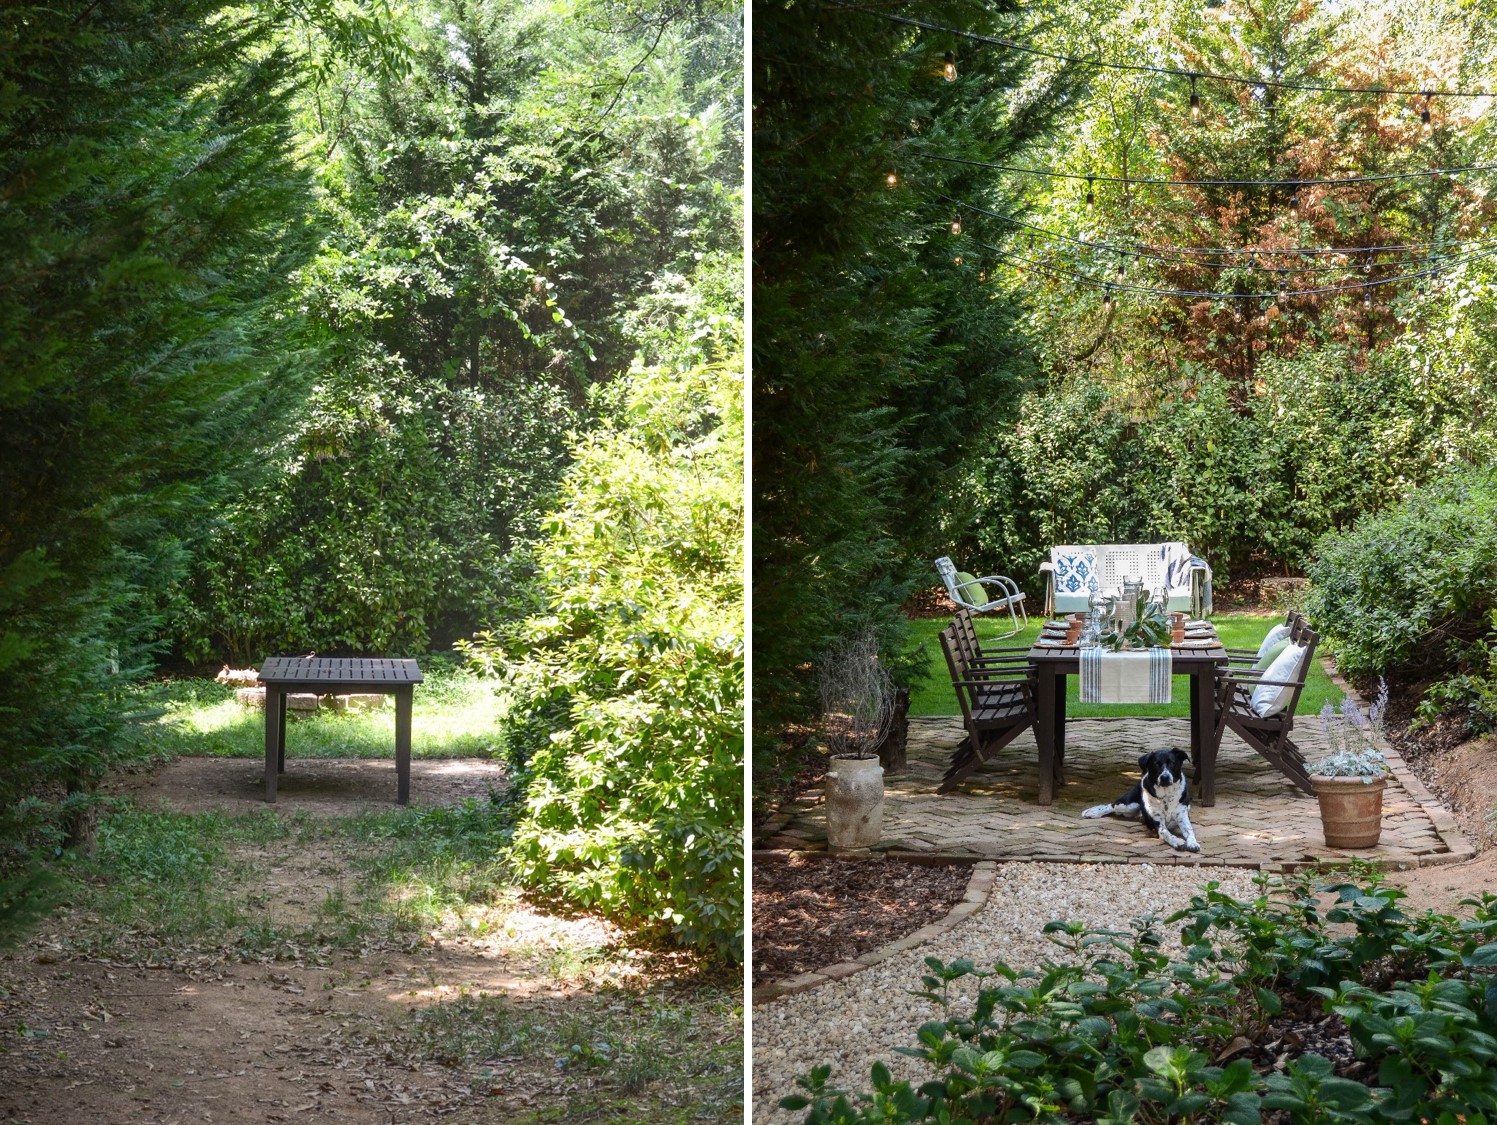
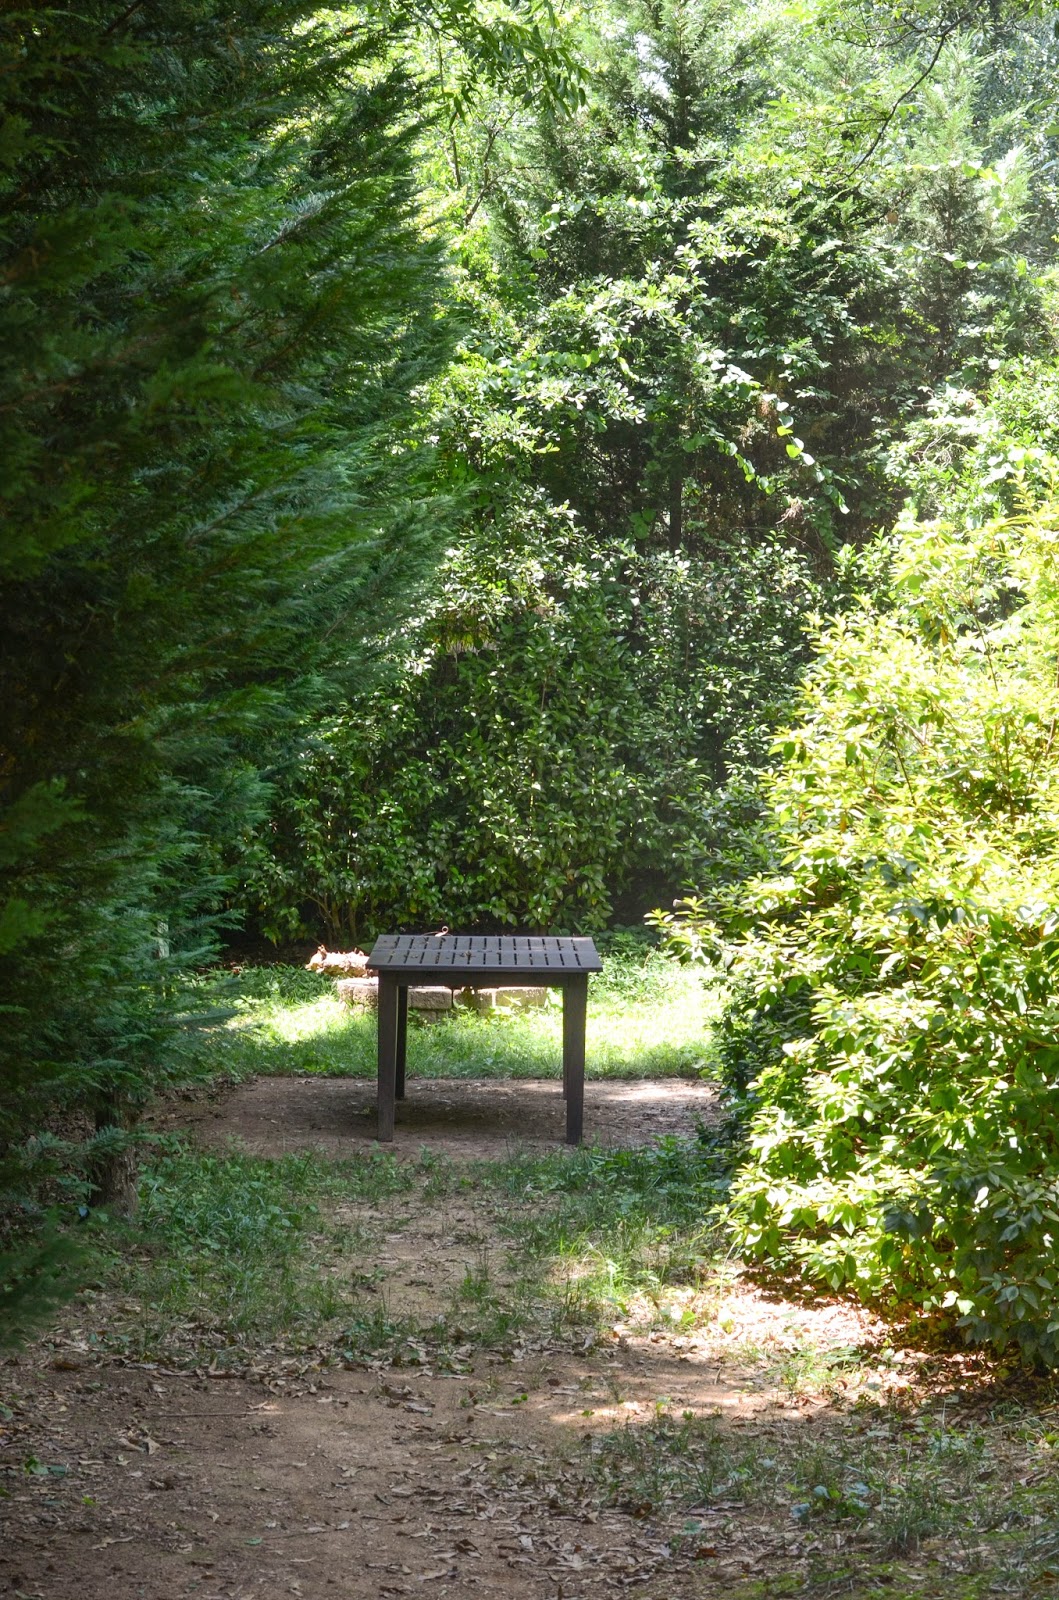
Just in time for fall, we're wrapping up our backyard makeover! Earlier in the summer I shared our lackluster backyard [read that post here] and today I'm super excited to share what we did to the lower level! What we started with was a long narrow section of the yard that we avoided. What we got were three outdoor spaces that flow cohesively from one to the next...a pathway through a bed of hydrangeas, an outdoor dining area and a fire pit to lounge around during chilly evenings. To see how did it read below...

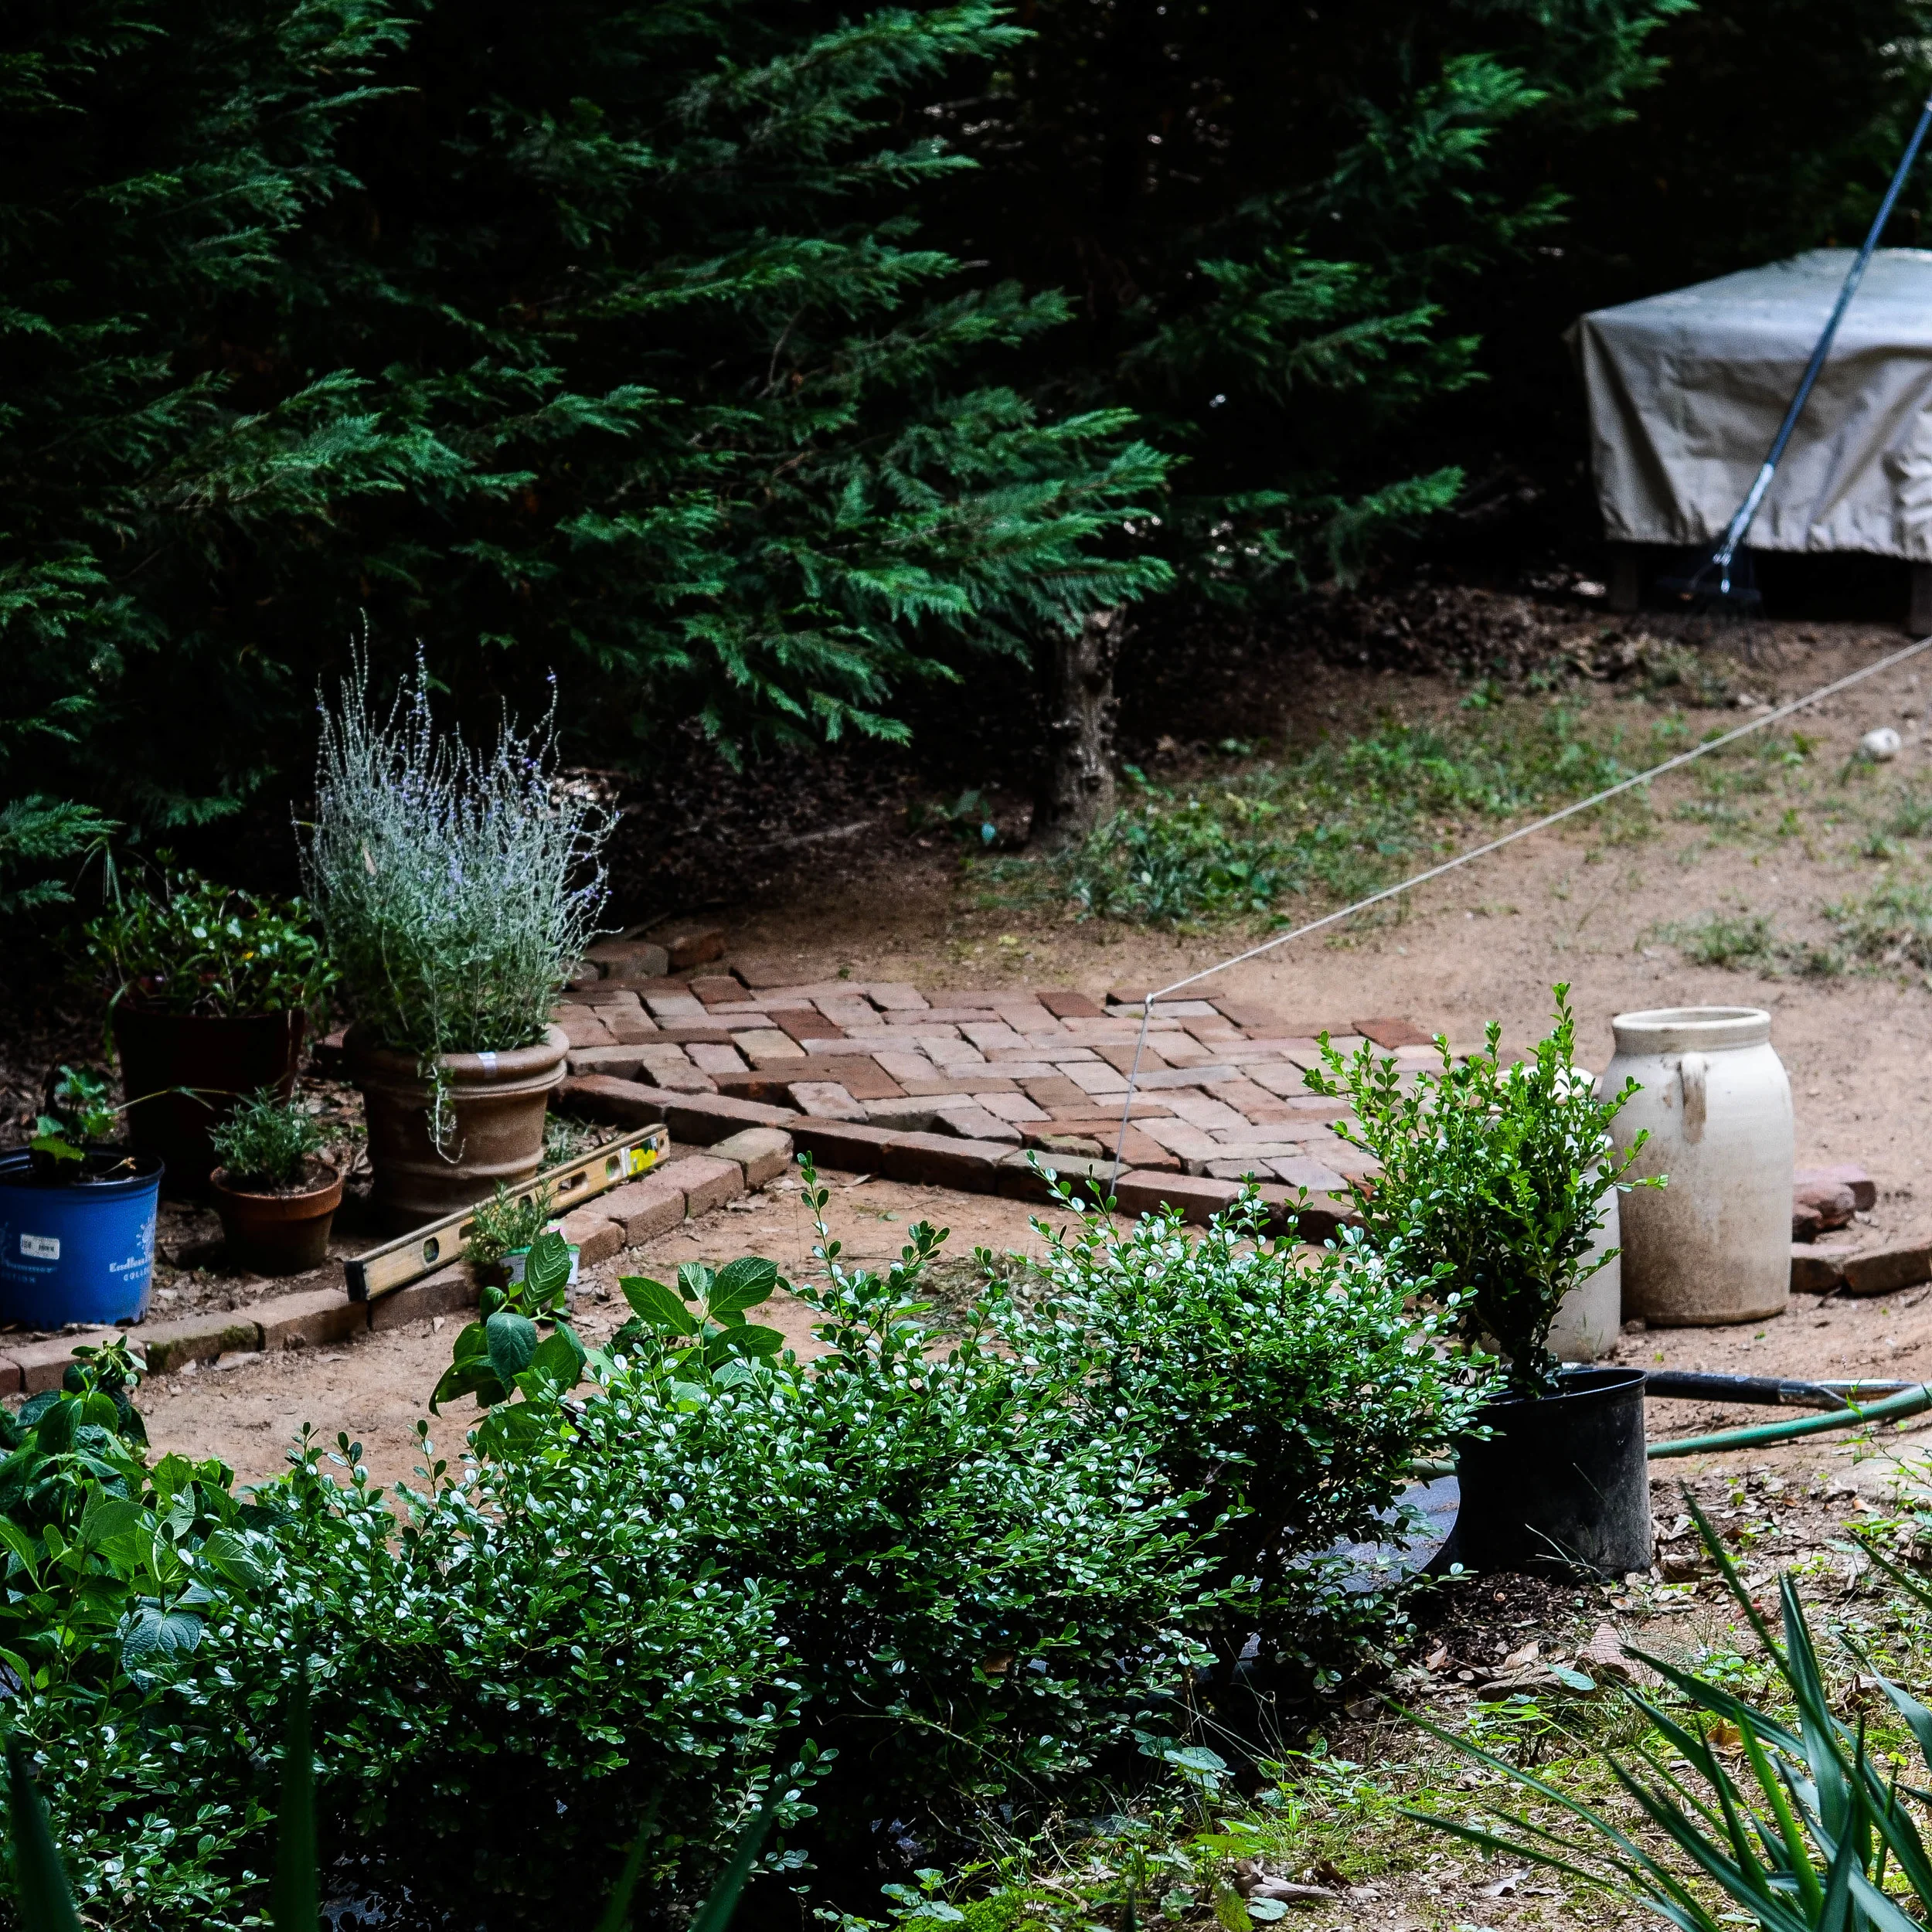
For years we tried to grow grass on the lower section of our backyard but to no avail, the heavy shade wouldn't allow for it. We considered putting gravel down, but were afraid it would look too much like a driveway if we did the entire space. Inspired by the photos I shared in this post here, we decided on a gravel pathway. Throughout the years we've found old bricks buried in our backyard, so we used those to pave the way of our gravel path. To add some character we decided on a winding design.

Once the general layout was established, we knew something needed to be added to the new garden bed in front of the boxwoods. I LOVE hydrangeas and this was the perfect spot to put a plethora of my favorite blooms.

Now, this is the part where I get really excited! We've got this brick paved pathway, the vision is starting to take shape, but at this point, we still hadn't decided on what the gravel will transition too. We love the idea of grass, but again, grass won't grow. And the thought of gravel all the way to the table area, seemed like a whole lot and would make the space feel a little more modern than we wanted. We LOVED the idea of a brick patio, and with me loving old and wanting it to coordinate with the brick pavers on the path, we decided we'd buy reclaimed bricks to create a patio for the table area. Now, those things aren't cheap! We did a ton of research, looked on local craigslist and were in the midst of deciding what to cut to make the budget work, when our Fairy God-Mortar showed up.

To give context to who this lovely lady is, she's our real life Atlanta Fairy Godmother. When Brian and I moved to Atlanta, we didn't know a soul. She's one of Brian's co-workers and took us under her wing, so to speak. In fact, she gave me my first paying job in Atlanta, encouraged my love of antiques (her home is to die for), she even gave Brian and I the extra nudge we needed to adopt our first dog, she herself fosters rescues! She came to our wedding, spoils our kids and has been such a huge blessing to our life in Atlanta. So, L if you're reading this (which I know Brian is making you), know you're amazing and wonderful and awesome and we don't tell you nearly enough!
Now, back to backyard. In chatting with L at work, Brian mentioned we were working on our backyard makeover and we were going to buy old bricks for a patio. Bricks you say?! As a matter of fact, L just so happened to have a ton (and I mean a ton) of old bricks that she had in her backyard that she was looking to get rid of.
YES please!
One u-haul truck and a Saturday later we had the bricks in our possession and I got to work laying a herringbone patio.
Once the patio was laid, (truth be told, the border bricks still need to be cut) we got to work on the fire pit. We decided grass would be great for the kids, and with the money we saved from L's bricks, we decided to sod that area.
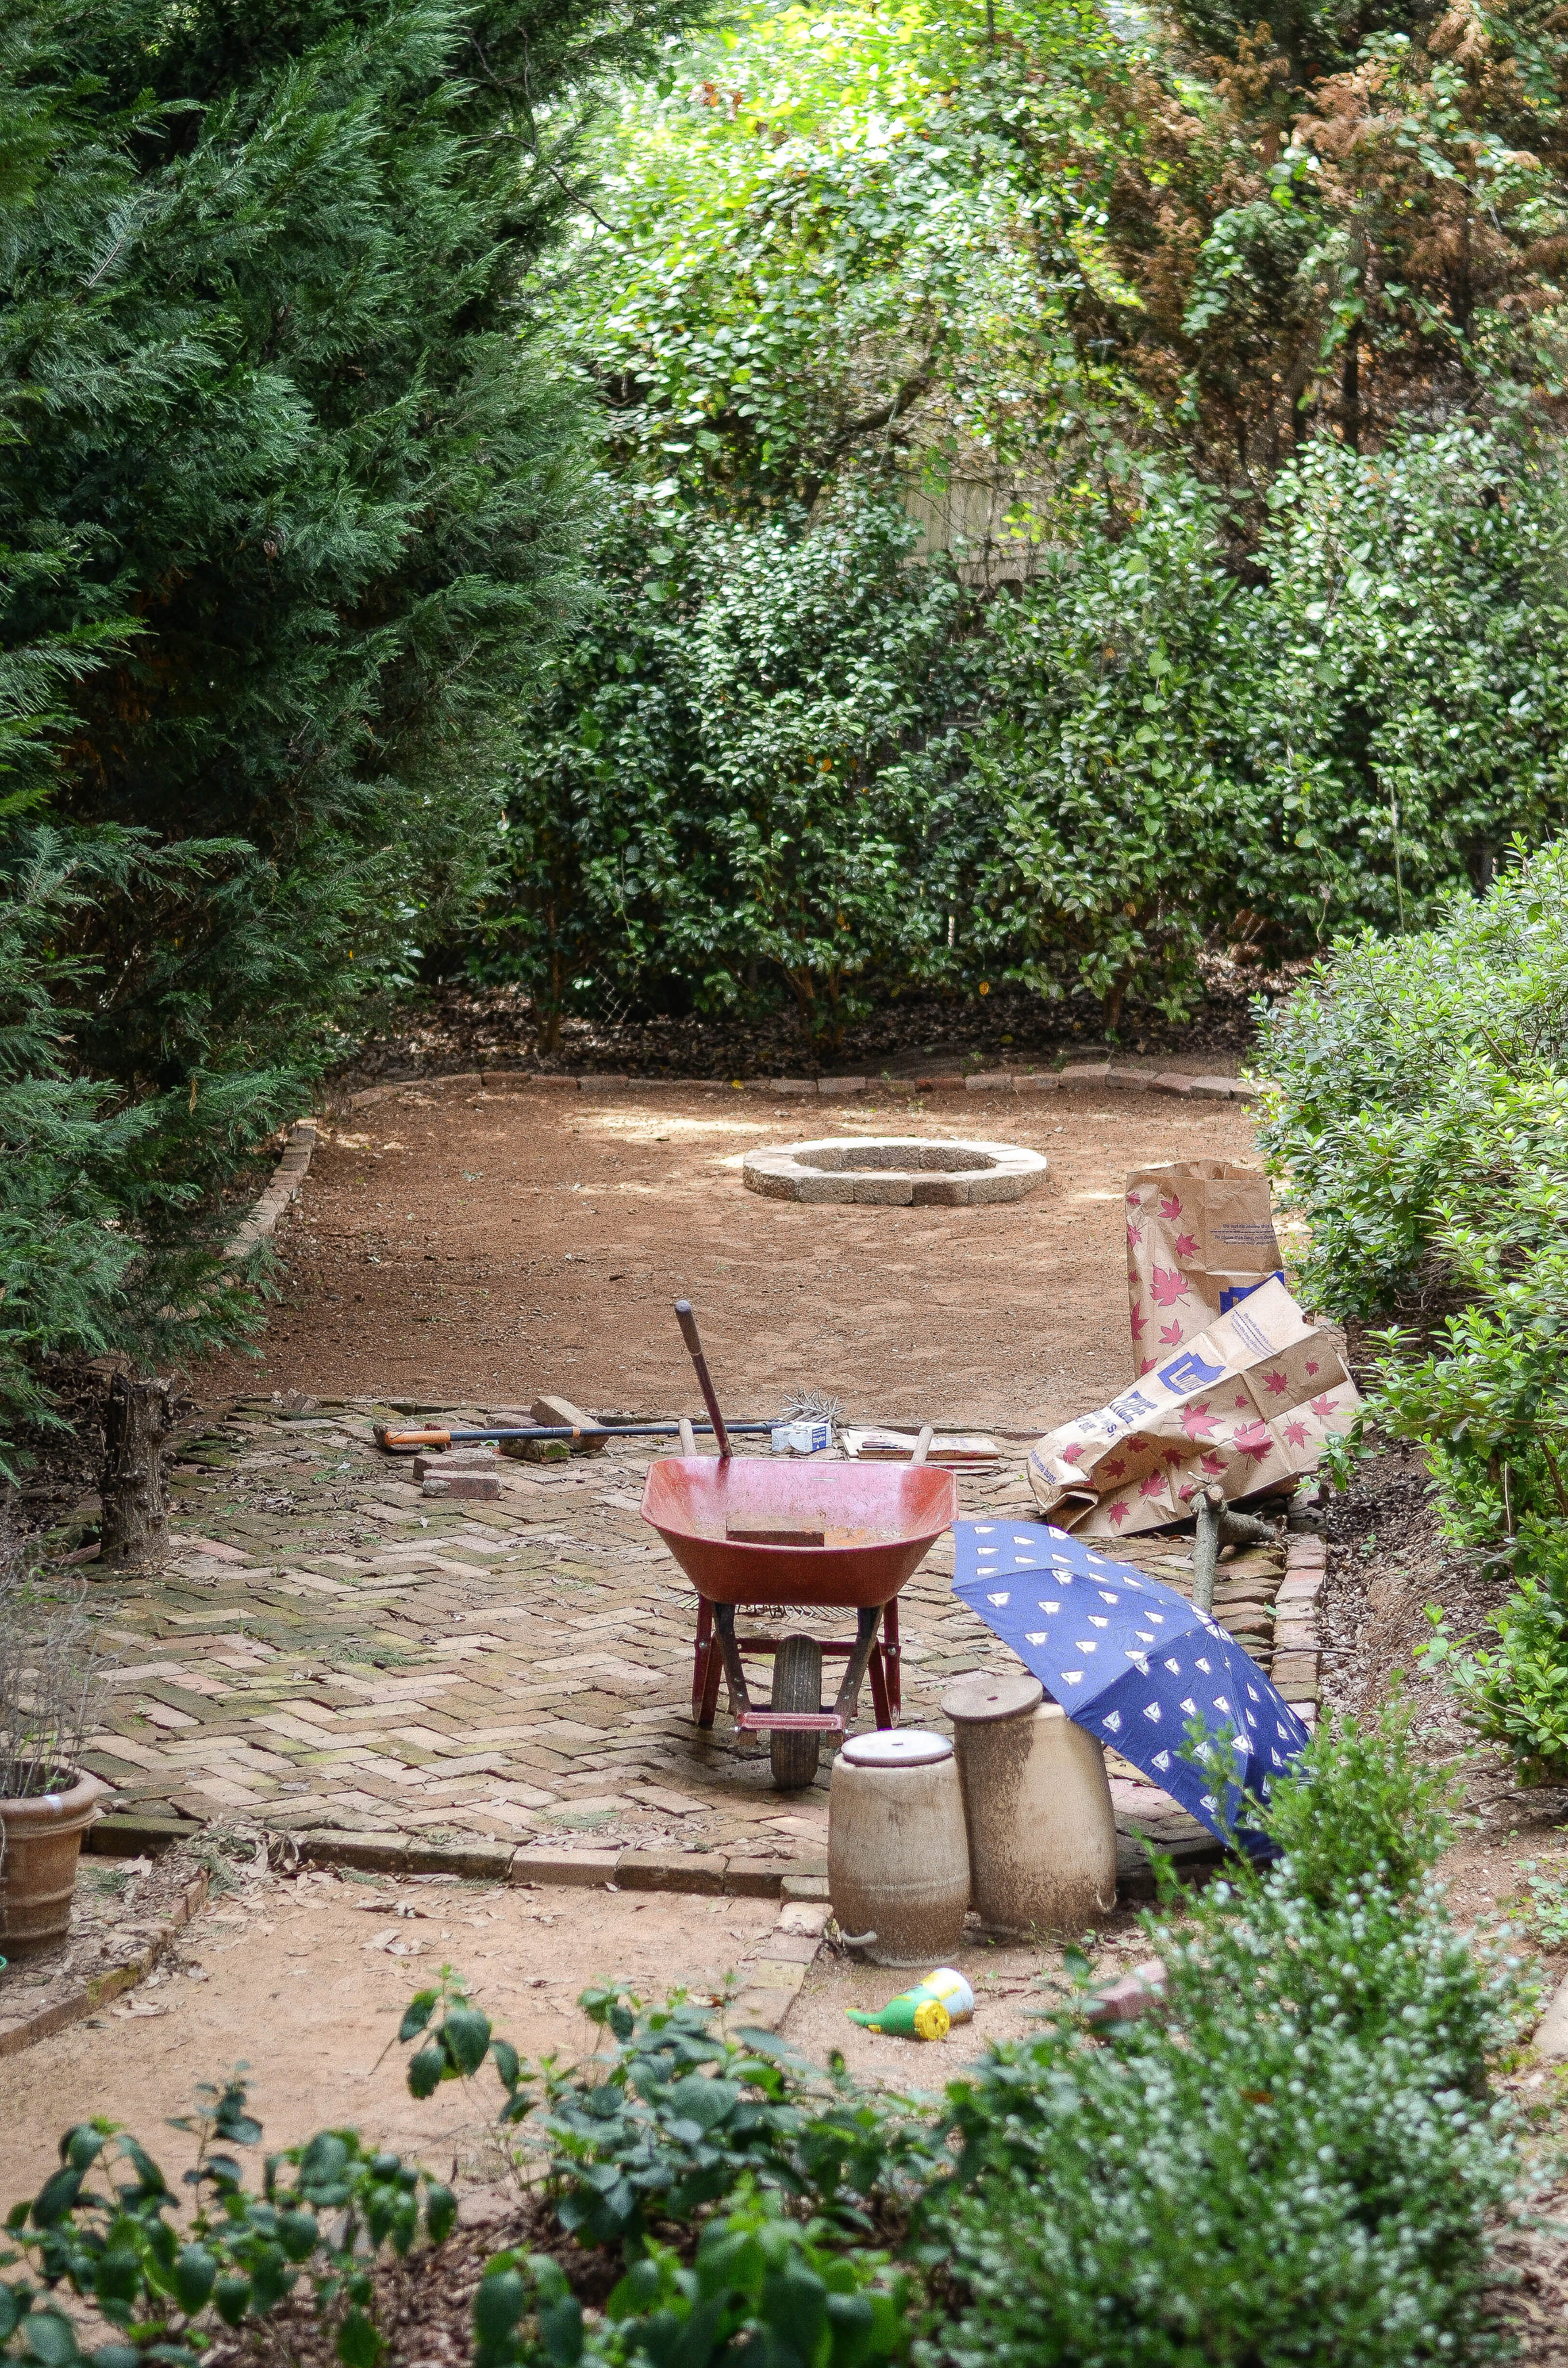
River rock from our local garden center was the final choice for the pathway, and string lights were added over the brick patio. I've got a whole lot more photos to share, but in the meantime wanted to show you how we made three outdoor spaces flow together on our lower section of our yard!

DIY | Belt Strap Tote
The weekend's upon us, and with fall weather on its way, I'm envisioning Saturday mornings at the Farmer's Market. This simple DIY is the perfect project for fall. Use old or unused belts to make this DIY tote. View the slideshow above [mobile users: view below].
We want to stay in touch with you!
Already following on BLOGLOVIN'? Be sure to follow our new feed here!
And be sure to update FEEDLY to follow our content here!
To Join our Newsletter sign up below!
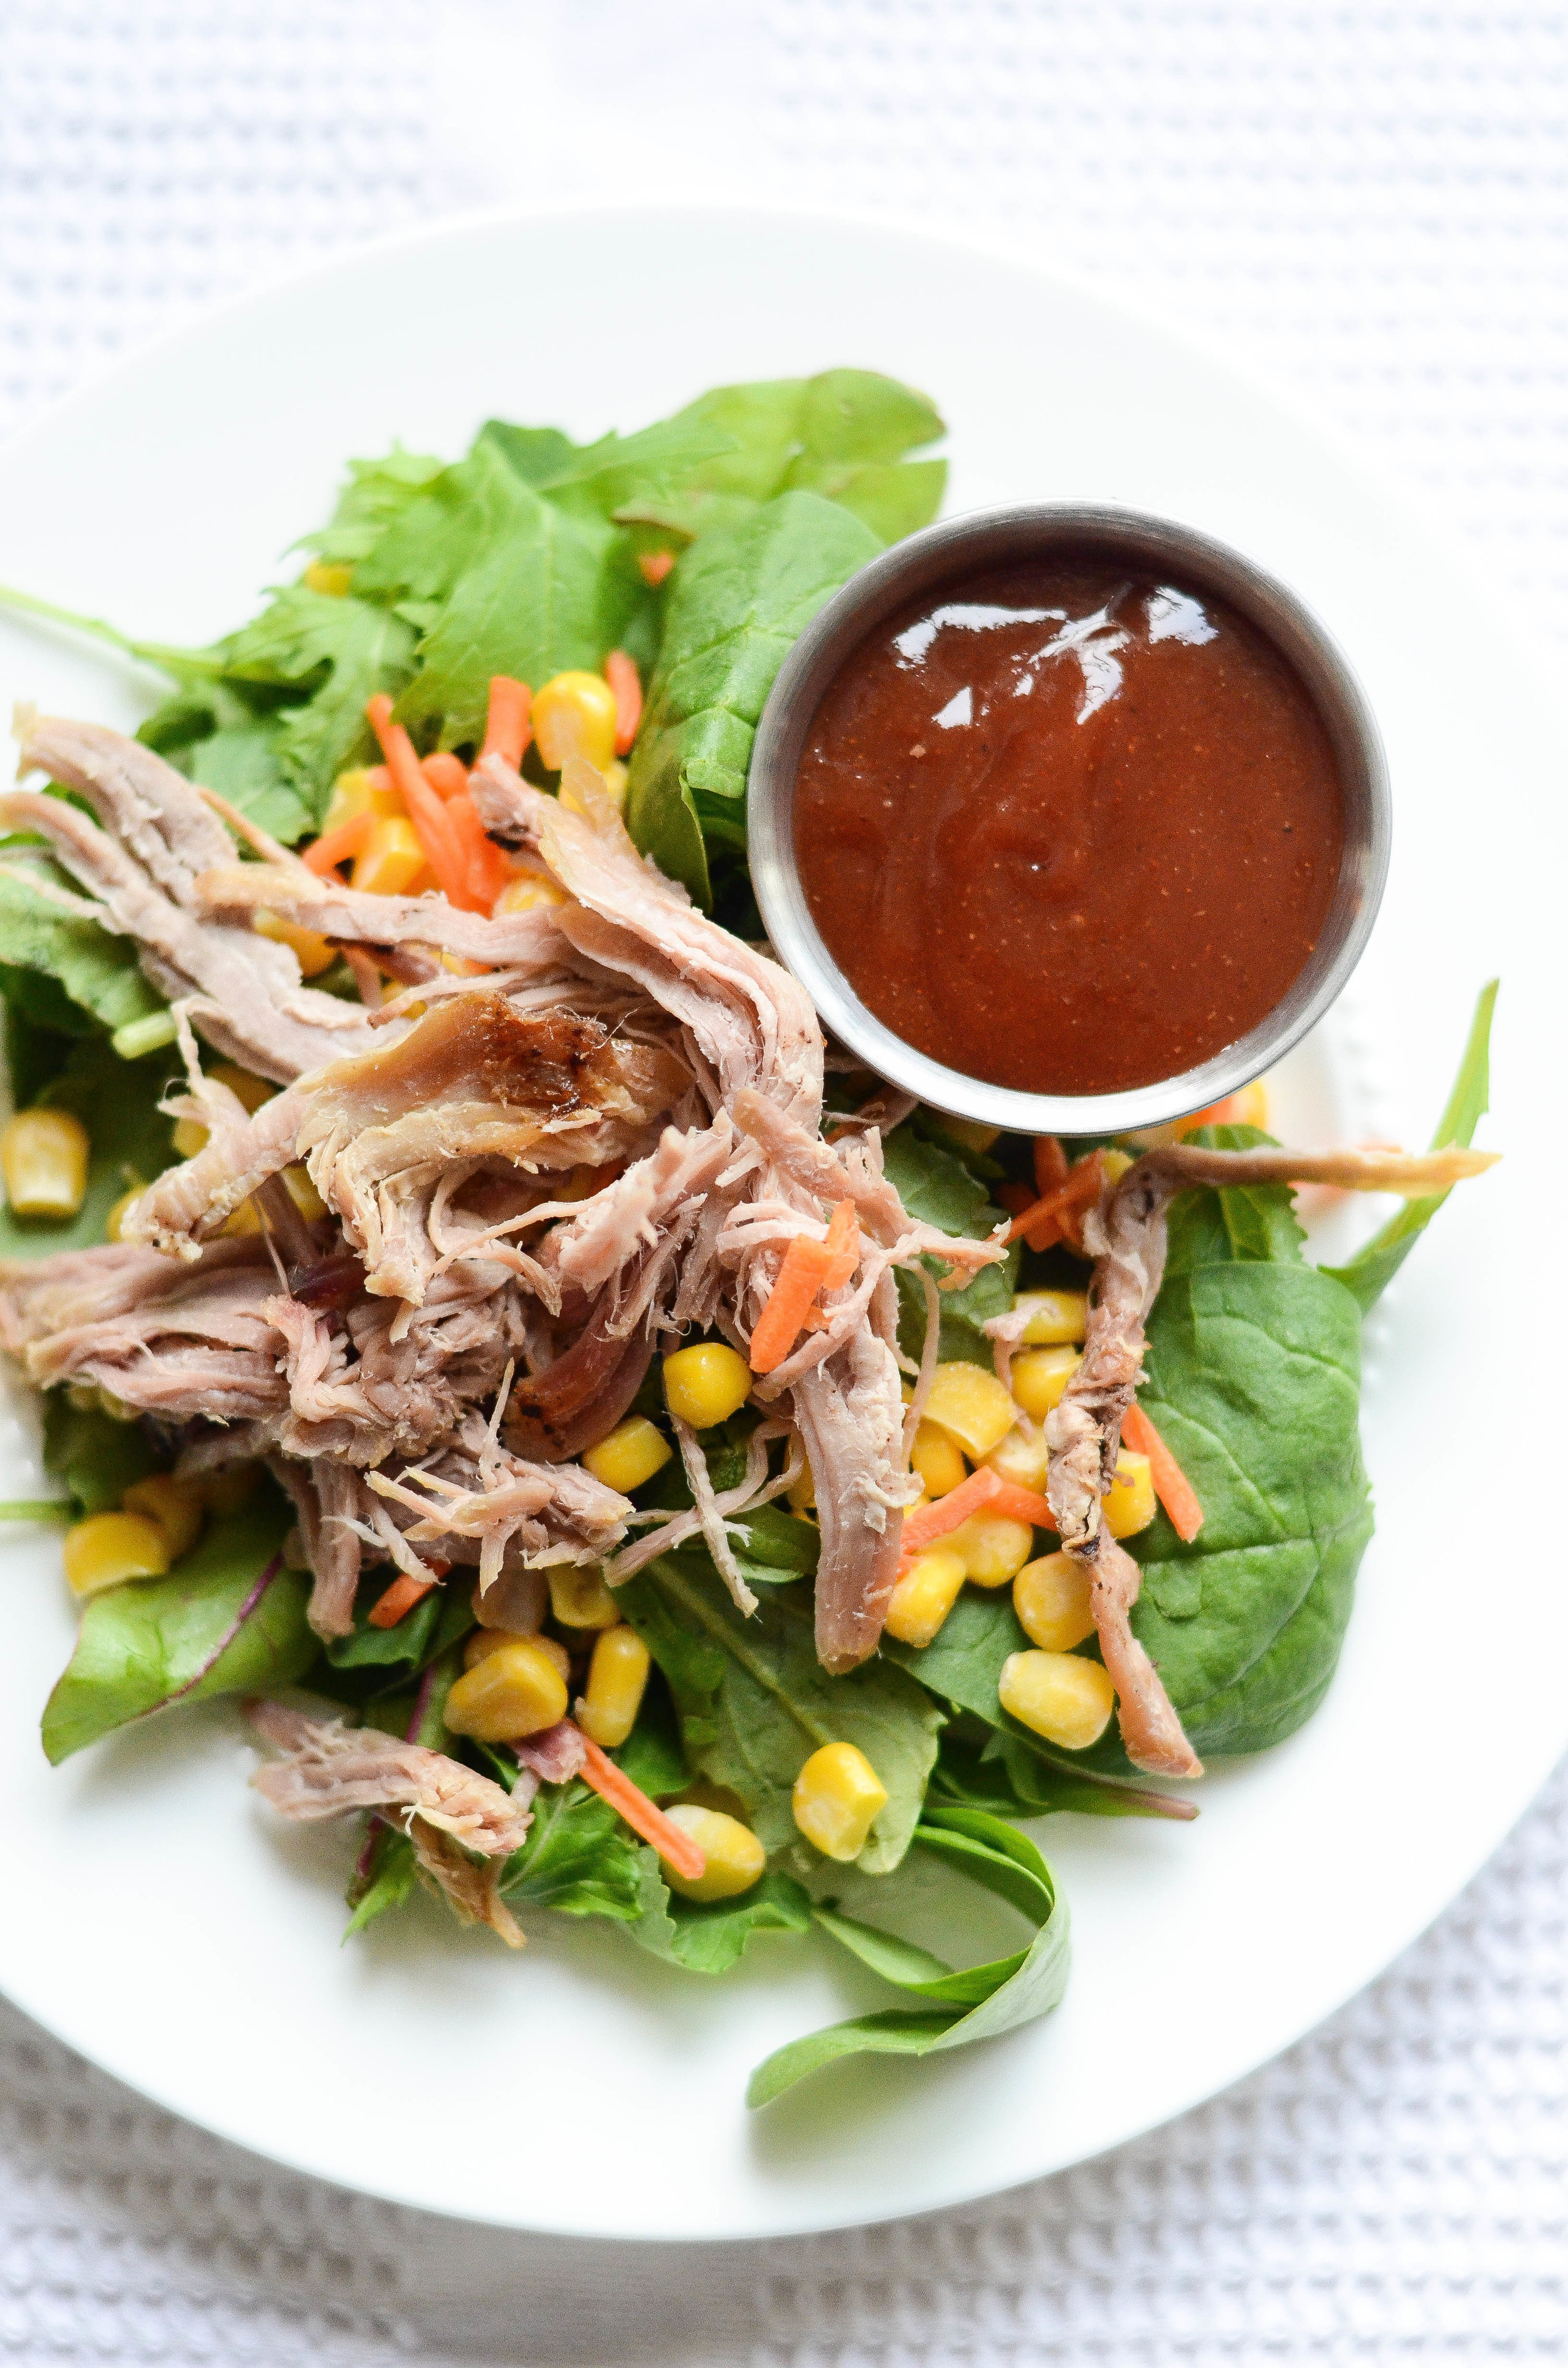
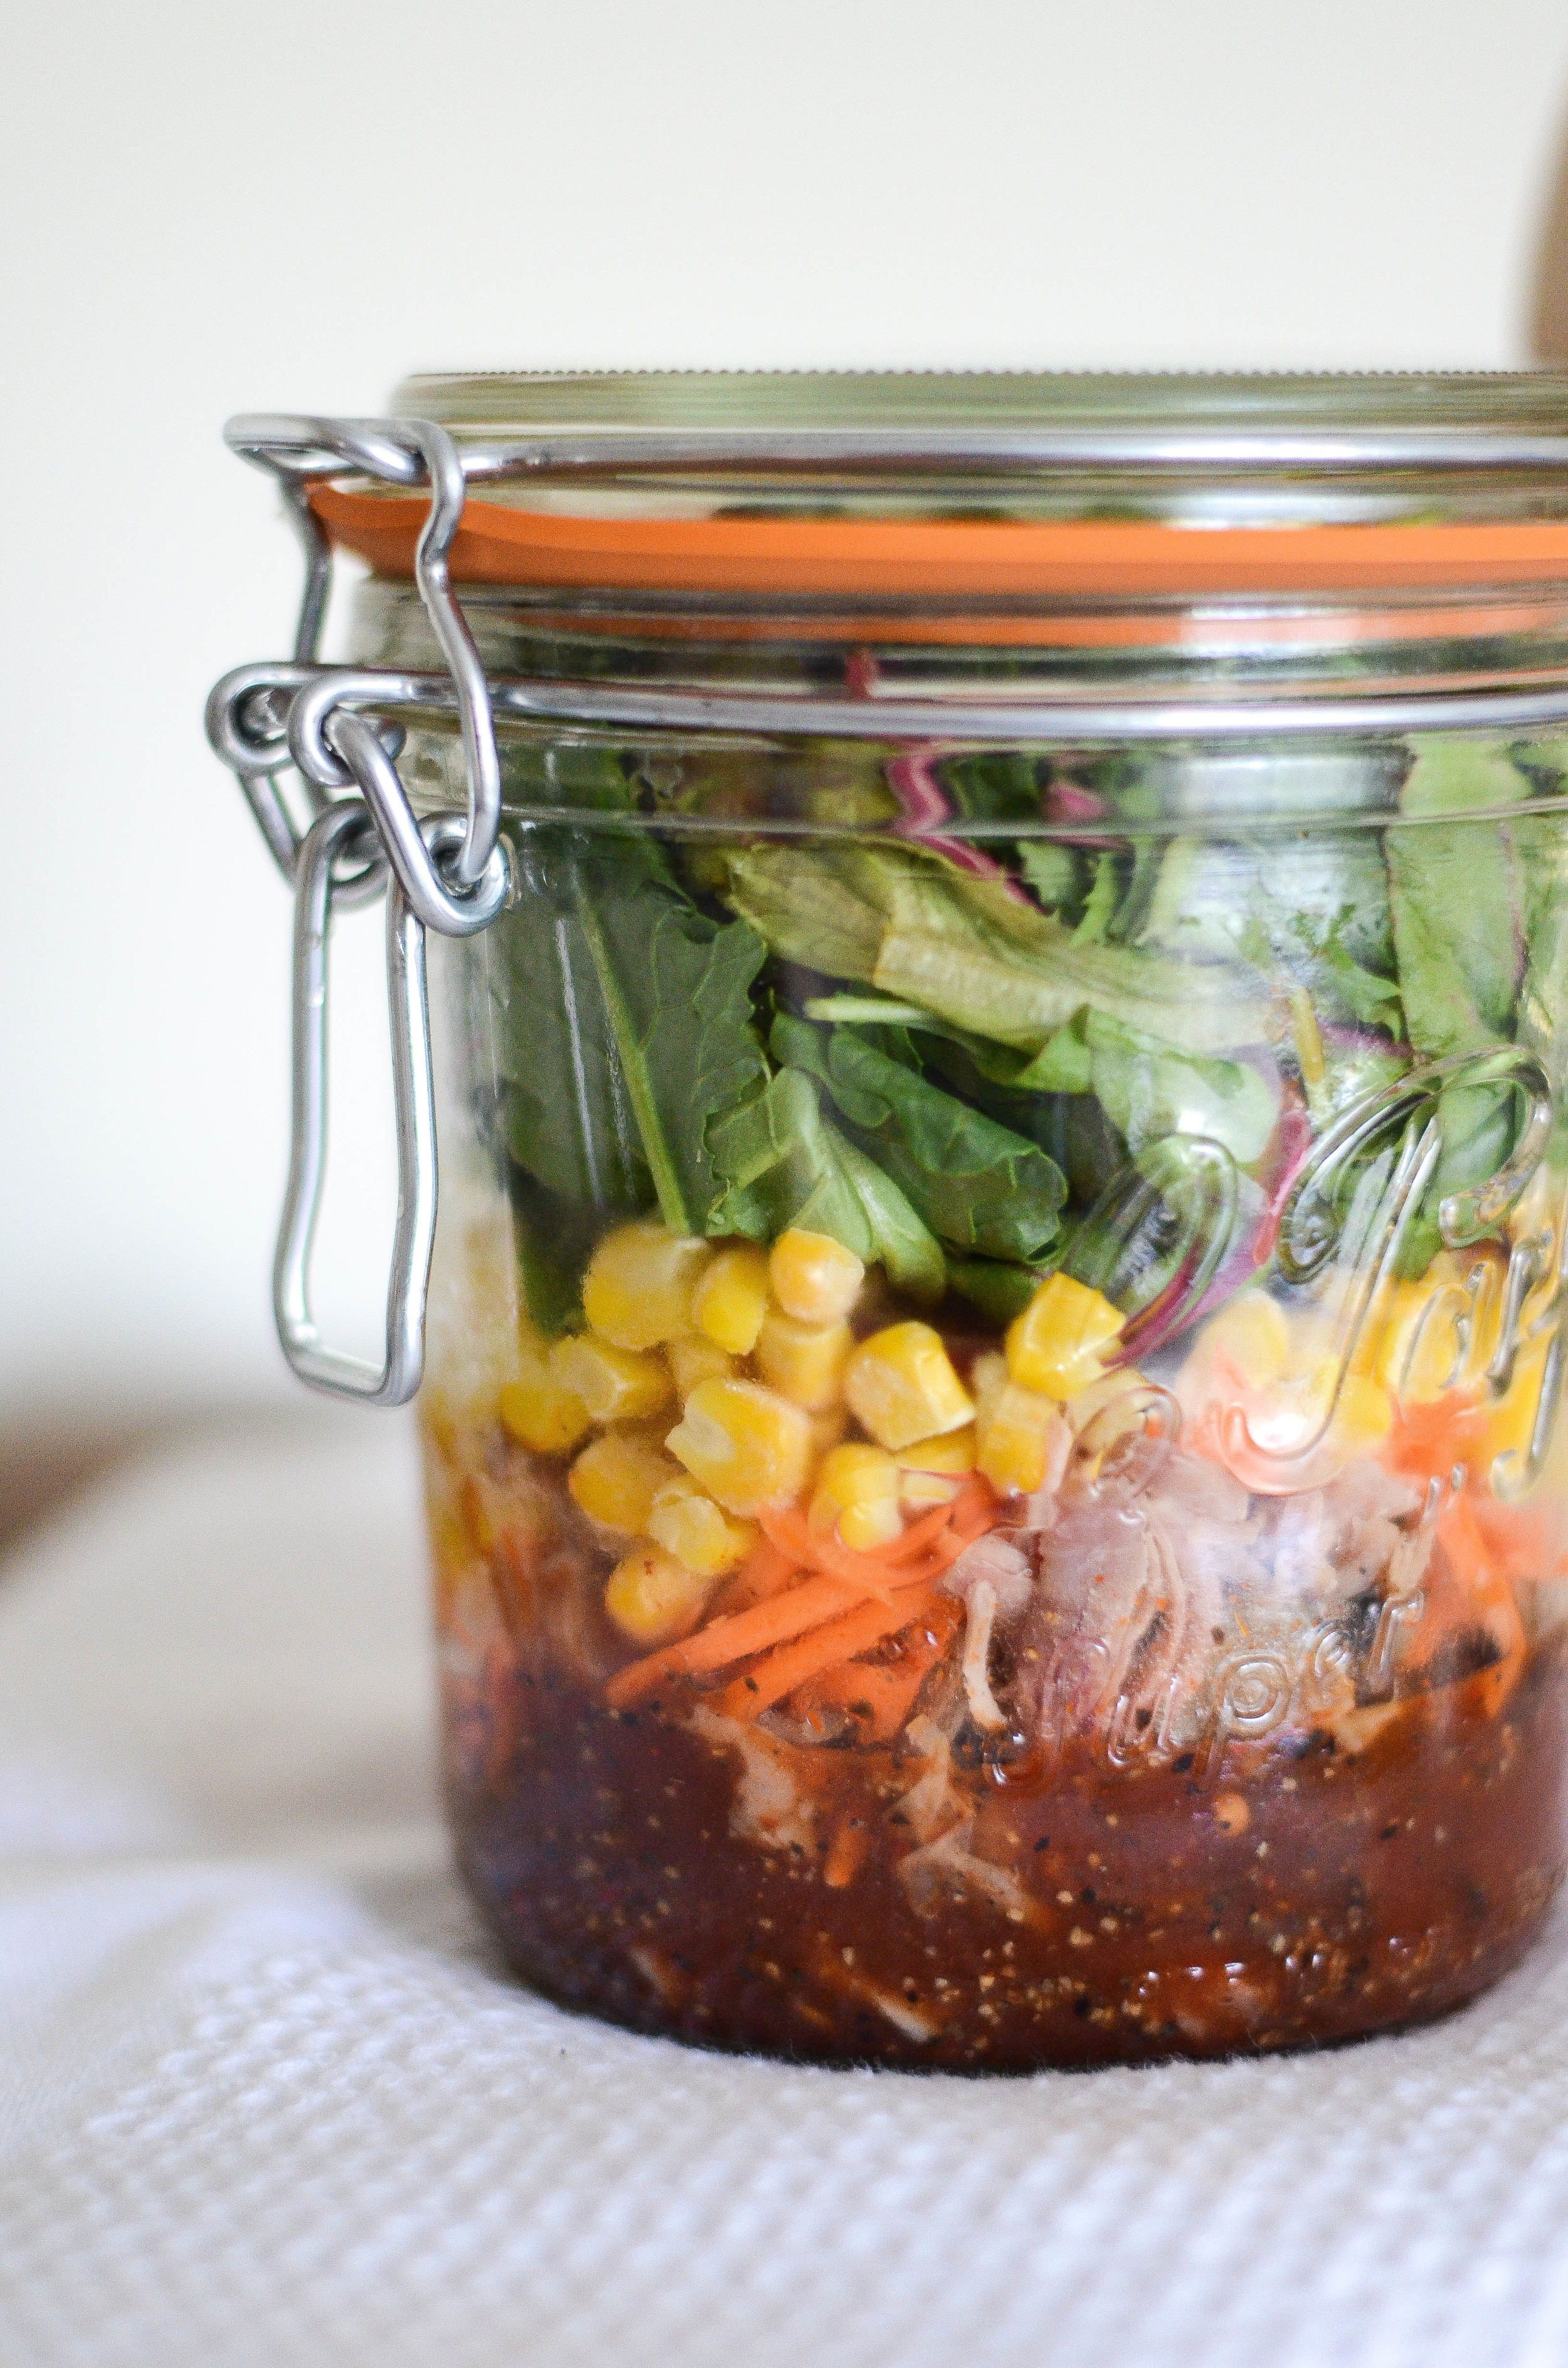
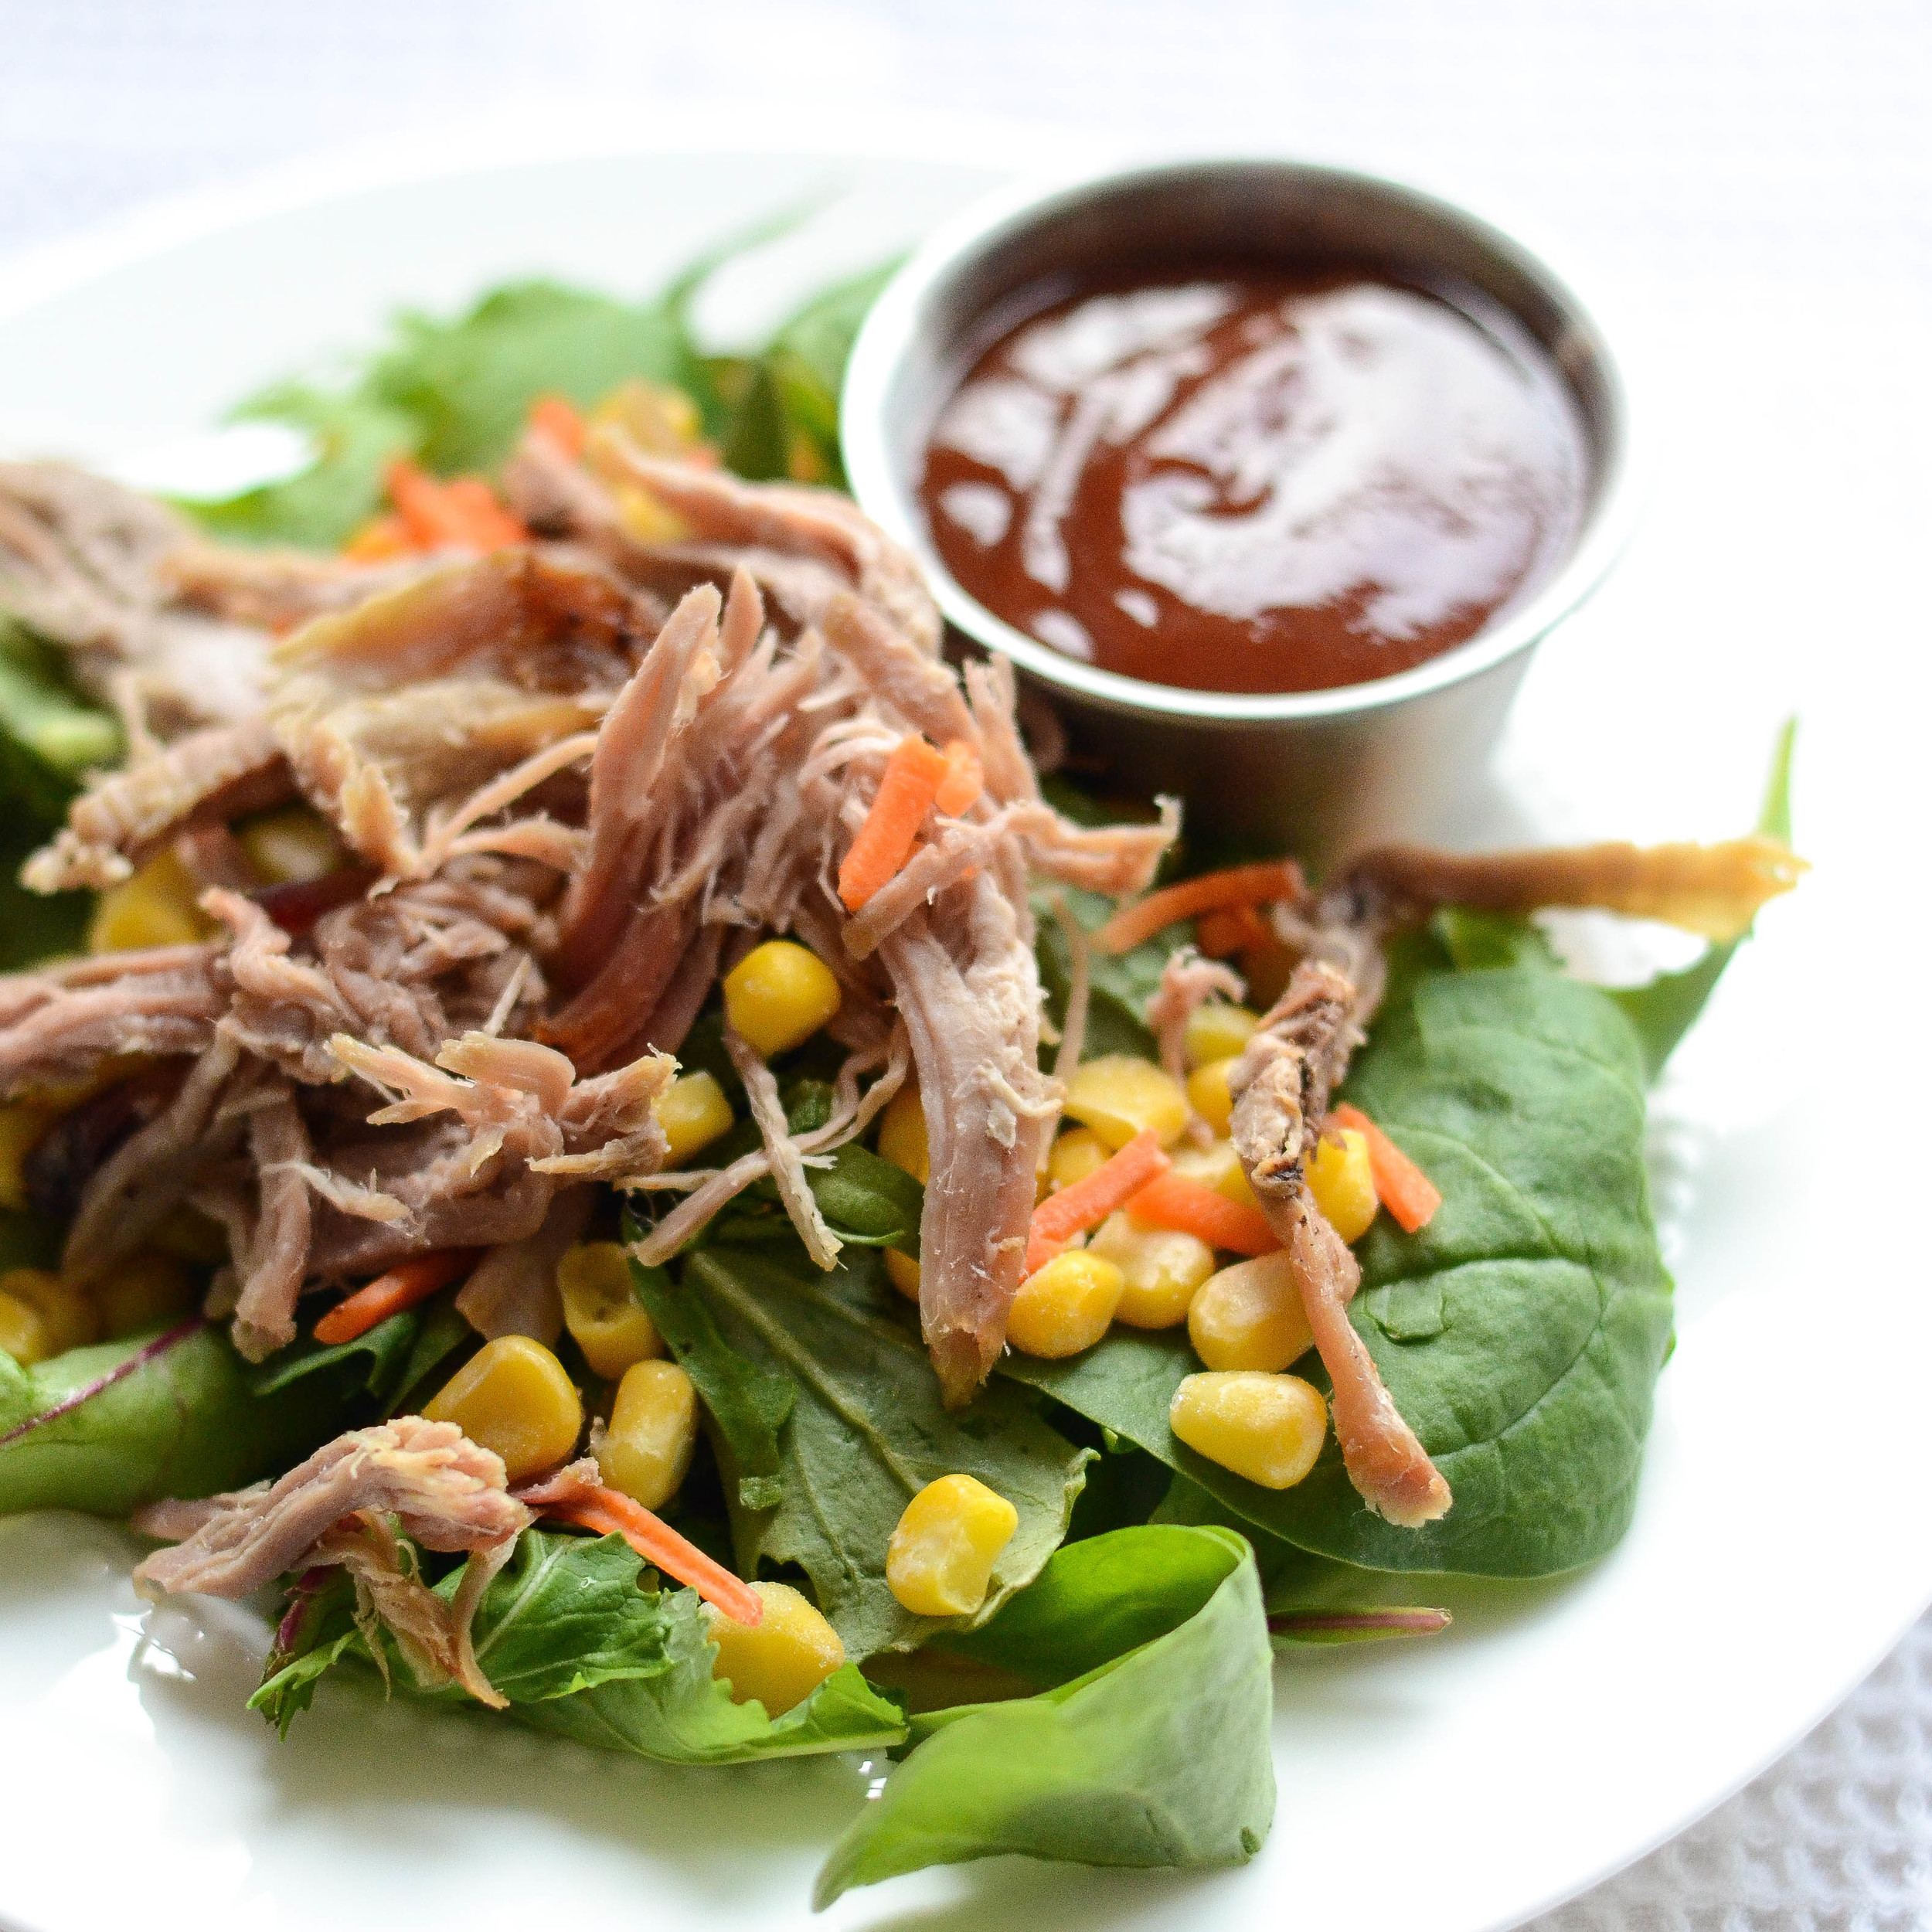
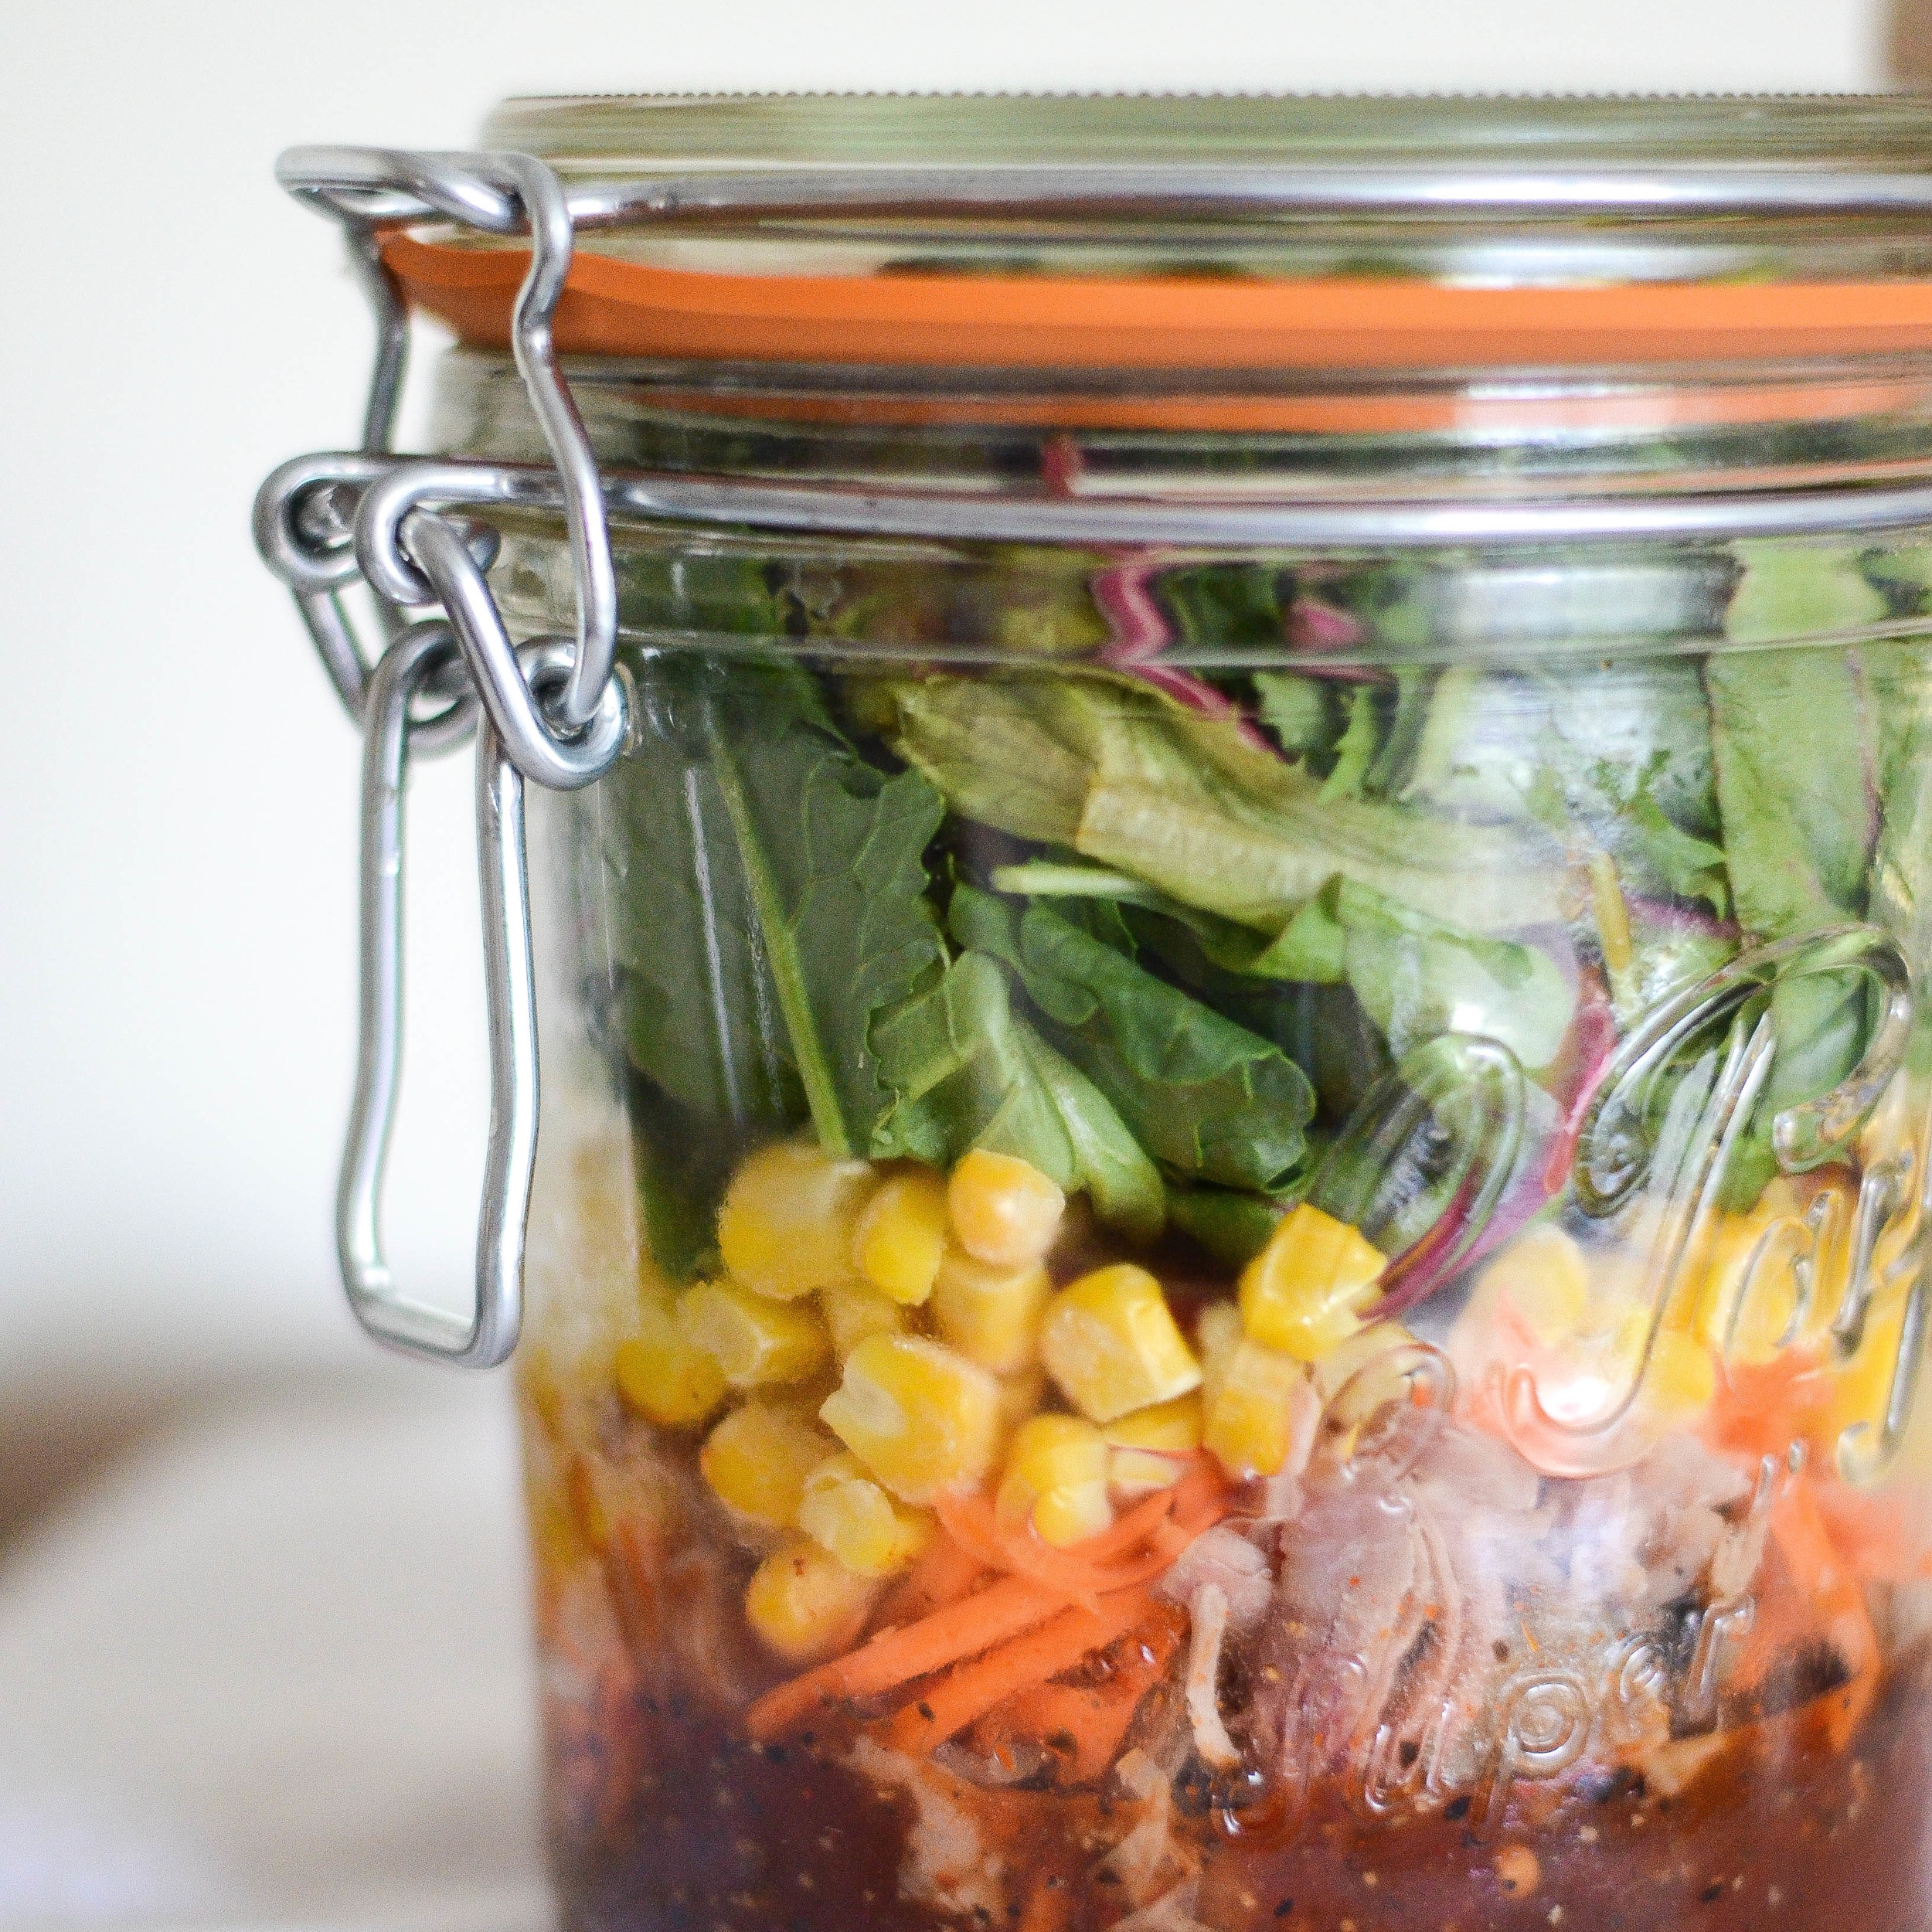
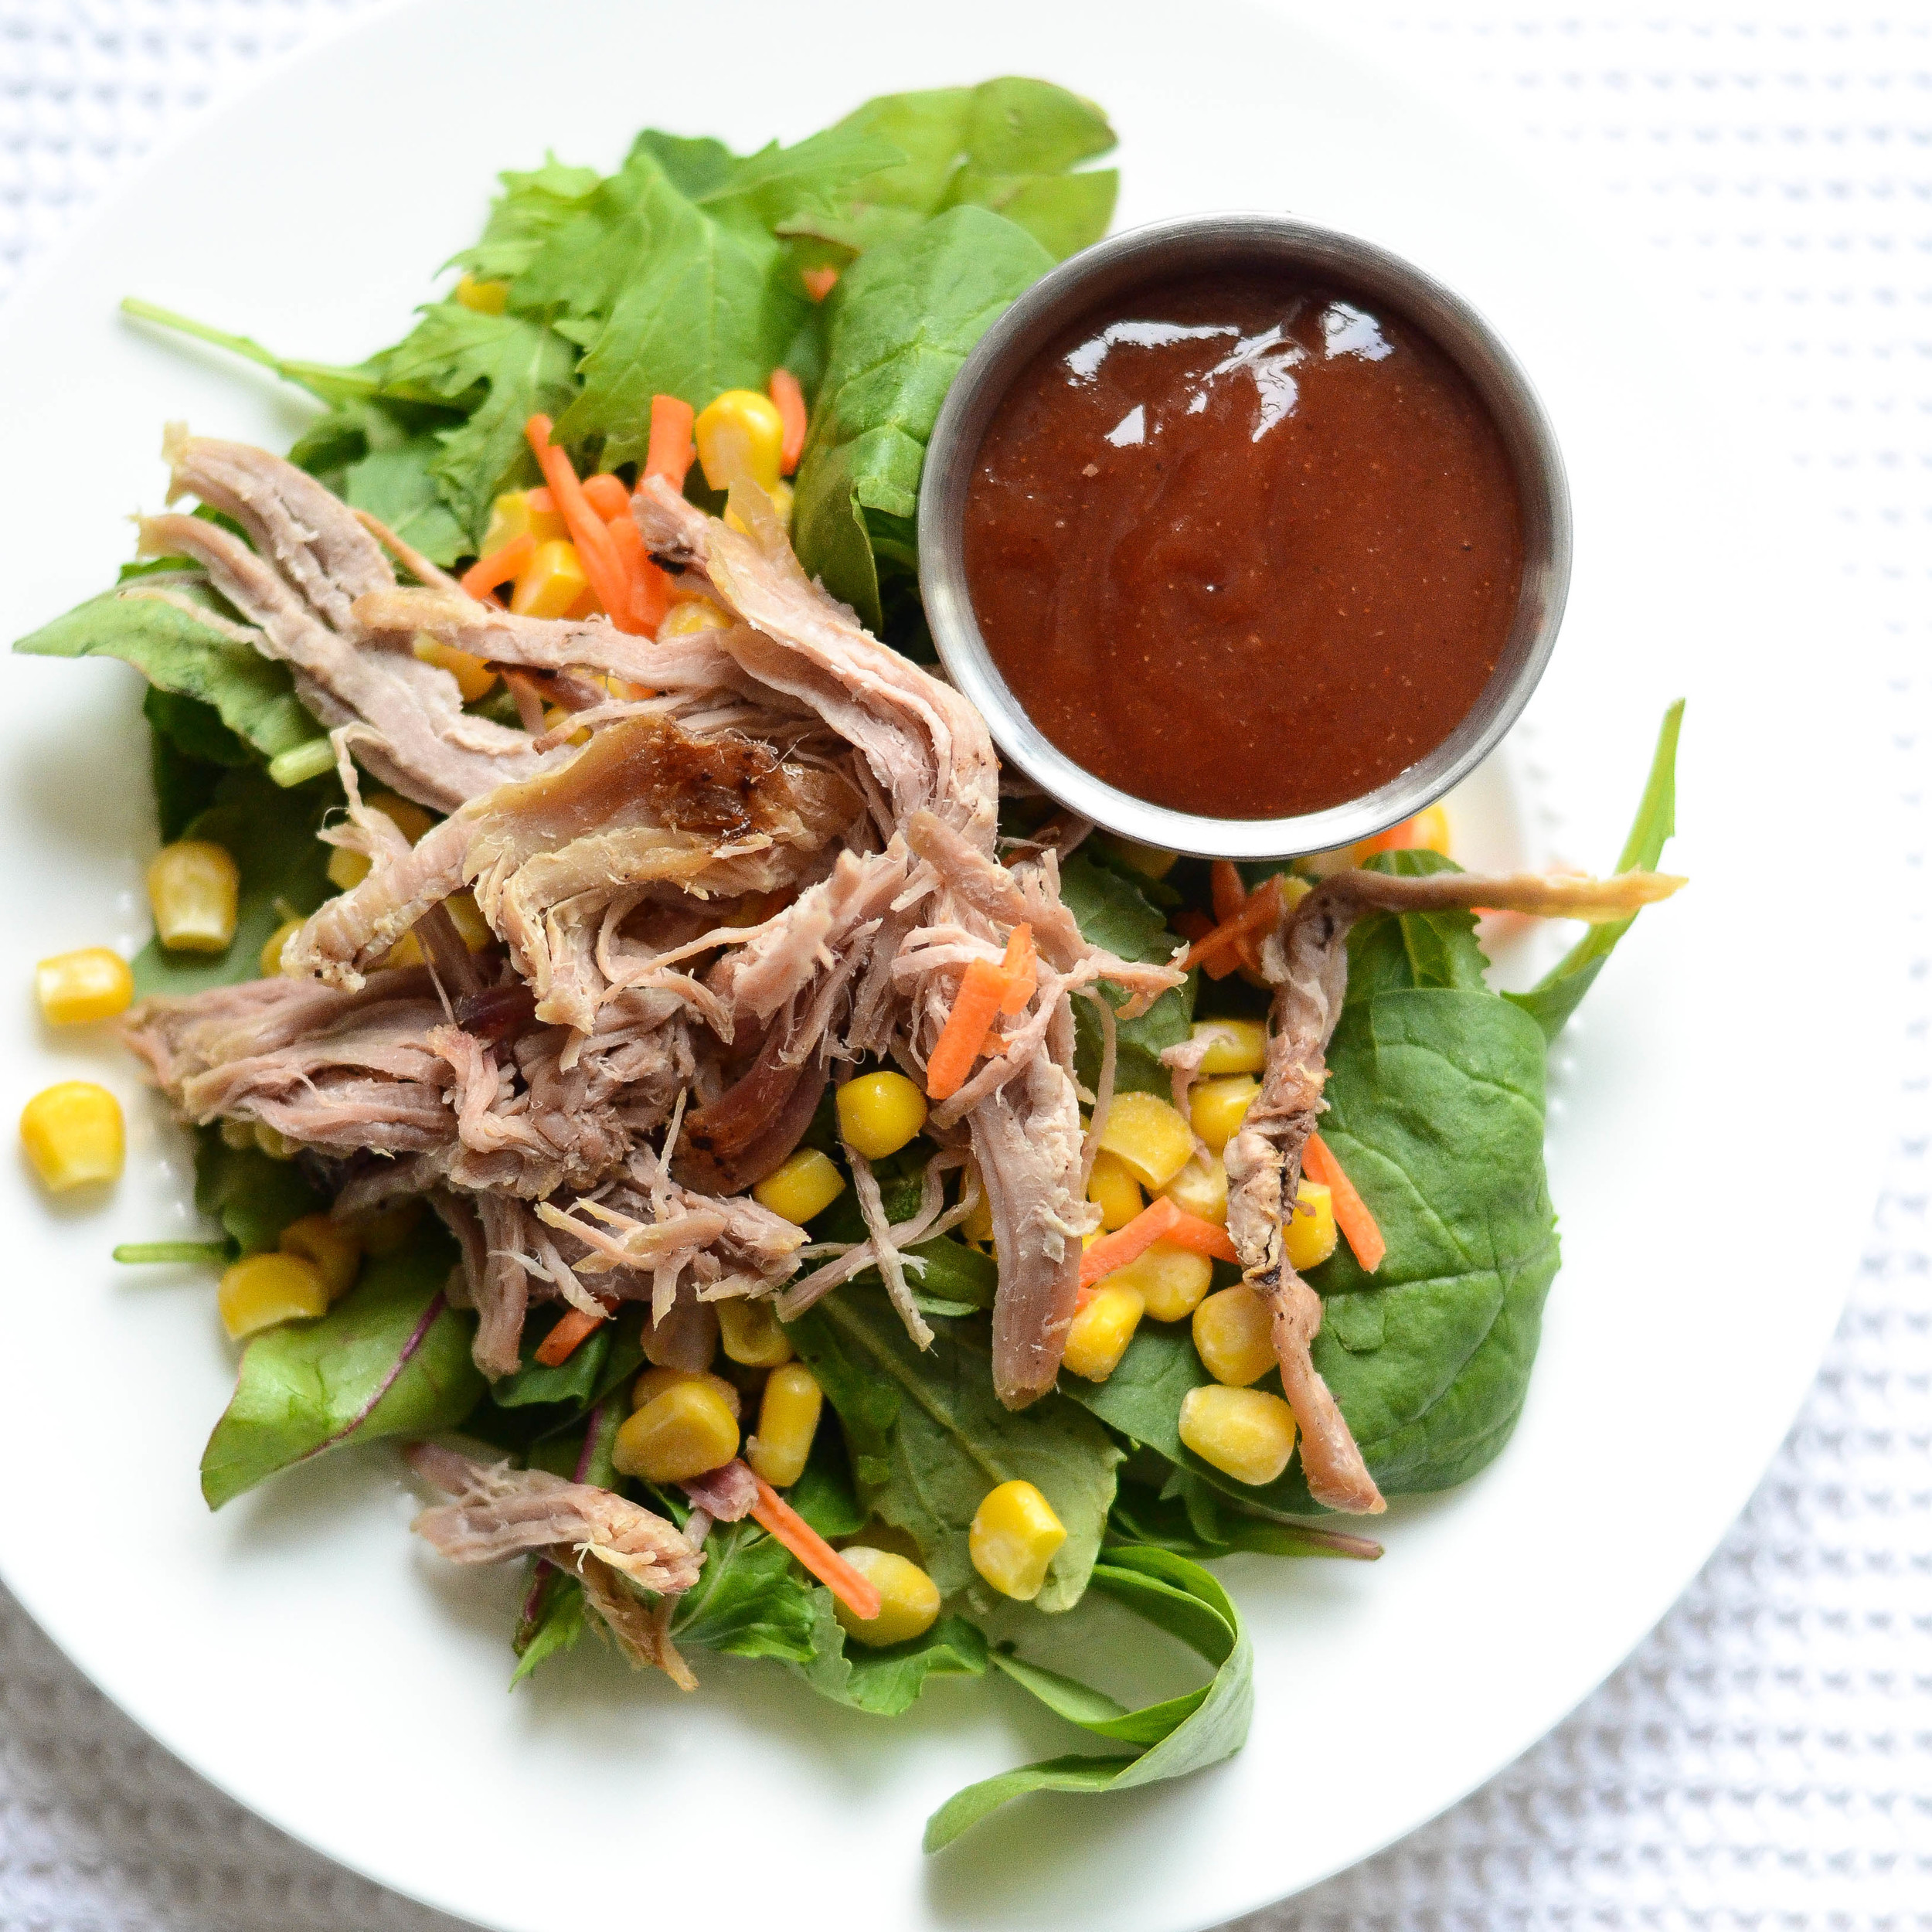
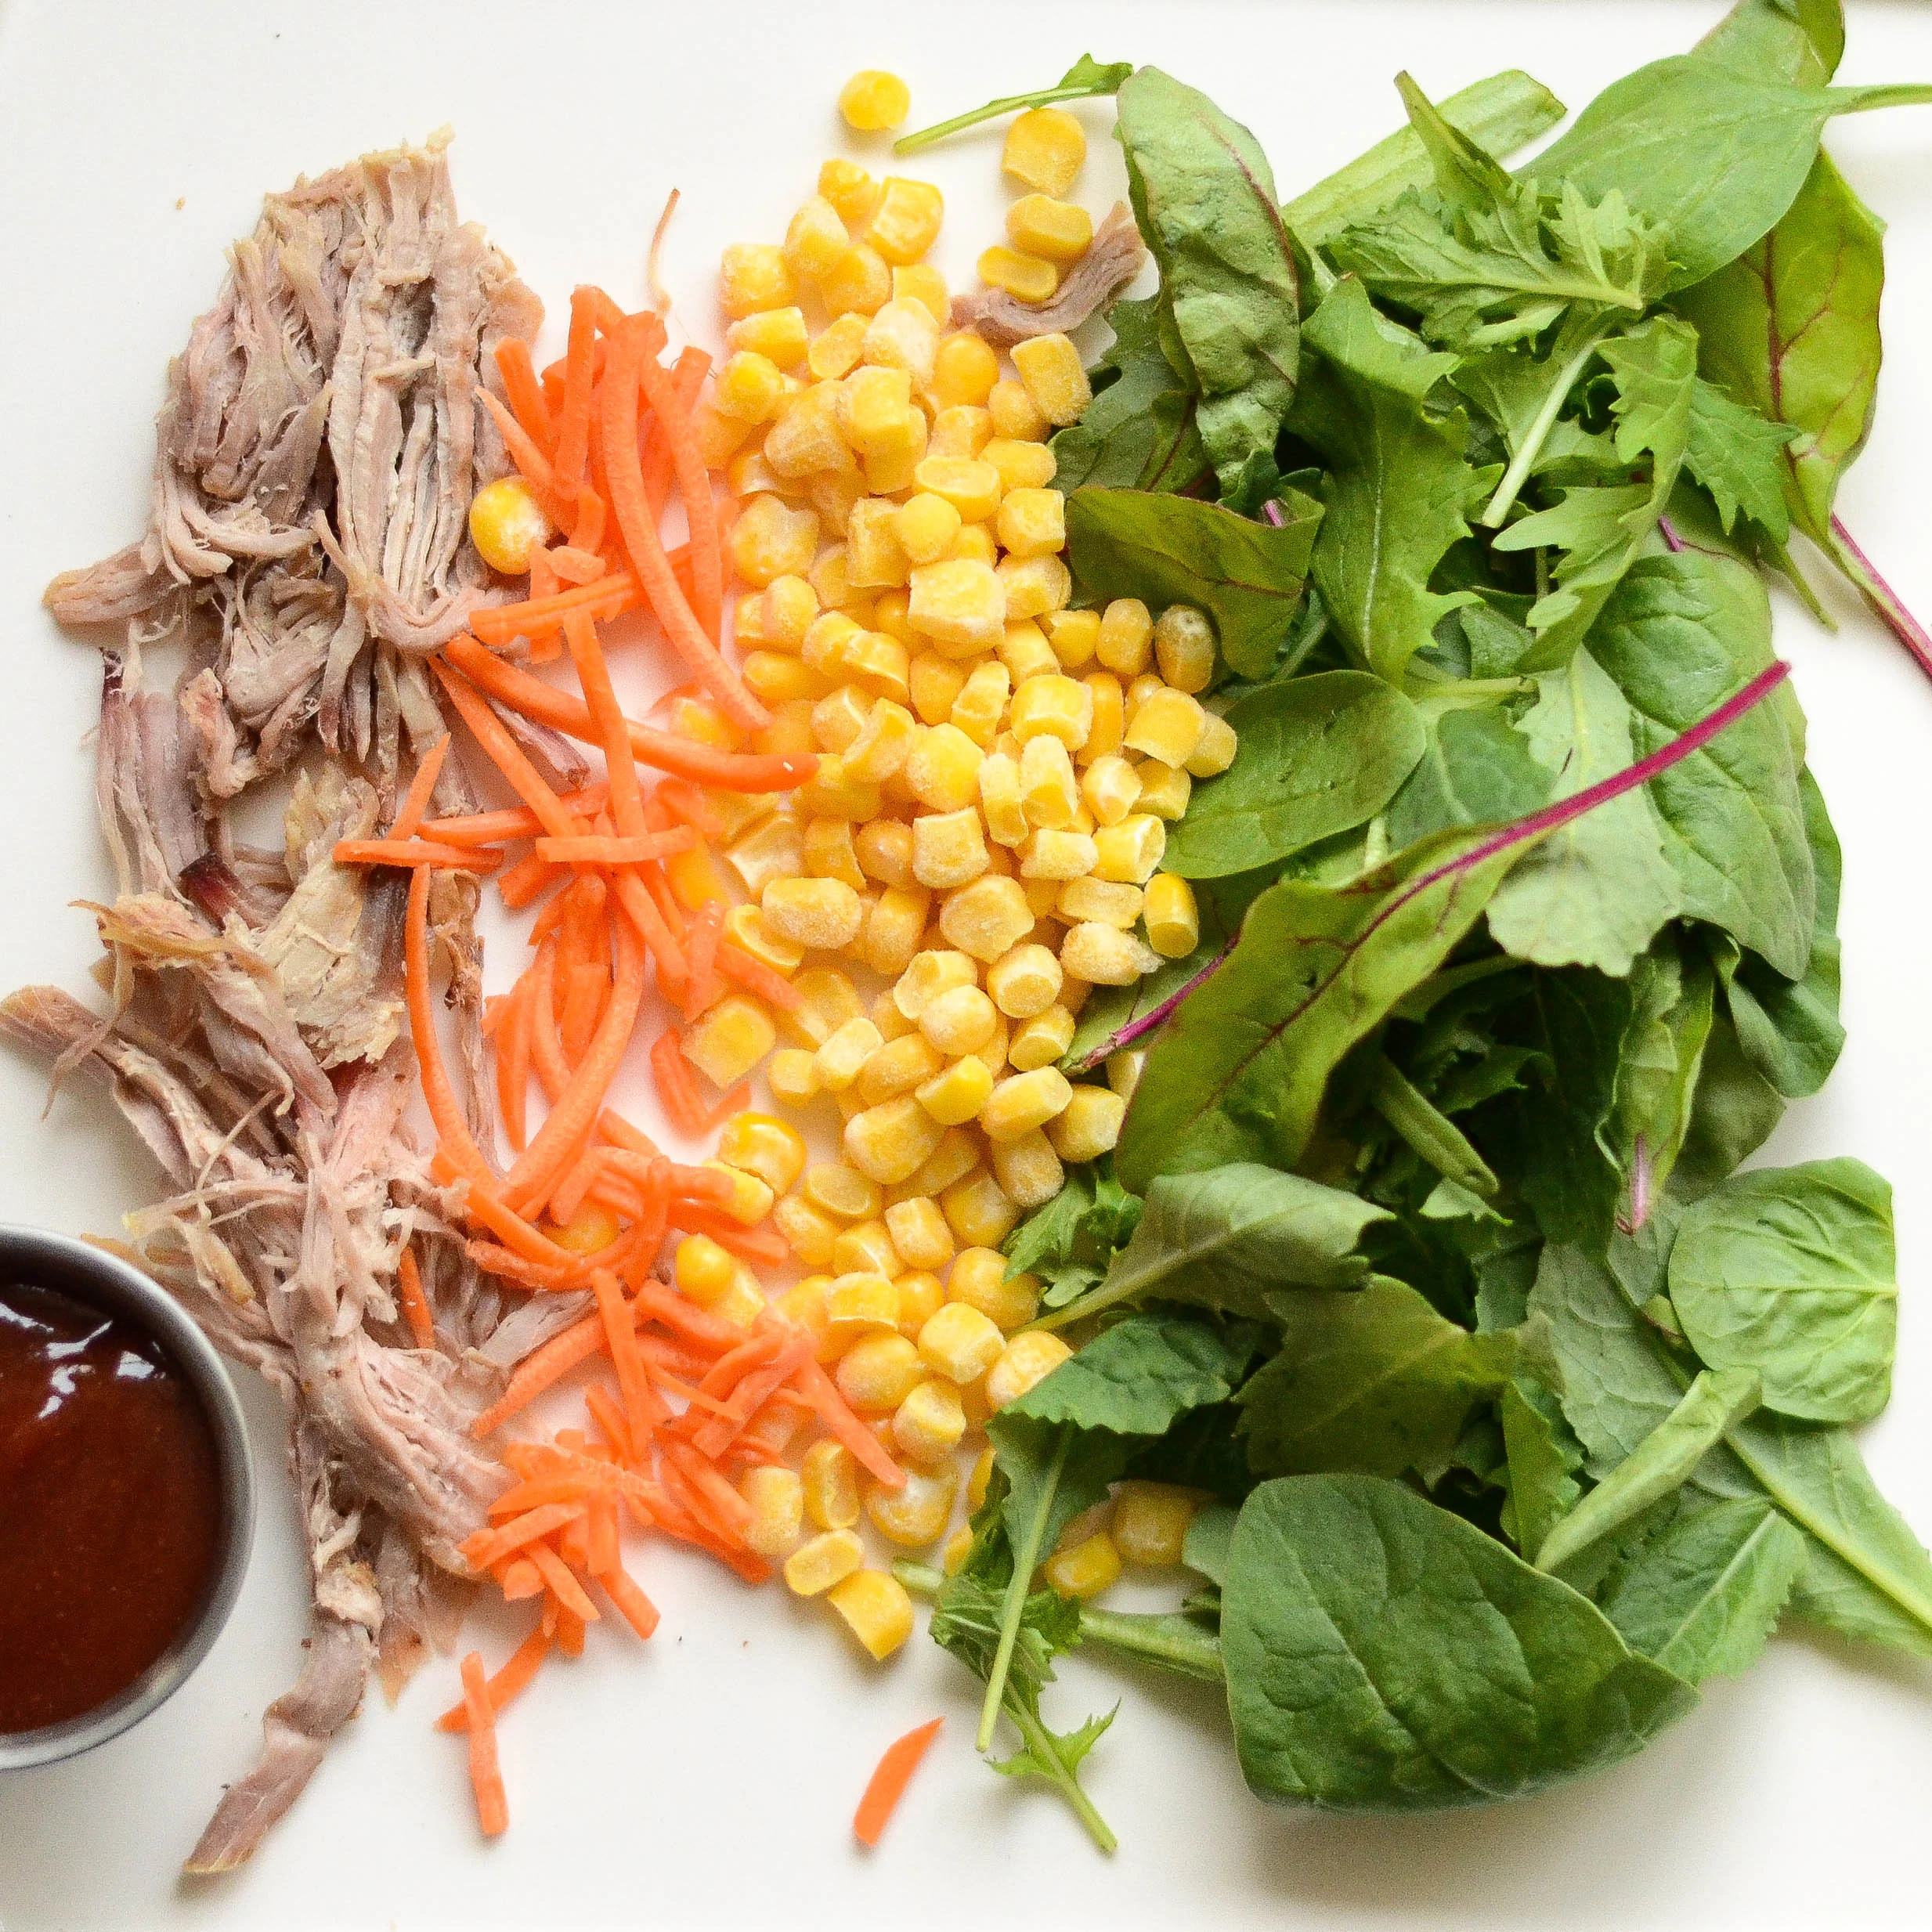
CAN-do Lunch | Pulled BBQ Pork Salad
Brian makes me coffee every morning.
every.single.morning.
Before I'm even fully awake, there he is greeting me with a piping hot cup of goodness. It's sweet really.
And I use to make him lunch. In fact, we both use to take our lunch into work. It saved money and of course kept us away from french fries and greasy lunch foods. With P & K, lunch has become somewhat of a distance memory in our household. I shove whatever I can grab into my mouth and Brian's left to fend for himself (which he perfectly capable of doing), but with wanting to eat healthier and my desire to do a nice sweet thing for the hubs, lunch is back on the menu in our household! But with all the things I'm currently juggling (I know all of you can relate), this lunch thing needs to be quick, made from food on hand and somewhat healthy.
So, for today's CAN-do lunch, left-over BBQ pulled pork is made into a canning jar salad to-go (I'm sure you've seen these all over the Pinterest universe). The great part about this layered salad is you layer it upside down, with dressing first. This prevents your salad from getting soggy and when you go to pour it out your salad comes out perfect on a plate ~ genius I tell you. I get lunch...Brian gets lunch...we save some dough...and we use up those leftovers. Win..win...win. The awesome thing, is if I can get myself super organized I could make a stash of canning jar lunches, store them in the fridge and then they're ready to go. No more excuses for not eating lunch!


P & K | Fall Wardrobe
With P & K currently on the move, and now outgrowing their current wardrobe, which is the perfect time with cool weather rolling in, I recently put together their fall attire and wanted to share the brands we're currently loving. The thing I do find tricky with kids clothes is that they can wear totally different sizes depending on the brand. Right now they're wearing anything from six months to 18-24 months. So, while I love to buy end of season sale items, I've found it tricky to guess what size they'll be for the following year. Plus, in the first year, we're kinda all over the place with growth spurts. And I've learned a lot these past few months in regards to practicability with kids clothes. For example I love all the little baby dresses, but now that K crawls, they're completely impractical for daily wear. They get in her way and she becomes very frustrated. So, for fall, a lot of leggings are in her closet that luckily I bout last year on major clearance. This summer I also found some cute classic pieces from the outlets that I can't seem to find online to share. For instance, found the cutest, very classic navy corduroy overalls for Parker from a Gymboree Outlet ~ if you have one near by, I suggest you look there, for whatever reason I couldn't find it on their website. My philosophy with clothing is that I'd prefer to have less quality, soft, durable pieces over a ton of cheaply made ones. No, new #ootd in this household. For the first time I bought from Zara and was pleasantly surprised at the quality of some of their goods. While I did return some stuff, for example the pants just didn't' work for my kids' current body type, but the tops and sweaters I kept were super soft [see below]. Most of their stuff is more trendy than I prefer, but again I bought some stinkin' adorable stuff from them for fall. My splurge shop is Mini Boden. A UK company that makes these super fun, whimsical pieces that just scream childhood to me. I've been a fan all year and typically can find online coupon codes to put towards the purchase. Their stuff is made really, really well. Withstands the wash and keeps color and shape. Knowing that P & K will be getting into all kinds of things on outings this fall, durability is key. They have great reversible pants and tops for P, which is perfect to double outfits and of course, is great should we get lunch on our shirt. I'm sure some of you are wondering why Gap isn't included. And don't get me wrong they have great stuff. The problem, I just can't get it to fit P & K. They tend to need the smaller size for width, but then it's too short in the arms and legs. If I go up a size for length, it's way too wide and boxy. Pants don't fit on the waist and the shoulders on the tops hit at their elbows. Maybe in a few months things will work out differently. So, for now these are the brands we're currently loving: the outlets (carters, gymboree) Zara and Mini Boden.
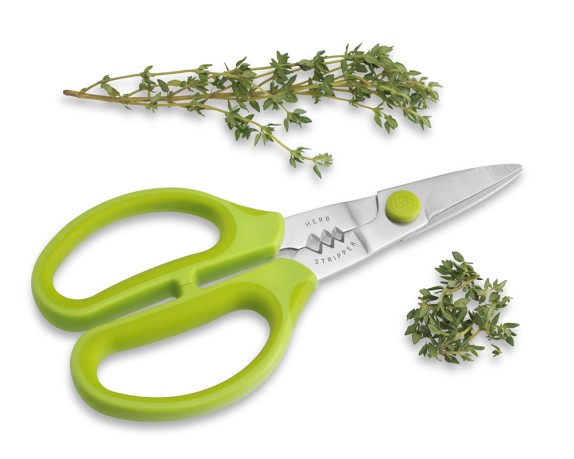
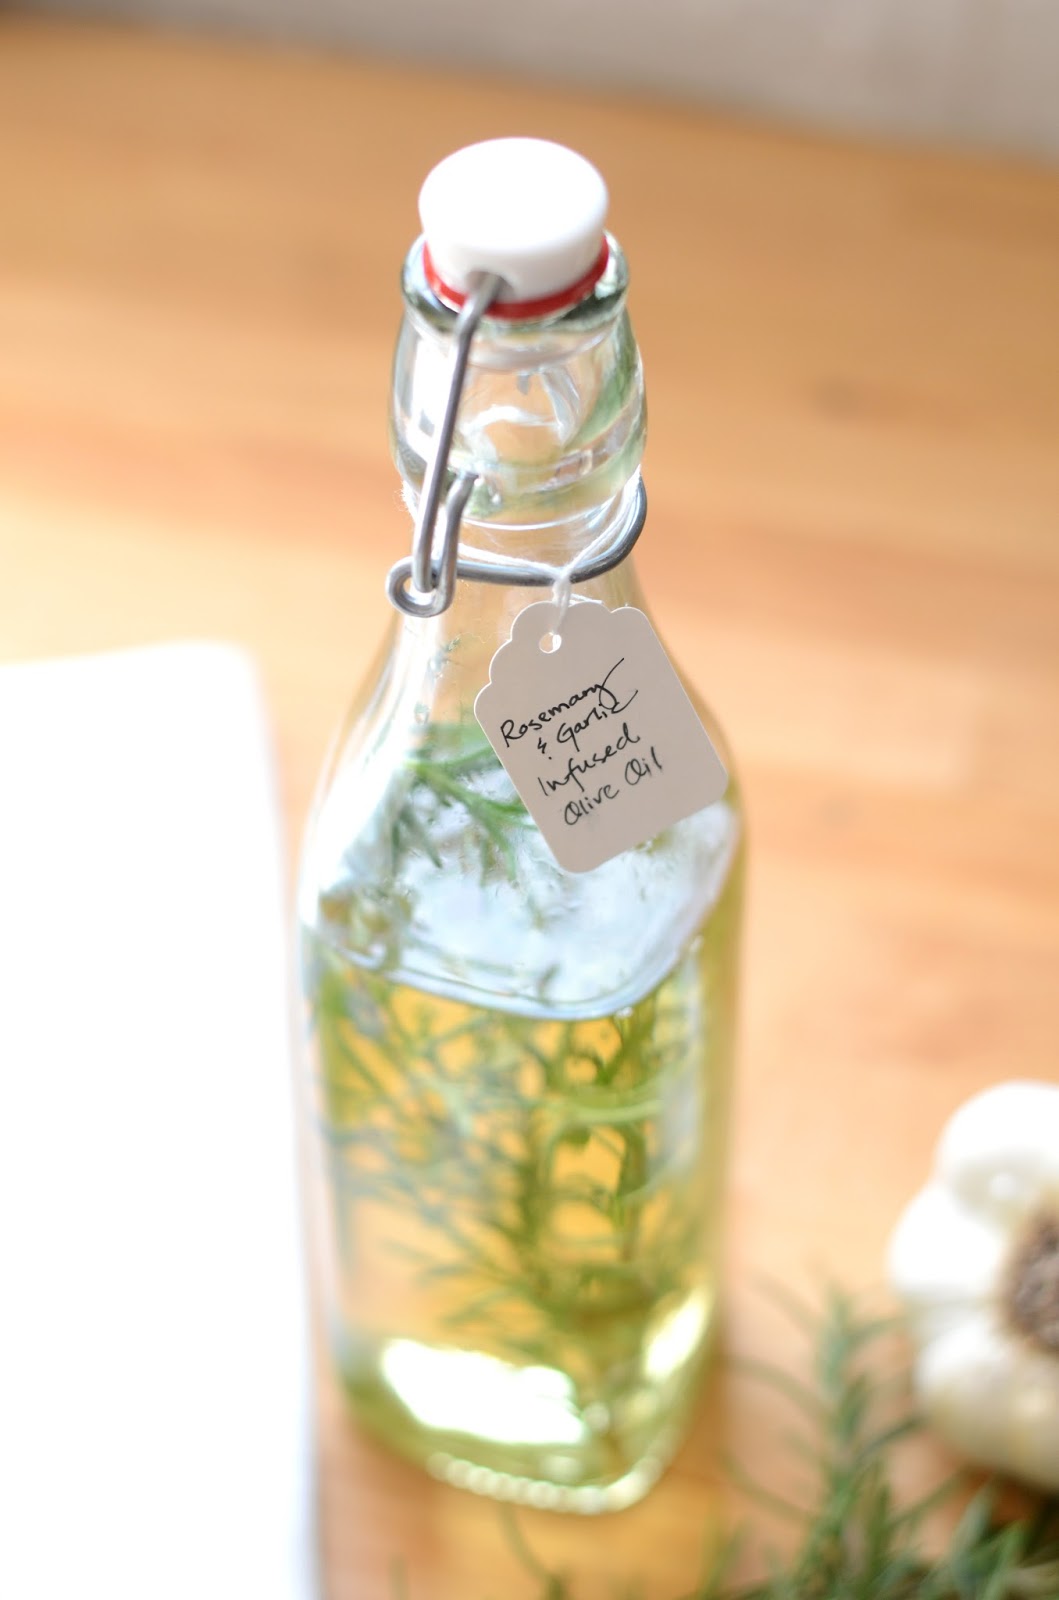
Rosemary & Garlic Infused Olive Oil

The start of fall is the perfect time to get back into the kitchen, but to keep weeknight meals easy and flavorful, use a secret ingredient...infused olive oil. Pair this Rosemary & Garlic blend with chicken and fish and I promise your family will be asking what's in this?
Backyard Makeover | Gravel Path Inspiration
Earlier in the summer I shared this post about our backyard, and I'm happy to say we're making some progress. With the lower level of the backyard looking like this:
We knew we needed to do something to add charm and character to a space that is too shady for grass to grow. I have loved the idea of pea gravel, but with this section being long and narrow, we didn't want it to come across like a driveway. So, in looking for inspiration, these images in the slideshow above [for mobile users: view below] gave us some ideas on how to incorporate gravel into our design. Want to see a sneak peak of our progress? Sign up for our Newsletter below!