Happy Monday! If you follow along on Instagram, you know over the weekend we set out to begin our garage makeover. And hands down the MVP of that project turned out to be this paint sprayer.
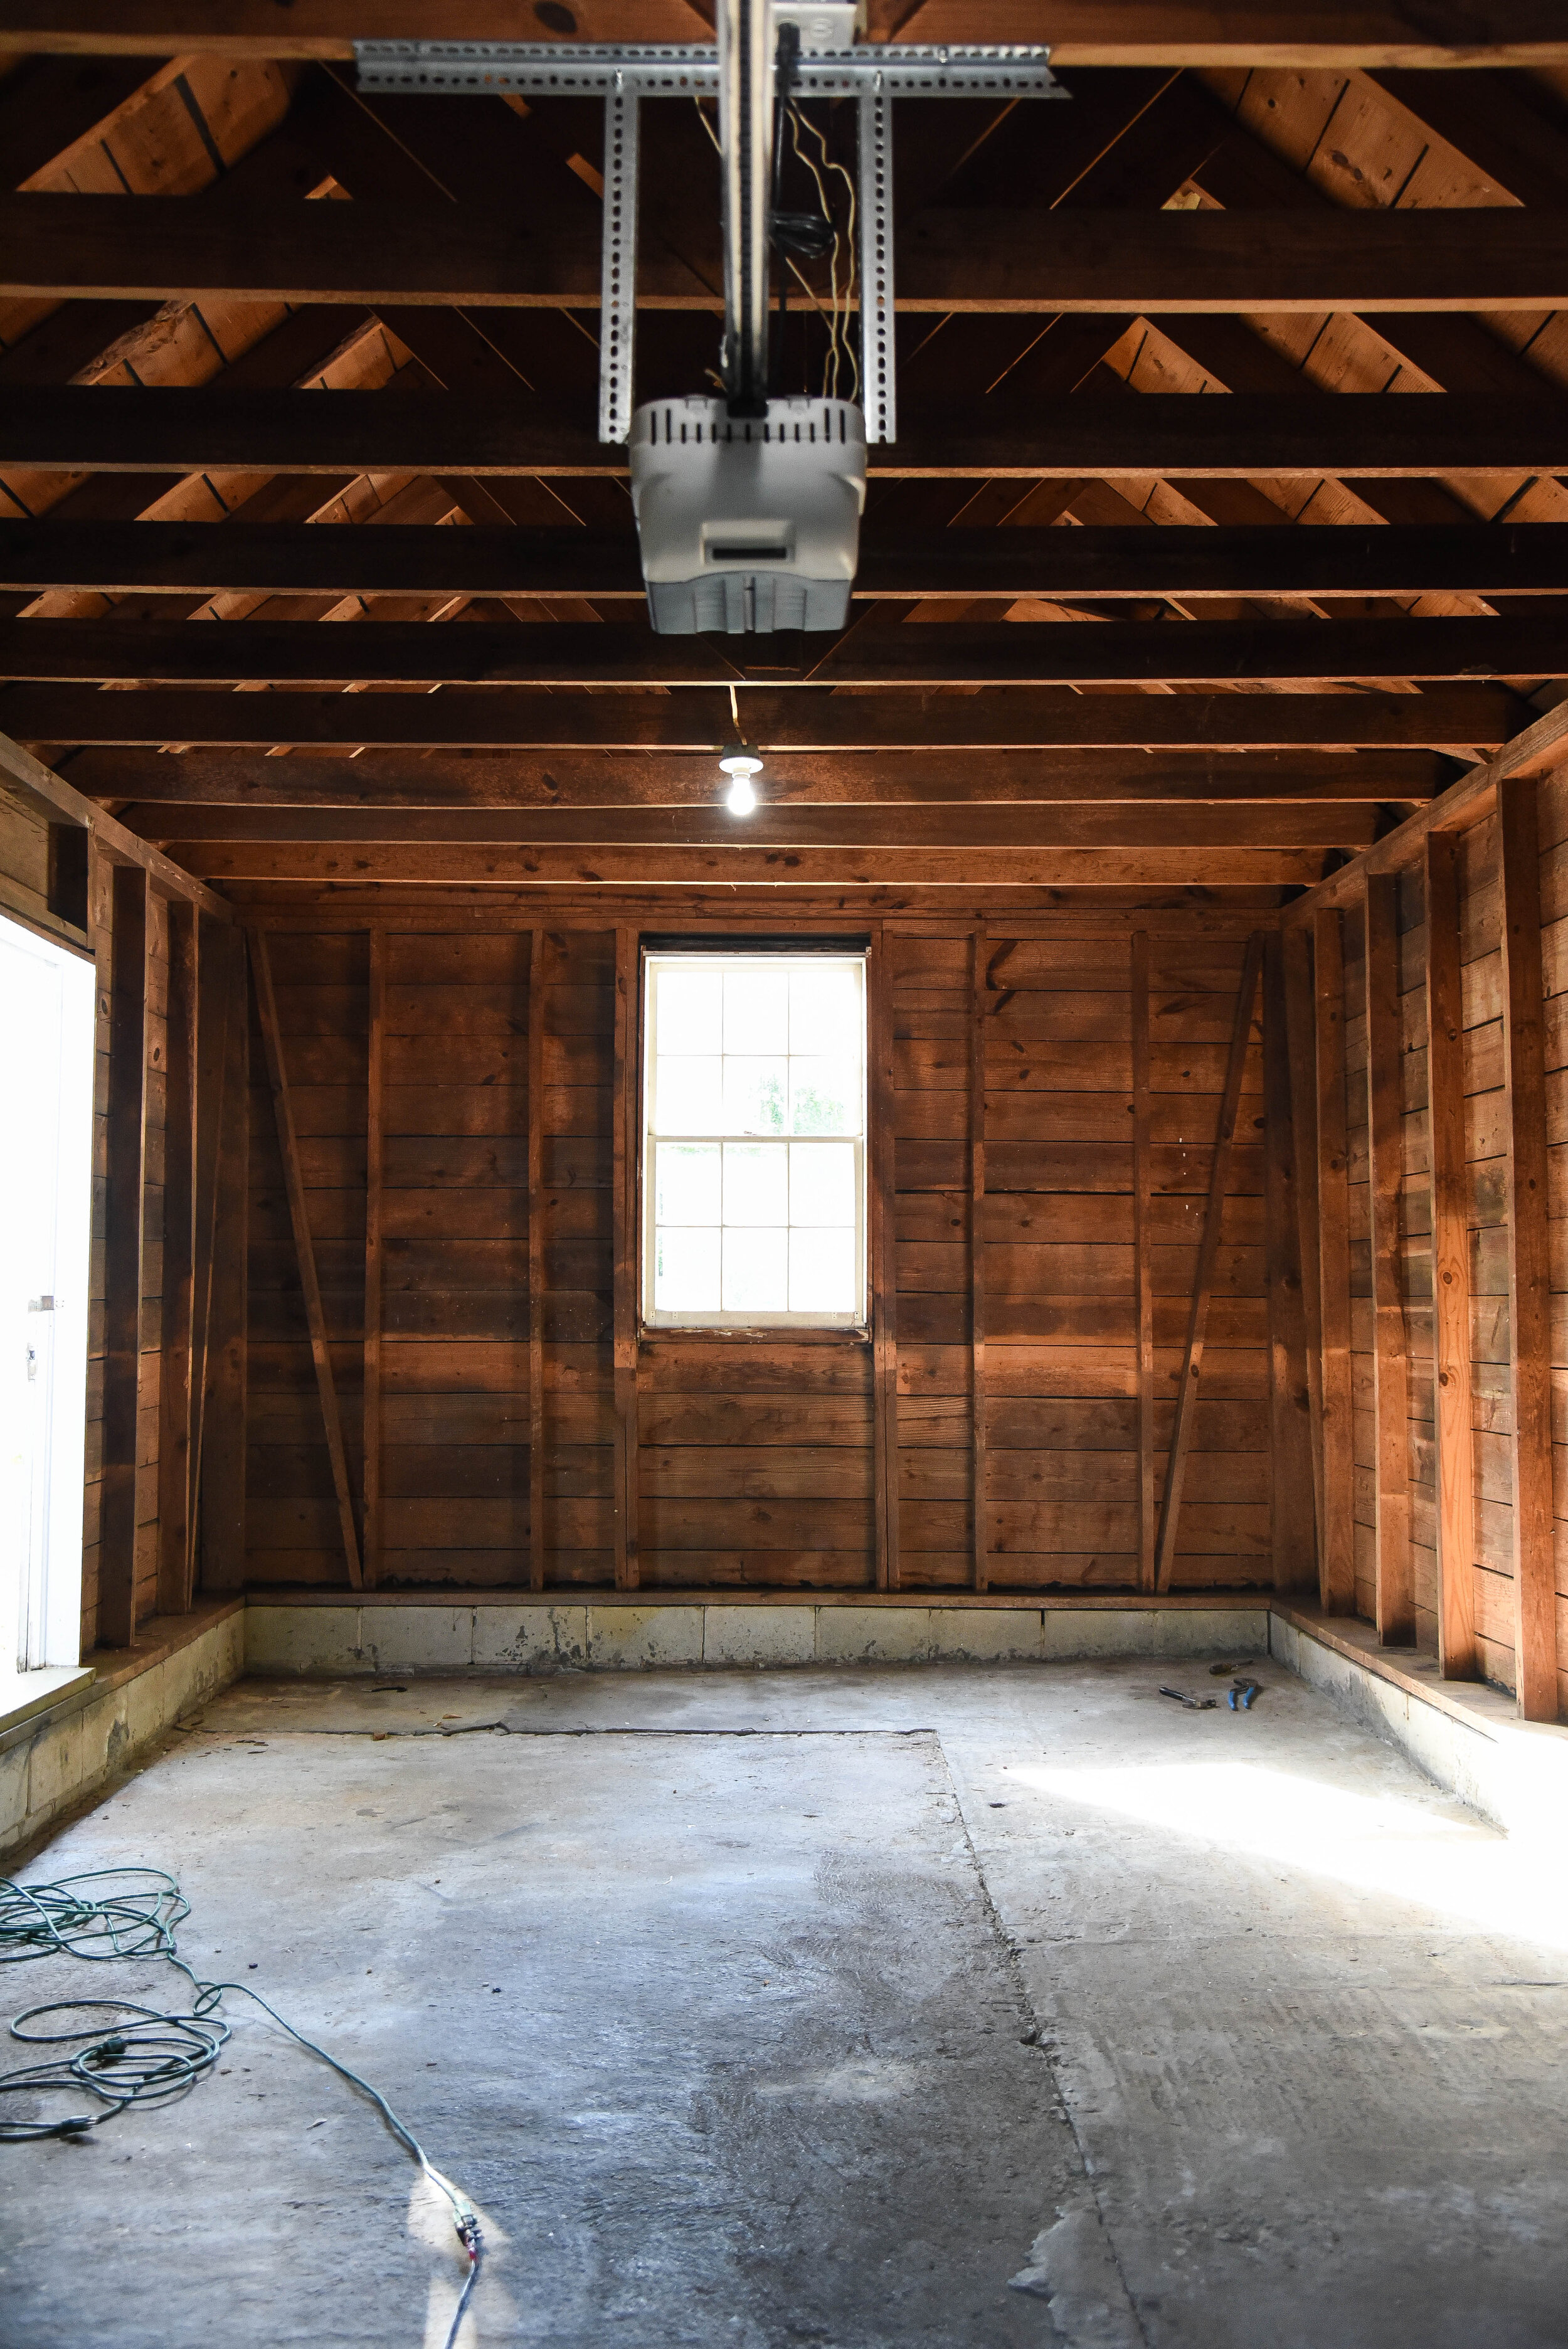
We started by clearing out our original 1950’s garage, and so many of you were loving the natural, original wood tones!
And after debating (for years), whether we should paint it or not, we decided it was time to make this a more usable and enjoyable space for our family and design it in a way that would bring joy into our daily life at home! And while the wood tones are great, the things that aren’t completely visable in photos are the numerous paint, oil, nails, stains, glues etc, that are rustic and normal in a standard garage workshop. Plus on the side wall to the left, a haphazardly done wall of insulation and drywall, that under closer inspection revealed that they had removed all the original wood underneath.
So to tidy up this wall, keeping the insulation while also making the space look a bit more intentional, we opted to add beadboard that will be wrapped around the door and finsh to the right of the electrical panel.
Once the beadboard got finished in with simple trim, we decided to remove our automatic garage door opener. This will allow for a more open ceiling view and a place for another light. Once all that was done, it was time to get to painting!!!
After doing some research and reading a ton of reviews, we decided to invest in and try out this paint sprayer. Some of the pros were that this one does NOT require paint thinning for use and it also doesn’t require an air compressor. Clean up was touted as easy and its flow rate is just above 16 gallons per hour. This one is hands down built for larger jobs and while I loved the idea of a smaller handheld (we considered this one and this cordless one), in the end the Magnum X5 made the most since. And after reading reviews, we decided to buy this 50 ft hose to use with it, ideal so not to have to move the sprayer around a lot, plus allowed us plenty of slack when on the ladder.
Now truth be told, there was a slight learning curve to this thing, but being this was the first time I’ve used an air sprayer I found the instructions to be extremely easy to understand and setup turned out to be fairly straighforward and easy. For me, it was more understanding the flowrate (love that this one allows you to up the amount of paint sprayed giving amazing coverage), but I quickly learned that paint sprayers can QUICKLY go through a gallon of paint. In hindsight, we should have gone with 5 gallon paint cans so not to have to change out the paint as often. But again, that was user error on my part and being that the suction tube goes directly into the can of paint, it was so simple to add more paint as needed.
And once I got the hang of the sprayer, I was shocked how quickly the painting ended up going.
Brian and I primed well into the night.
And the real time consuming part of this project consisted of moving our ladder around (we LOVE this ladder and it’s replaced all of our other ones…to note, shop around for pricing, as we find retailers flucuate price points).
So this morning we woke up to the first coat of primer! And we’re suiting up again, to get this thing it’s final coats of paint!!! I can’t wait to see this place finished!


