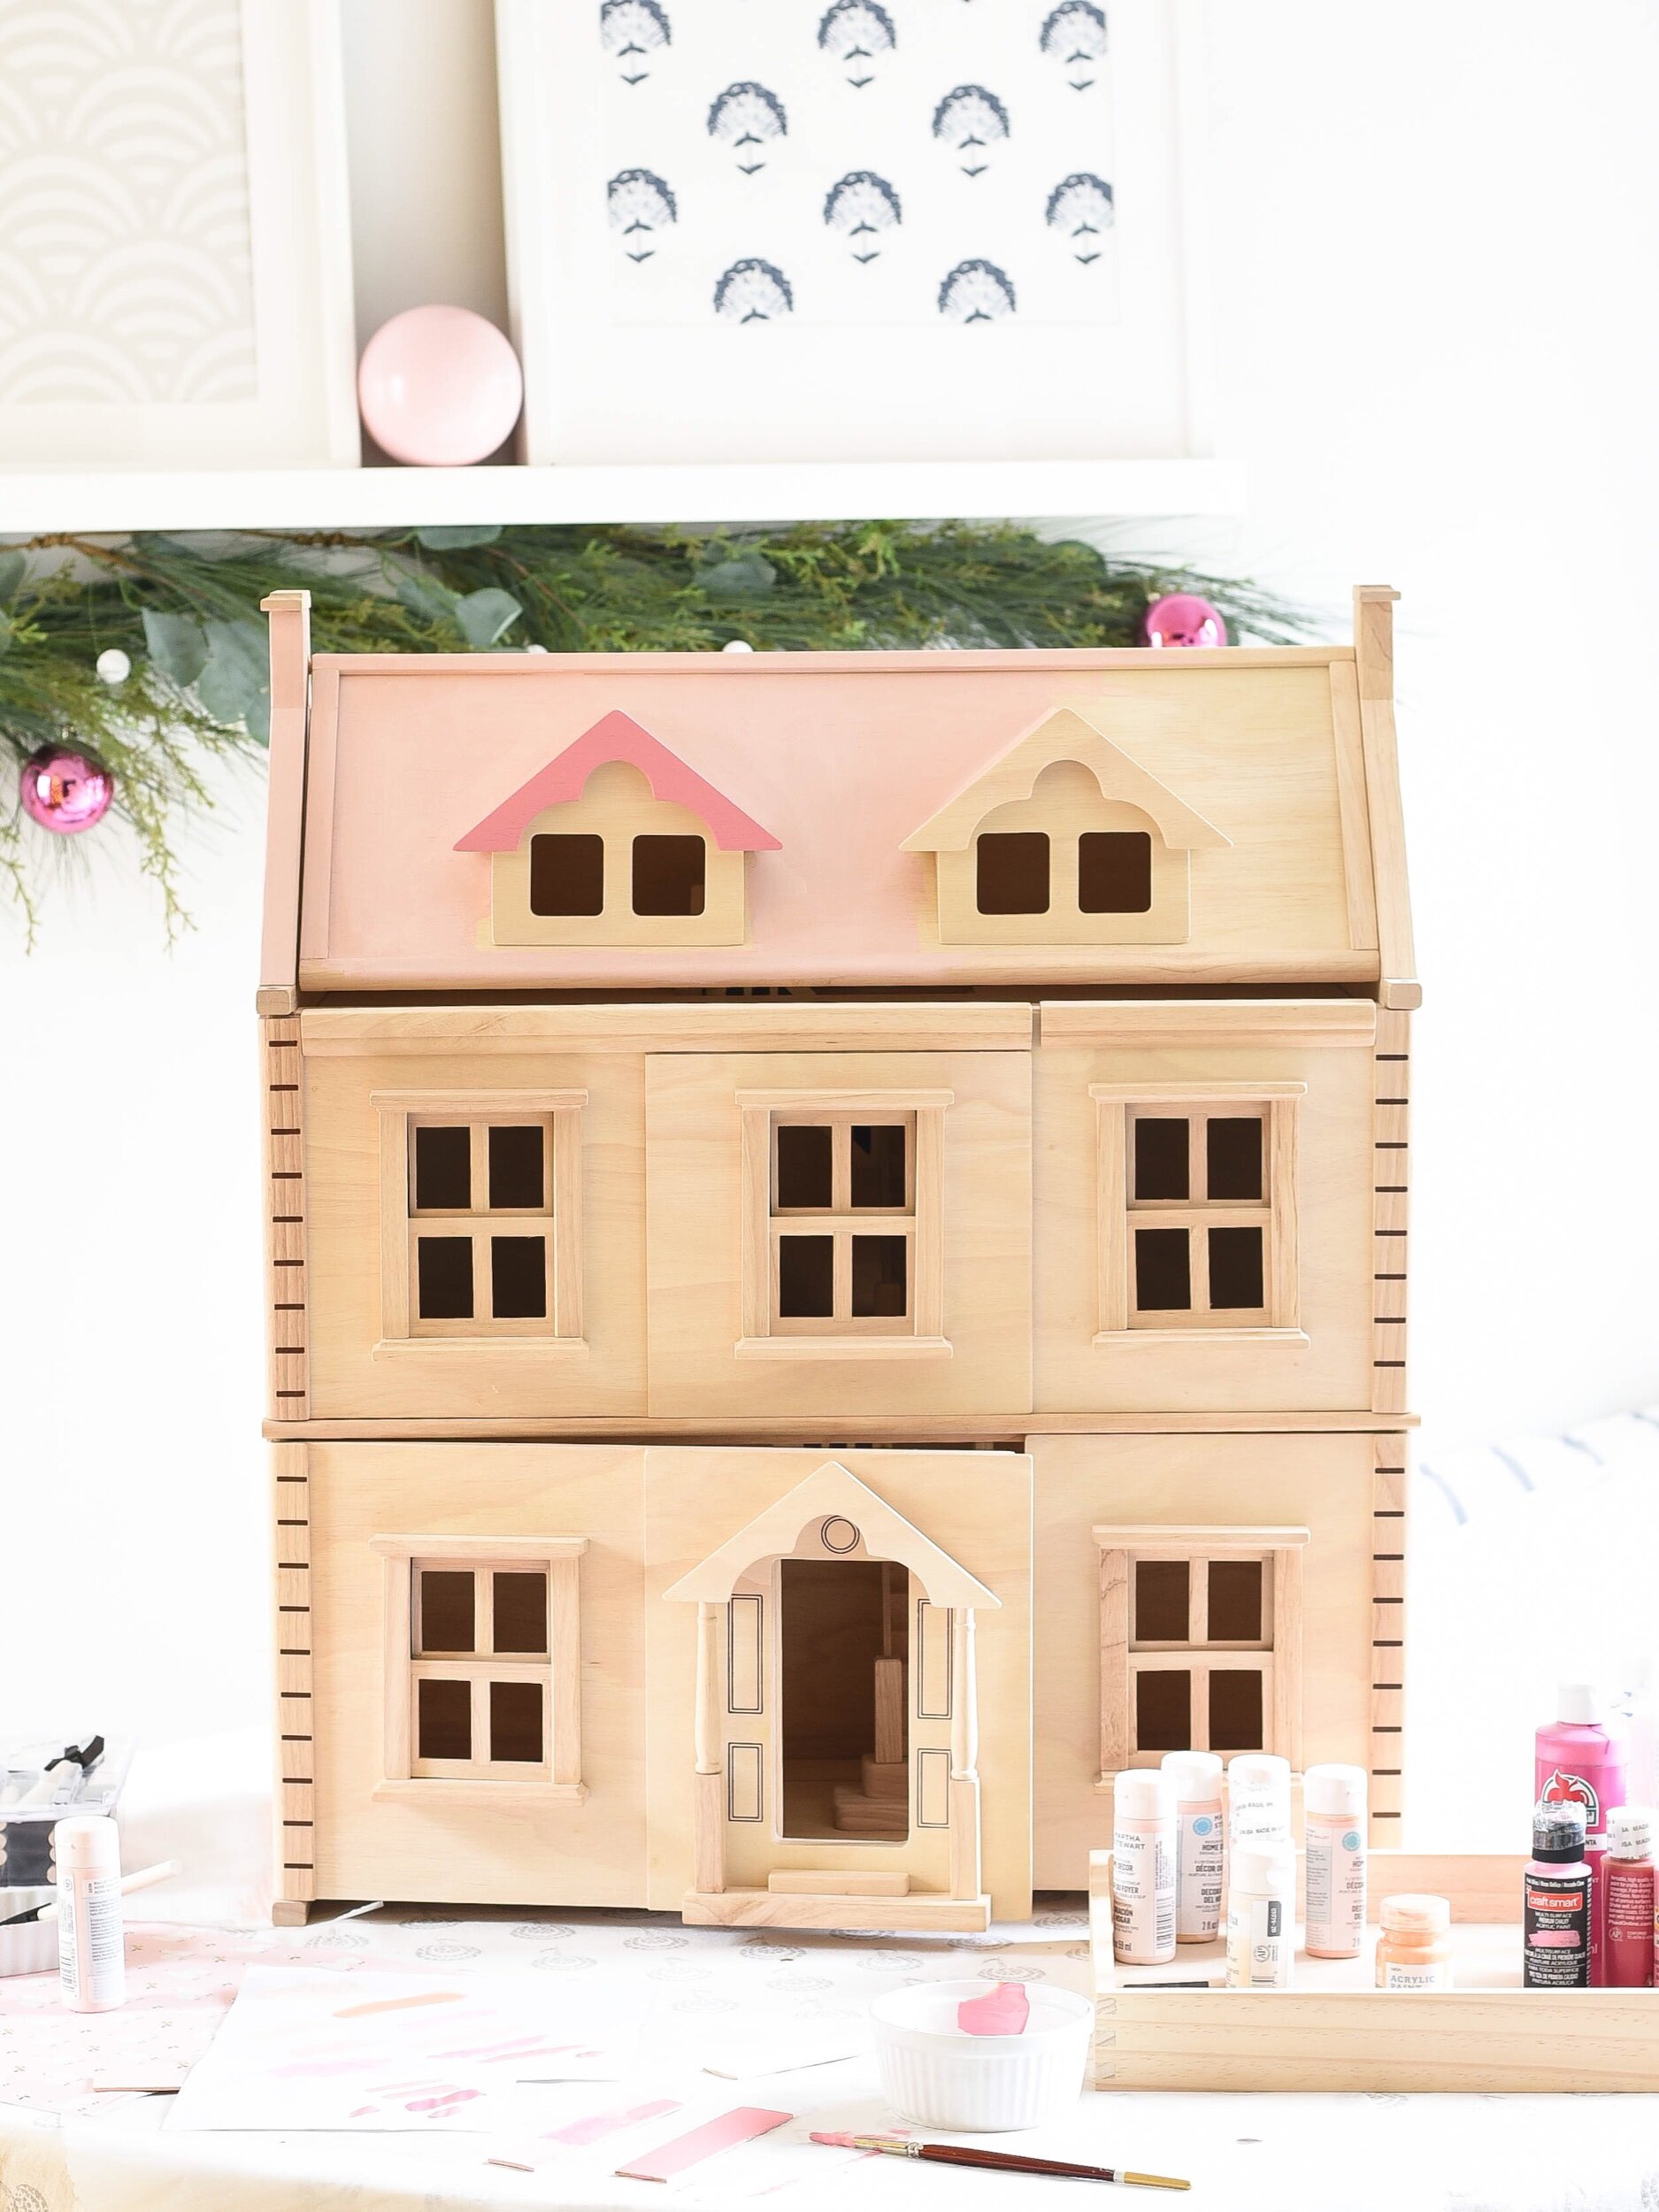
The week before Christmas I shared this dollhouse on Instagram, with the question… “Keep it Natural? Or Paint it Pink?”. The back story on the question was…from March on, all K wanted from Santa for Christmas (they make one wish from Santa each year)…was a pink dollhouse. PINK! As the months went by, her wish never wavered, so in July, I was ecstatic to find this dollhouse on major discount from an online retailer (no longer available on that site, but I’ll update you if I find this thing on sale again…if you’re on the hunt for this specific dollhouse, I’d suggest googling “Plan Toys Victorian Dollhouse”) So, I purchased it and personally LOVED it’s natural look. Months went on, and on occasion K would share her wish of a PINK dollhouse. Now the choice may be obvious…paint that thing pink…but for awhile there I just couldn’t bring myself to do it (not sure why as all natural wood gets painted in this house)…so, there I was a week before Christmas, torn. On Instagram, 63% of you said “Paint it Pink”…and so many of you had great reasoning, ideas and comments on why or why not to paint it. The comment that really spoke to me was this one, “Can always paint it pink in a couple years…and just think of the excitement of getting exactly what you wanted!”
Sold. She’s only five once. And why shouldn’t she get it exactly as she dreamed it. So pink it was, and options I came up with. The four below are the ones I had you guys vote on.
Over a thousand of you weighed in, and options A & B shared the top spot (with only a handful of votes between the two). I loved the idea of option A because it meant not really painting the playhouse. Painted shutters could be put on temporarily, and the same with a door.
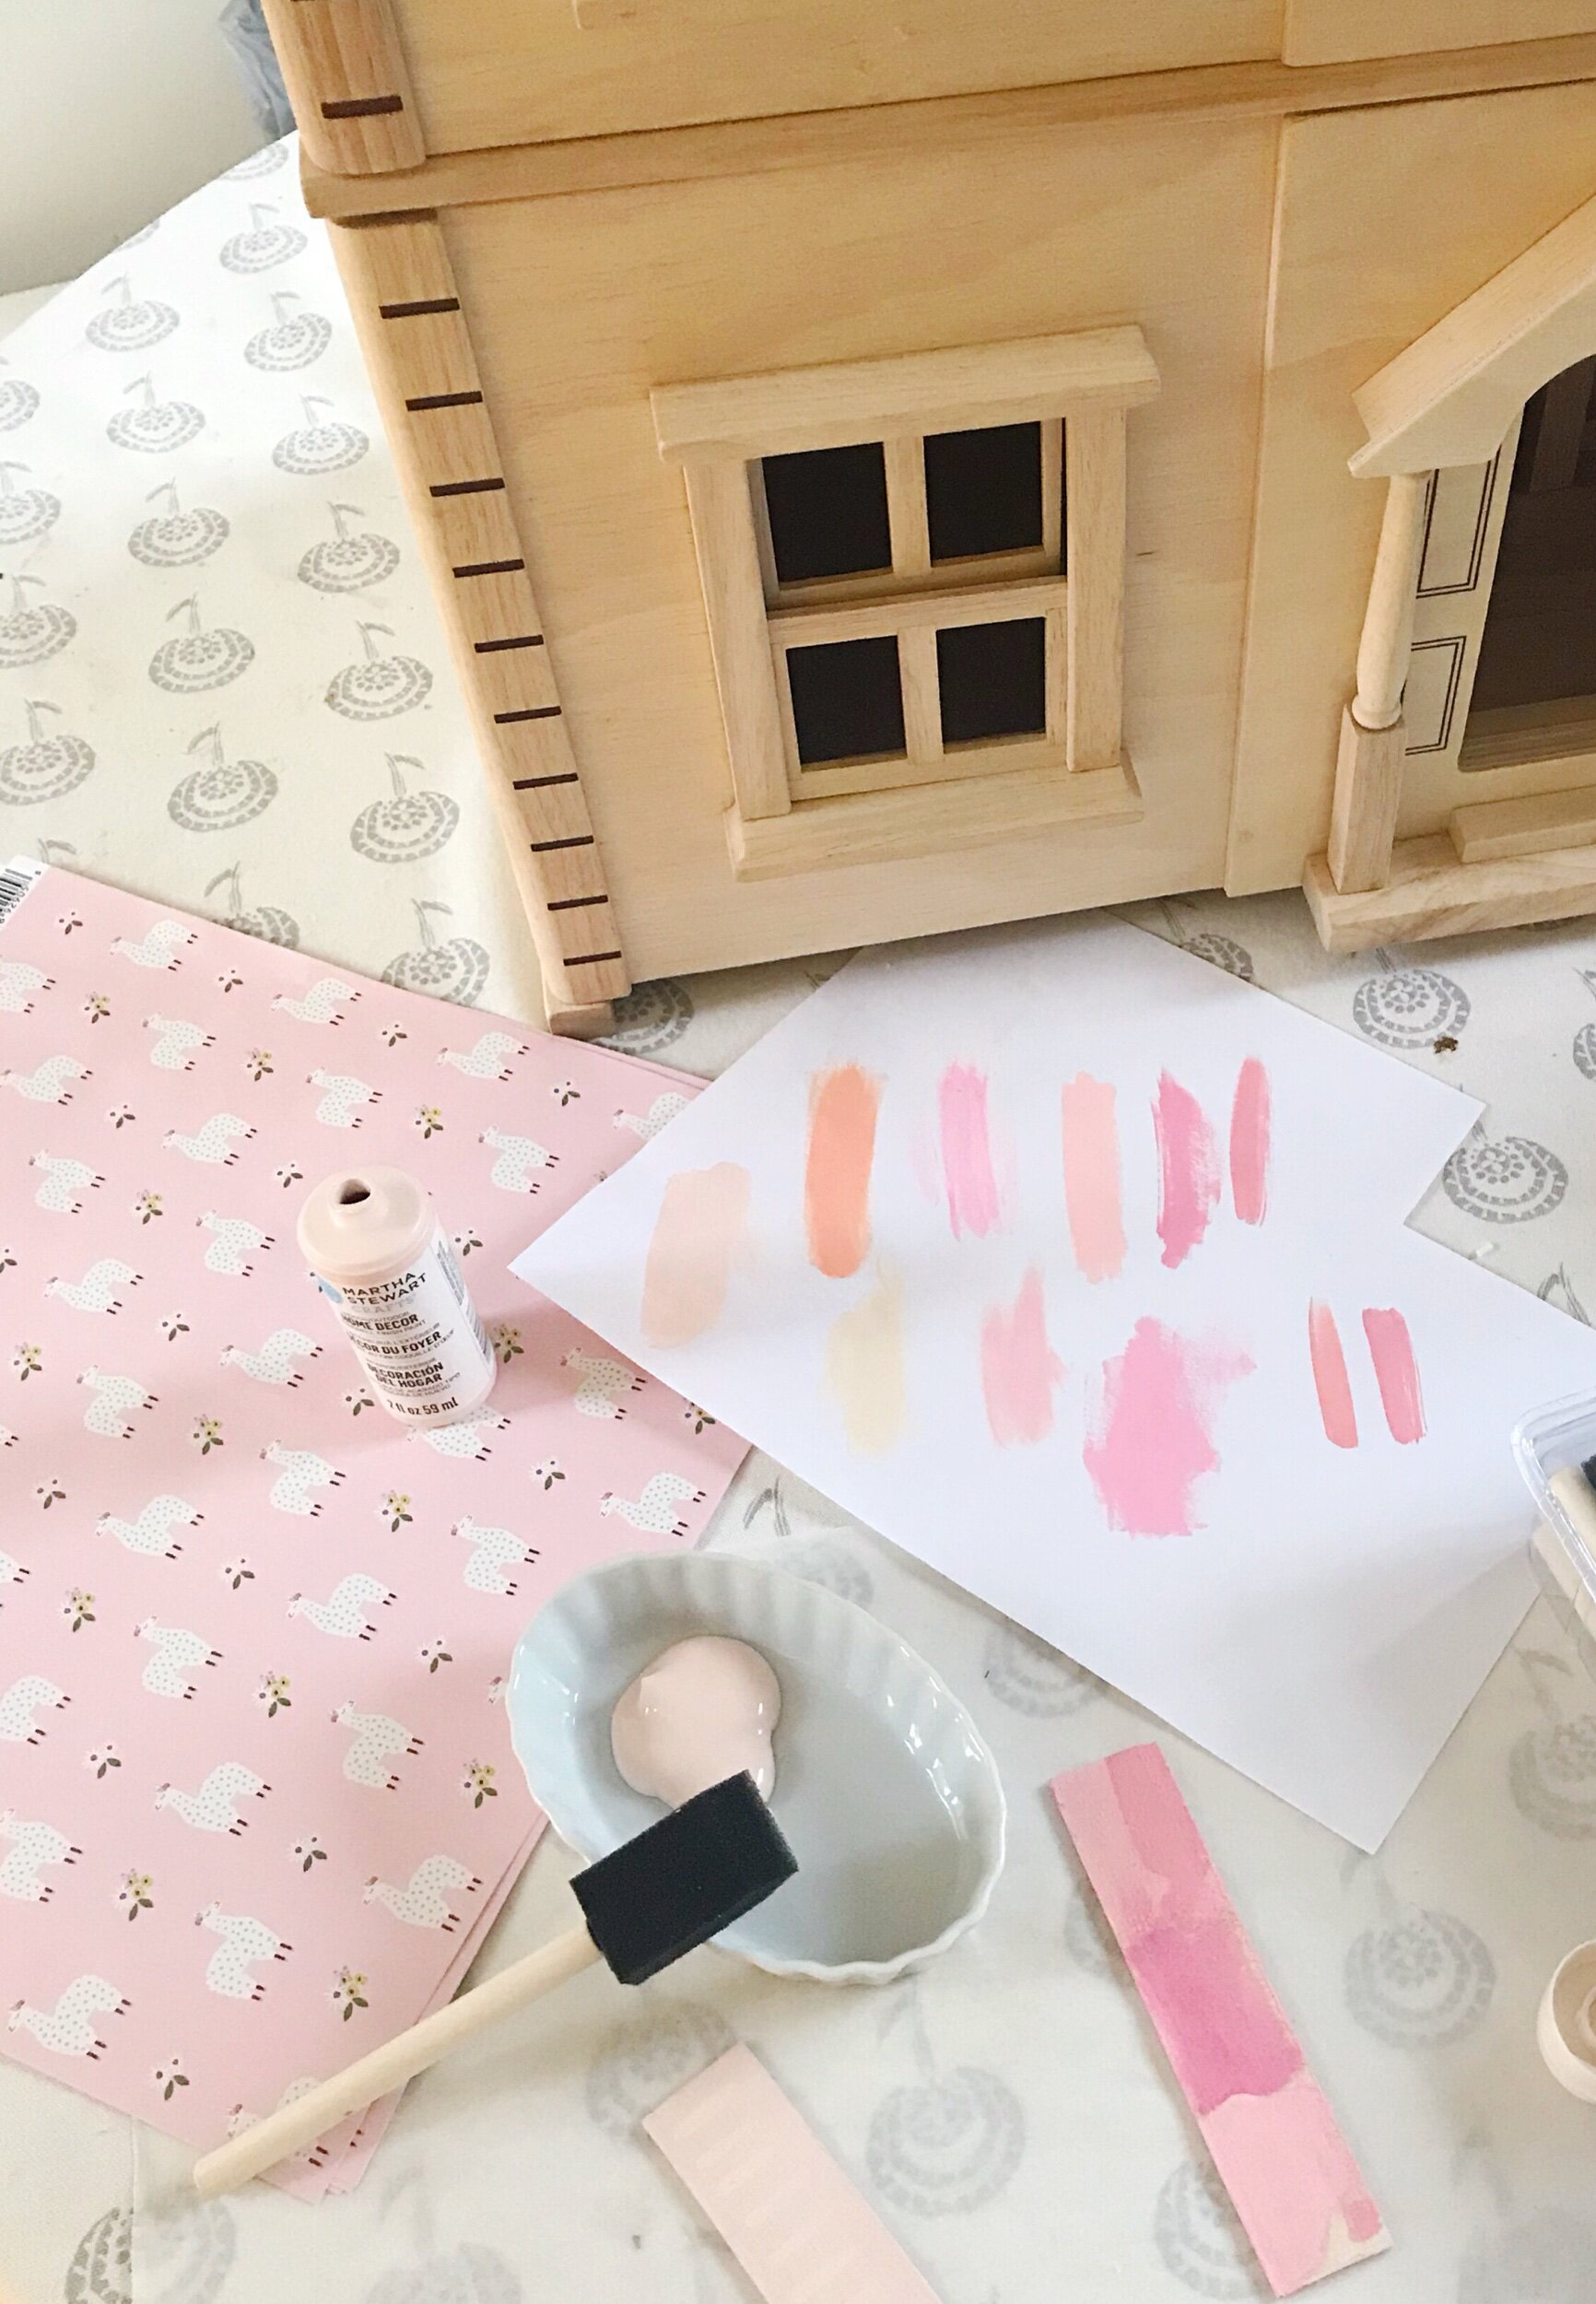
But, as I sat there, testing out pinks, I felt, Option A was a half-way ‘band aid’ to painting the playhouse pink. Yes, we could later change it, but I knew my 5 year old dreamed of this thing entirely PINK. So, before I had time to think, using my favorite foam brushes, I quickly slapped on this ballet pink paint…
From there I played around with mixing pinks, to find the right shade for the trim. At first I wanted to go with a rose pink, but knowing my daughter, felt a punchy bubblegum tone would fit better. If I was painting this thing pink…I was really going to paint it PINK!
Once, I decided on colors the rest was pretty simple. Using an exacto-knife I cut shutters from thin wood I purchased at a craft store, similar to these here. Painted the shutters along with the trim with my custom pink (again, just mixed a few colors until I got this bubblegum tone)…and used the same ballet pink to paint on the shutter lines. To attach the shutters I opted to use these…that way they can easily be removed / rearranged! I decided not to paint the interior window trim, because on this particular dollhouse the windows open and close and I didn’t want to prohibit that. This thing honestly would have only taken a few hours to complete…had it not needed to be done in secrecy. I worked on it in 45 minute increments to ensure there were no accidental reveals. And within a couple days…I had this!
For the interior, I decided not to paint it but rather find a cute wallpaper to install. I looked at real stick-able/reusable options, but found the prints to be too large for scale. On Pinterest I found a lot of dollhouse experts printed their own wallpaper…great idea! We don’t have a printer at home, so for me, it was cheaper to head to the local craft store and find some scrapbook paper to use.
I loved this adorable llama paper, color and scale were right, and just four sheets was all I needed. While I could have glued it on, I decided to attach the sheets with these instead (plus I already had some at home!)…that way they can be easily removed or changed later.
To tie in the color scheme, I purchased this unfinished wood bedroom furniture set, and painted some of the pieces. The grey twin beds on the top floor (which can also be stacked as bunkbeds!) are from this set. The rug under the bed, is simply scrap craft rope I had, hot glued together in a rug shape. And that about sums it it! This dollhouse turned out to be the perfect size for my daughters Maileg Mice collection as well as some of the other dollhouse furniture she already owned. One more before and after:
There you go! Our Pink Dollhouse Makeover! And spoiler alert…my daughter LOVED it!!!! And has played with it every.single.day!!!


